Power Up Your Ride: How to Install a Bike Power Meter
Key Point Summary of How to Install a Bike Power Meter:
- Choosing the Right Power Meter: Ensure compatibility with your bike’s components.
- Tools and Preparation: Gather necessary tools and review the installation instructions.
- Installation Process: Follow step-by-step guidance specific to the type of power meter.
- Initial Setup and Calibration: Essential for accurate power readings.
- Test Ride and Adjustment: Verify installation with a short ride.
Installing a bike power meter can seem like a daunting task, especially for cyclists who are new to this technology. However, as a masters cyclist with a broad spectrum of experience from mountain biking to gravel grinding and cyclocross, I’ve come to see the installation process as a straightforward task that, when done correctly, can significantly enhance your training and performance. This guide aims to demystify the process and provide you with practical tips to get your power meter up and running.
Choosing the Right Power Meter
The first step is selecting a power meter that fits your bike and meets your training needs. Whether it’s a crank-based, pedal-based, or hub-based power meter, compatibility with your existing bike components is crucial. For instance, crank-based power meters require you to match the crank type and length with what you currently use.
Tools and Preparation
Before diving into the installation, it’s important to gather all the necessary tools. This might include Allen keys, a torque wrench, and sometimes proprietary tools provided with the power meter. Equally important is reading through the manufacturer’s installation guide to familiarize yourself with the process and any specific requirements.
Installation Process
The installation process varies significantly depending on the type of power meter. Here’s a general overview:
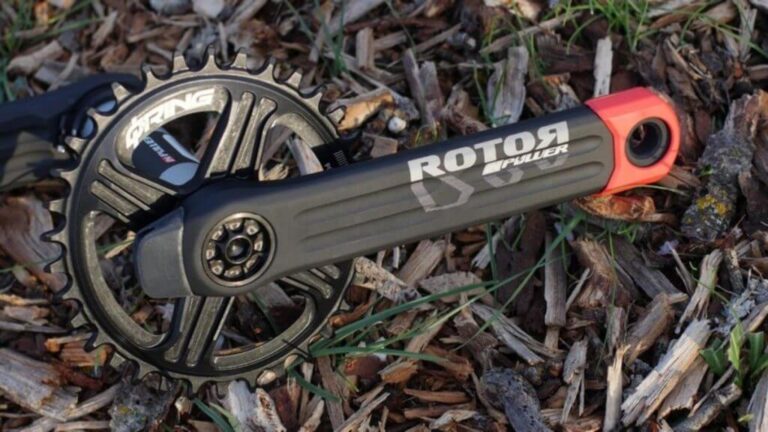
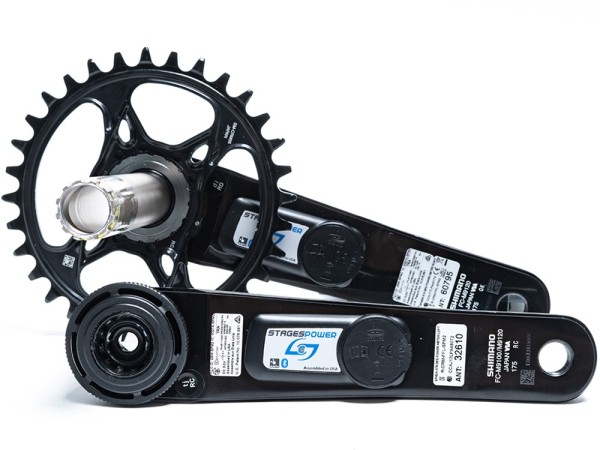
- Crank-Based Power Meters: These usually involve replacing your current crank arm or entire crankset. After removing your existing crank, you’ll install the new crank with the power meter, ensuring all bolts are tightened to the manufacturer’s specified torque.
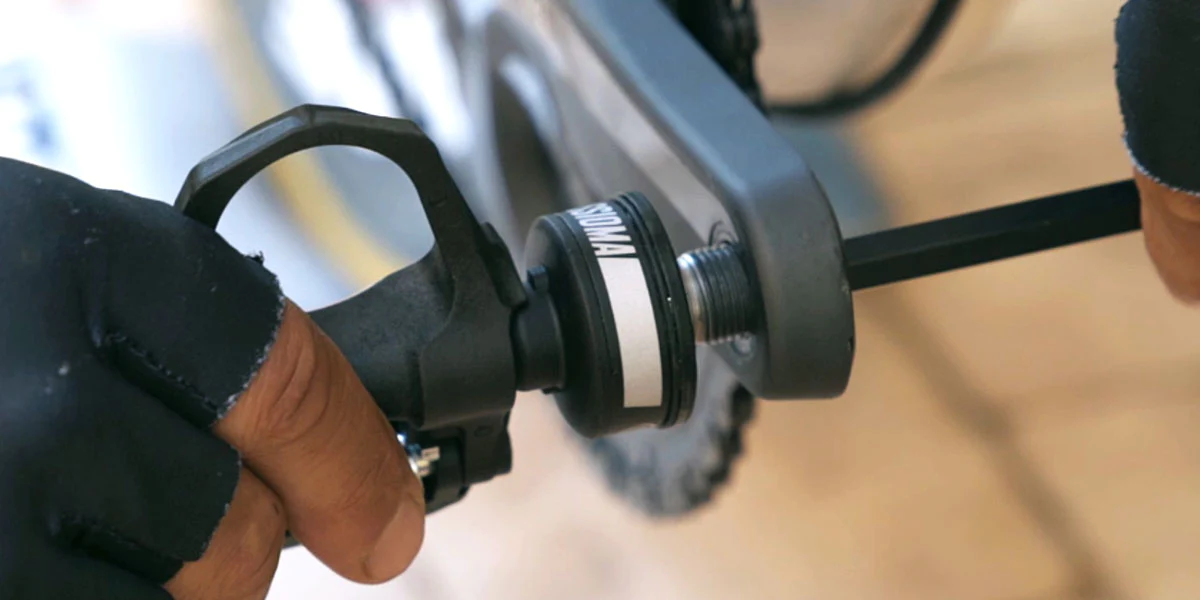
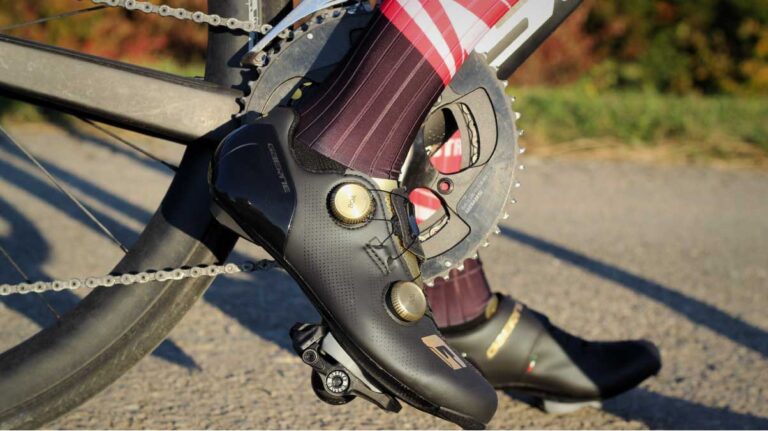
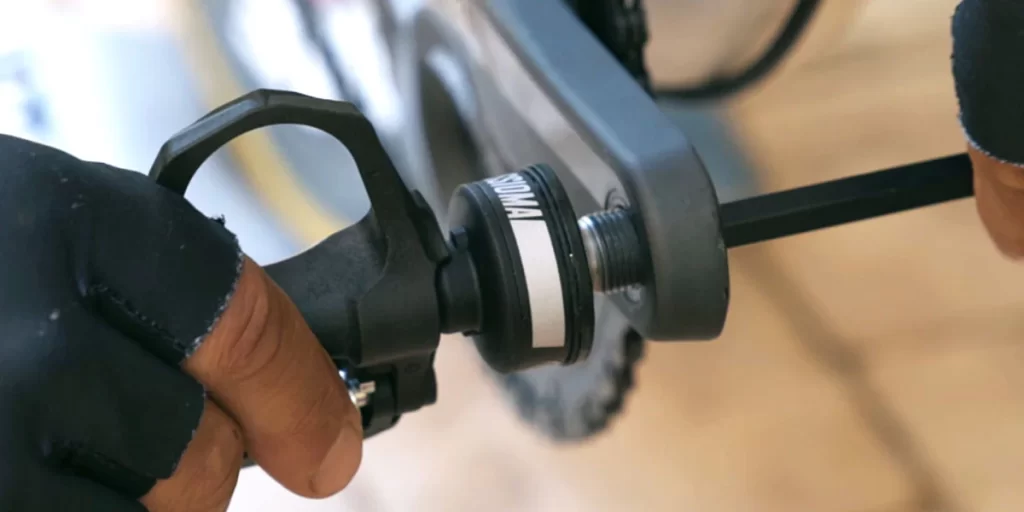
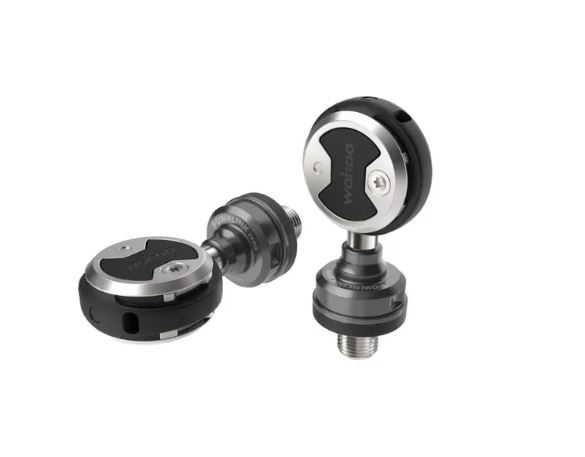
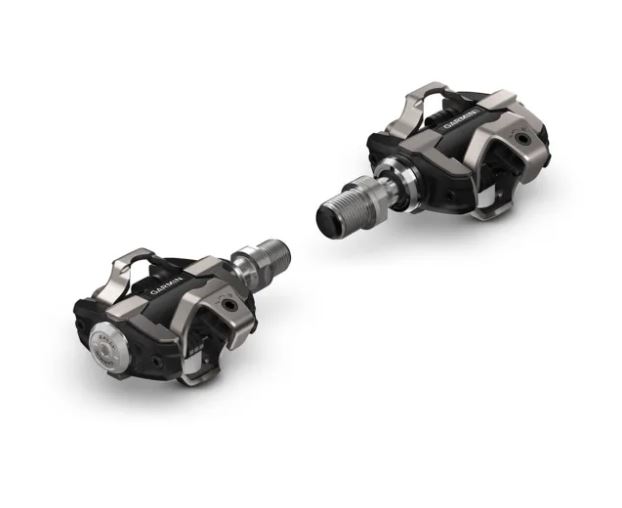
- Pedal-Based Power Meters: Perhaps the simplest to install, pedal-based systems like the Garmin Vector can be screwed into your crank arms just like any standard pedal. The key is to ensure they’re snug and secure, using a pedal wrench if necessary.
- Hub-Based Power Meters: Installing a hub-based system, such as the PowerTap, is more complex and often requires rebuilding the rear wheel around the new hub. This might be a task better suited for a professional mechanic unless you have experience with wheel building.
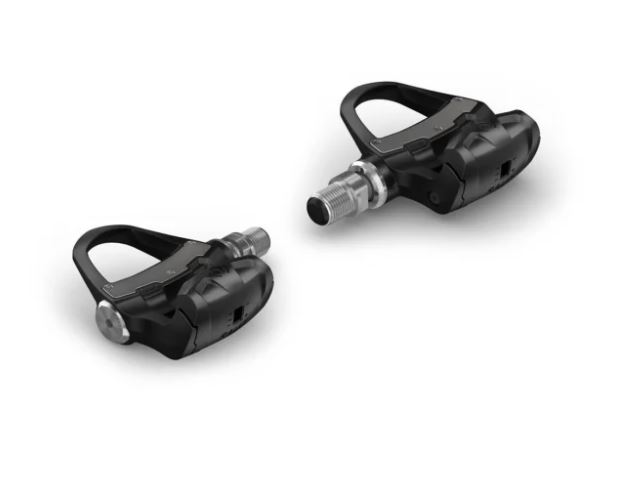
Initial Setup and Calibration
Once installed, setting up and calibrating your power meter is critical for accurate data. This usually involves pairing the power meter with your cycling computer or smartphone app and performing a zero-offset calibration. Calibration ensures the power meter takes accurate measurements by setting a baseline when there’s no force on the pedals.
Test Ride and Adjustment
After installation and calibration, a short test ride is advisable to ensure everything is working correctly. Pay attention to any unusual noises or bike handling issues, which could indicate a problem with the installation. Also, re-check the torque on all bolts after the first few rides, as they can loosen once everything settles in.
Final Thoughts
Installing a bike power meter is a task that can significantly impact your training, allowing for precise measurement and analysis of your effort. By carefully selecting the right power meter, preparing for the installation, and following the manufacturer’s instructions, you can ensure a successful setup. The initial effort you put into installing and calibrating your power meter will pay dividends in improved training quality and cycling performance.
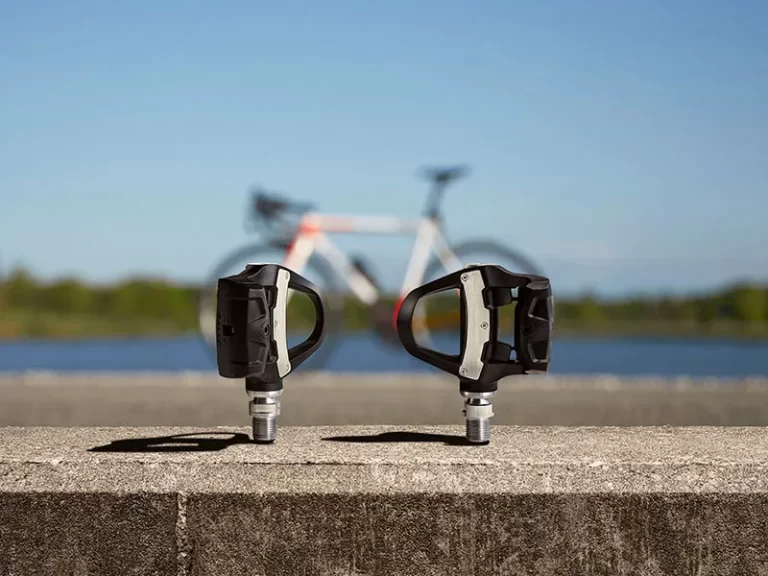
For ease of installation, pedal-based power meters are often considered the best option. Among these, the Favero Assioma pedals stand out for their simplicity and user-friendliness.
Favero Assioma
- Why It’s Great: The Assioma power meter pedals are renowned for their straightforward installation process, which is as simple as fitting any regular pedal. You only need a pedal wrench or an Allen key, and you can easily transfer them between bikes without any need for complex calibration or bike shop visits.
- Key Features:
- Quick Setup: Installation involves screwing the pedals into the crank arms, no different than regular pedals.
- Auto-Calibration: They automatically calibrate themselves, removing the need for manual calibration before every ride.
- Dual-Sided Measurement: Offers the option for single or dual-sided power measurement, providing flexibility depending on your needs and budget.
- Connectivity: Features both Bluetooth and ANT+ connectivity, making them compatible with a wide range of cycling computers and smart devices.
- Durability and Battery Life: Designed to be durable and waterproof, with a long battery life that ensures consistent performance.
Given their ease of installation, accuracy, and reliability, the Favero Assioma power meter pedals are an excellent choice for cyclists looking for minimal fuss with setup and maintenance.
FAQ
How do you put a power meter on a bike?
Install a power meter based on its type: For crank-based, replace the existing crank arm or crankset; for pedal-based, screw the power meter pedals into the crank arms like standard pedals; for hub-based, it might involve wheel rebuilding.
Do you need a bike computer for a power meter?
No, but a bike computer or a smartphone with compatible cycling apps can display the data from the power meter in real-time, enhancing your training experience.
Is a power meter worth it on bike?
Yes, for serious cyclists aiming to improve performance, train more efficiently, or compete. It provides precise, actionable data to optimize your training but may be less critical for casual riders.
Can you put a power meter on a stationary bike?
It depends on the stationary bike. Some models allow for the installation of aftermarket pedals or crank-based power meters, but it’s essential to check compatibility first.
