Pedal to the Metal: How to Install and Adjust Bike Pedals
Key Point Summary of How to Install and Adjust Bike Pedals
- Right Pedal, Right Side; Left Pedal, Left Side: Remember, bike pedals are side-specific with different threading.
- Tools Needed: Arm yourself with a pedal wrench or a hex key, depending on your pedal type.
- Installation Process: Start threading by hand to prevent cross-threading, then tighten securely with your tool.
- Adjustment and Maintenance: Regular checks for tightness and lubrication at the threads can prevent future issues.
Installing and adjusting bike pedals might seem like a straightforward task, but as a masters cyclist with a diverse background in mountain biking, gravel grinding, and cyclocross racing, I’ve learned there’s a bit more nuance to it than meets the eye. Whether you’re a beginner just setting up your first bike or a mid-level enthusiast looking to tweak your ride, understanding the ins and outs of pedal installation and adjustment can make a significant difference in your cycling experience. Let’s dive into some key points and personal anecdotes that have guided me through the process.
The Installation Process
The first step in pedal installation is identifying the right pedal for the right side (drive side) and the left pedal for the left side (non-drive side). The right pedal has a regular thread (tightens clockwise), while the left pedal has a reverse thread (tightens counterclockwise). This design helps prevent the pedals from loosening as you pedal.
I remember the first time I mixed up my pedals and spent a frustrating hour trying to force the left pedal onto the right side. It was a rookie mistake that taught me the importance of starting the threading by hand. This ensures you don’t cross-thread and damage the crank arm, which can be a costly mistake. Once you’ve got the pedal threaded correctly by hand, you can use a pedal wrench or hex key to tighten it. The goal is to secure the pedal firmly without overtightening, which can make future removal difficult.
Adjustment and Maintenance
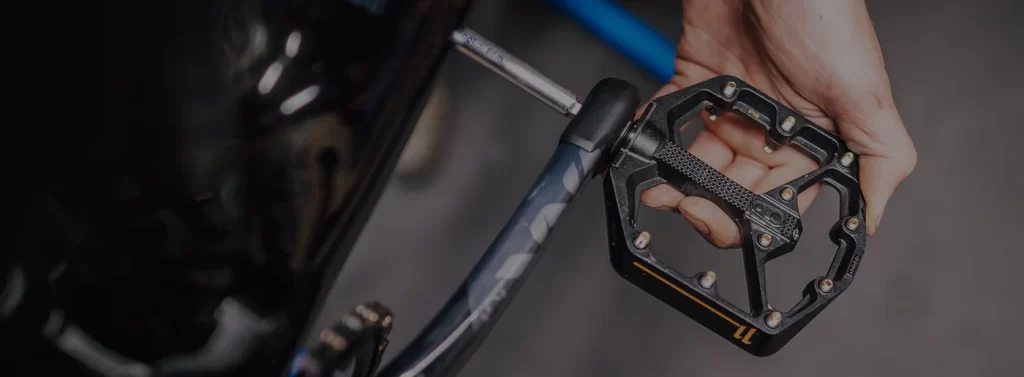
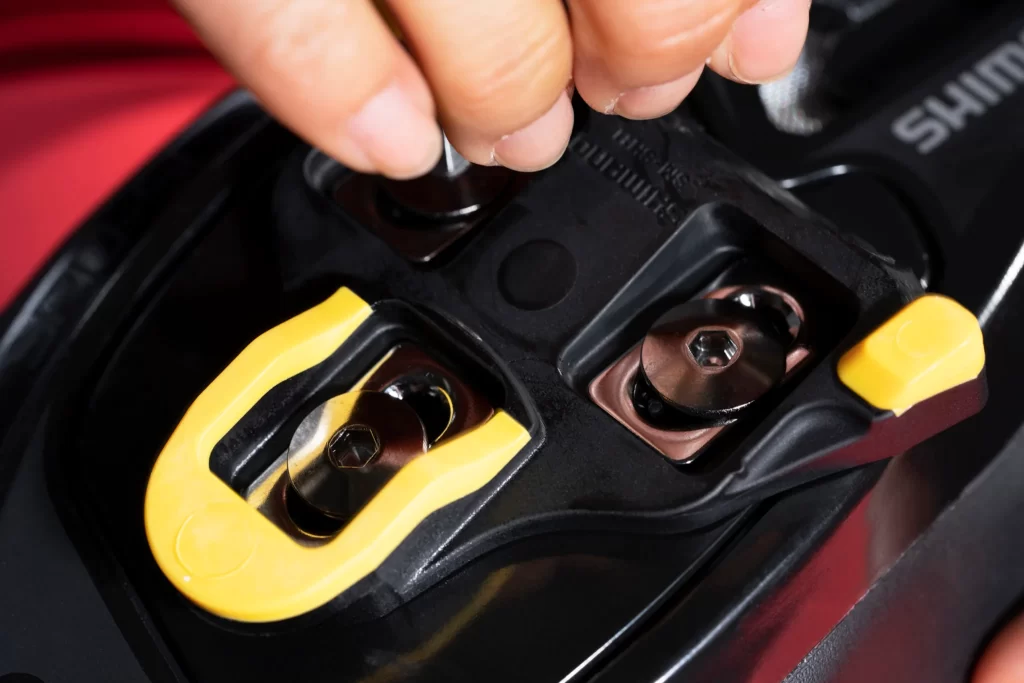
Some pedals allow for adjustment of tension or cleat position, which can significantly affect your riding comfort and efficiency. For clipless pedals, playing around with the cleat position on your shoe can help find the most comfortable and efficient pedal stroke. It’s a process of trial and error, and I’ve spent many hours adjusting cleats to eliminate hotspots and improve power transfer.
Maintaining your pedals is also crucial. I make it a habit to check my pedals for tightness before long rides, as a loose pedal can lead to stripped threads or, worse, an injury. Applying a bit of grease on the threads before installation can prevent them from seizing, making future removal and adjustments easier.
In Summary
Installing and adjusting bike pedals is a fundamental skill that every cyclist should master. While the process might seem simple, paying attention to the details can prevent issues down the road. Always start by hand to avoid cross-threading, use the proper tools for tightening, and don’t neglect regular maintenance and adjustments. Your pedals are the primary contact point between you and your bike, so taking the time to ensure they’re correctly installed and adjusted can enhance your riding experience, improve efficiency, and prevent injuries.
For installing and adjusting bike pedals efficiently, having the right tools paired with a compatible pedal model is crucial. Here are two combinations of tool pairings and bike pedal models that cater to both performance and ease of use, suitable for cyclists of all levels:
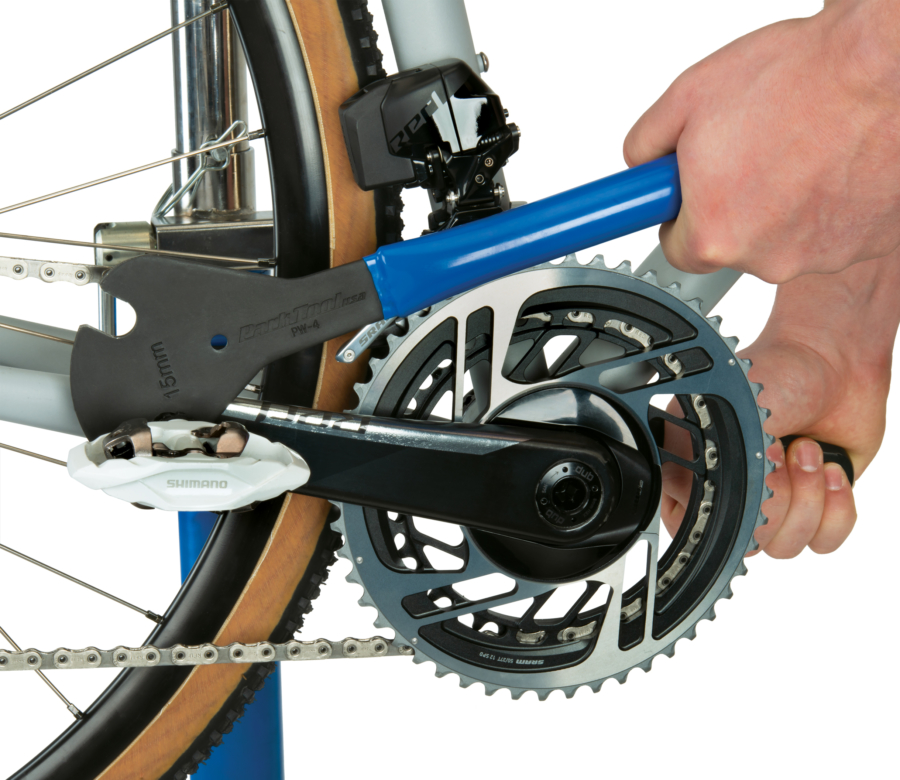
1. Park Tool PW-4 Professional Pedal Wrench & Shimano PD-M520 Clipless SPD Pedals
Tool Pairing: Park Tool PW-4 Professional Pedal Wrench
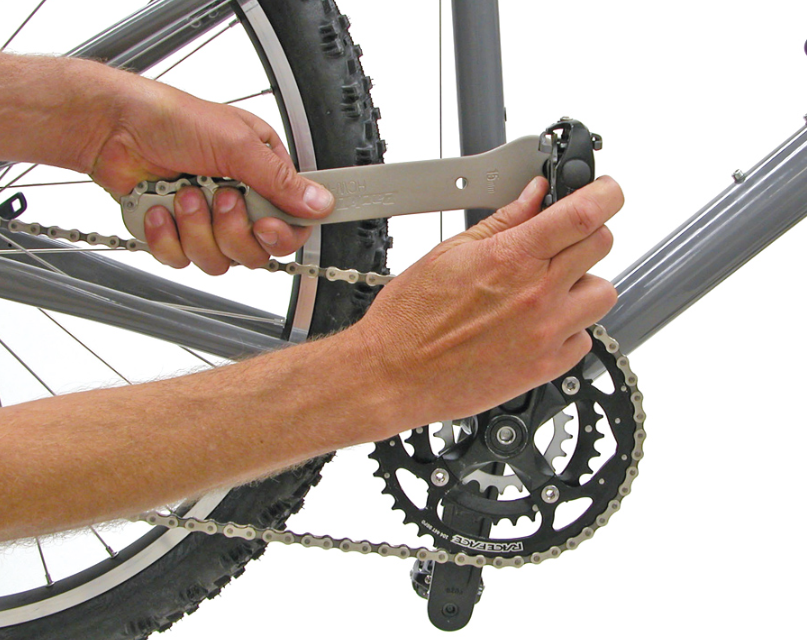
- Why It’s Great: The Park Tool PW-4 Professional Pedal Wrench is designed with a long handle for extra leverage, making it easier to tighten or loosen pedals. It features a 15mm opening at each end, angled to fit into tight spaces, and is built with a comfortable round vinyl grip. This wrench is ideal for the Shimano PD-M520 pedals, which have wrench flats for installation and removal. Here’s an installation tip from Park Tool.
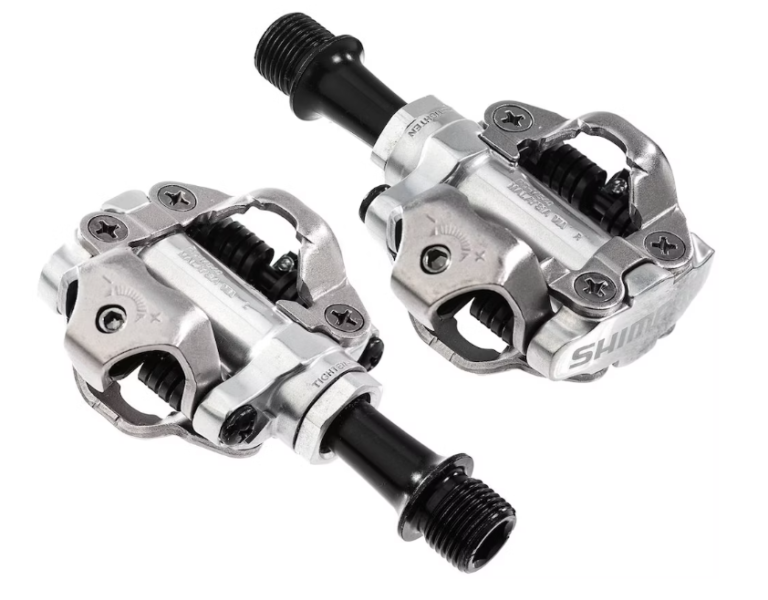
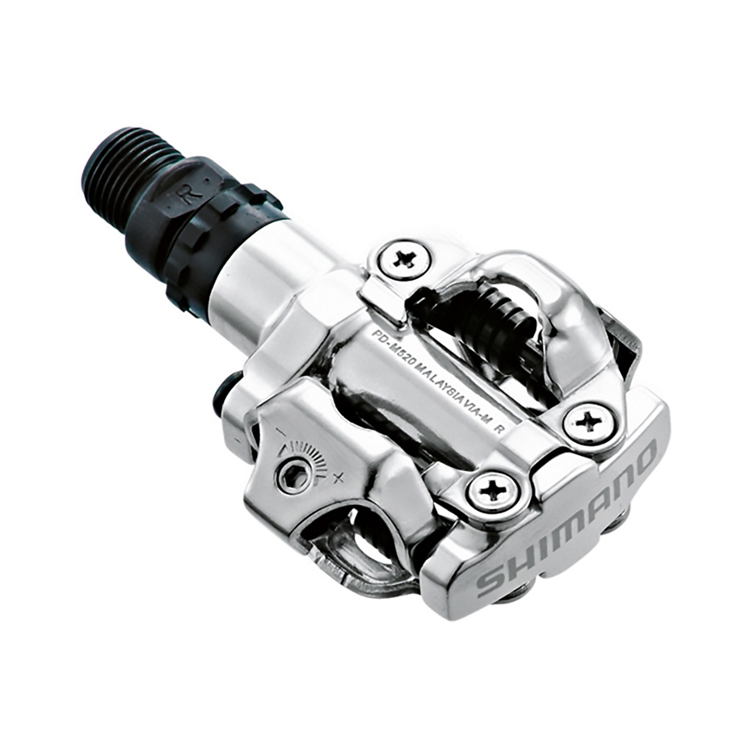
Bike Pedal Model: Shimano PD-M520 Clipless SPD Pedals
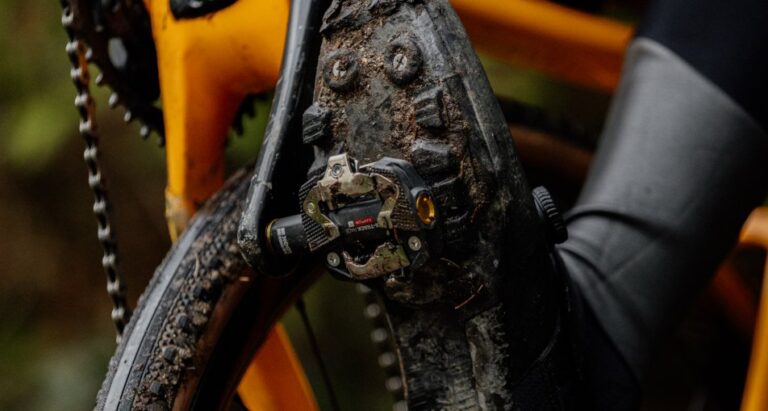
- Why It’s Great: The Shimano PD-M520 is a versatile, durable clipless SPD pedal suitable for a wide range of cycling disciplines. It features an open binding mechanism that’s designed to shed mud, making it an excellent choice for mountain biking, cyclocross, or gravel riding. Its adjustable tension settings allow for customization based on rider preference.
2. Park Tool Hex Wrench (8mm) & Crank Brothers Eggbeater 3 Pedals
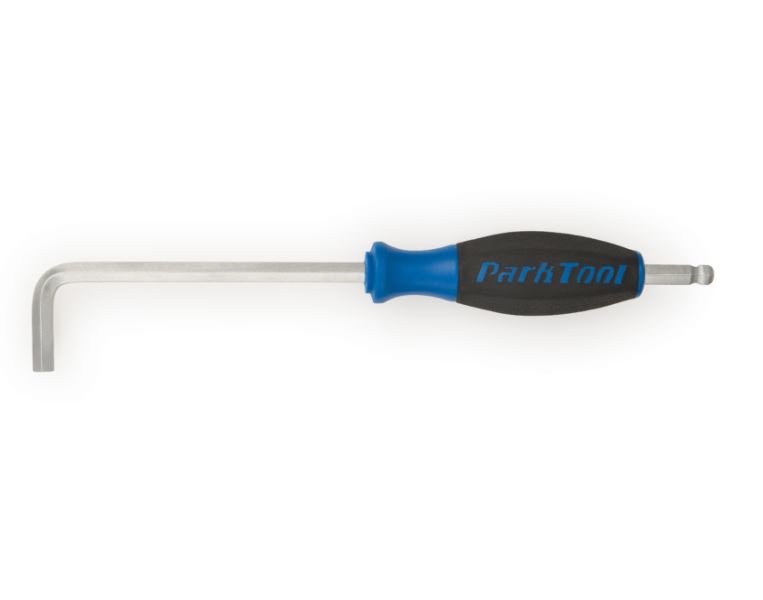
Tool Pairing: Park Tool Hex Wrench (8mm)
- Why It’s Great: Many modern bike pedals, including the Crank Brothers Eggbeater 3, are installed and removed with a hex wrench from the inside of the crank arm. An 8mm hex wrench from Park Tool is made with high-torque industrial steel for durability and features a long handle to provide the leverage needed for tight pedals.
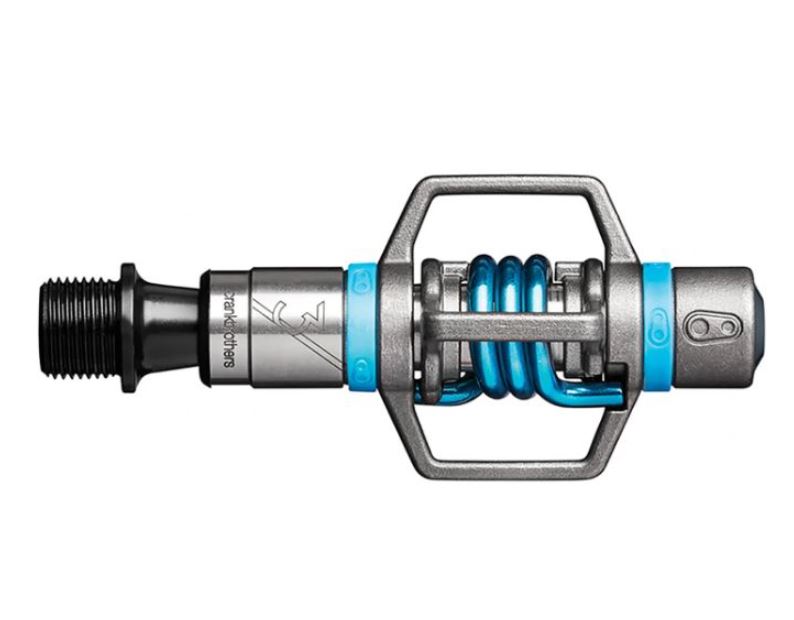
Bike Pedal Model: Crank Brothers Eggbeater 3 Pedals
- Why It’s Great: The Eggbeater 3 pedals are known for their minimalistic design and exceptional mud-clearing capabilities. They’re incredibly lightweight and offer 4-sided entry for easy clip-in, as well as adjustable release tension. These pedals are favored by racers and adventurers alike for their reliability and performance across various conditions.
These tool and pedal pairings represent a blend of functionality, ease of maintenance, and performance. Whether you’re a competitive racer or a recreational rider, having the right tools and pedals can significantly enhance your cycling experience.
Ride On
John
FAQ
How do you adjust bike pedals?
Adjustments typically involve clipless pedals, where you adjust the tension of the cleat engagement with a small screw on the pedal body. Turn clockwise to tighten (harder to clip out) and counterclockwise to loosen (easier to clip out).
Are bike pedals easy to install?
Yes, bike pedals are generally easy to install. The process requires minimal tools (a pedal wrench or hex key) and some basic knowledge of the left (reverse thread) and right (standard thread) pedal threading.
How tight should you install pedals on a bike?
Pedals should be installed firmly but not over-tightened. As a general guideline, aim for about 35-40 Newton meters (Nm) of torque. This ensures they are secure without risking damage to the crank arm threads.
How do you attach bike pedals?
- Identify the right (R) pedal for the drivetrain side and the left (L) pedal for the non-drivetrain side.
- Thread each pedal by hand to avoid cross-threading—right pedal threads clockwise left pedal threads counterclockwise.
- Once hand-tightened, use a pedal wrench or hex key to fully secure the pedal, following the recommended torque.