Installation Tips for Dropper Posts: A Master Cyclist’s Guide
Key Point Summary of Installation Tips for Dropper Posts
- Choosing the Right Dropper Post: Ensure compatibility with your bike’s seatpost diameter and frame routing (internal vs. external).
- Tool Preparation: Gather necessary tools such as Allen keys, cable cutters, and possibly a torque wrench.
- Seatpost Installation: Carefully insert the dropper post into the frame, paying attention to minimum insertion depth and torque specifications.
- Cable Routing: Follow the frame’s design for internal or external routing, ensuring smooth bends without sharp angles.
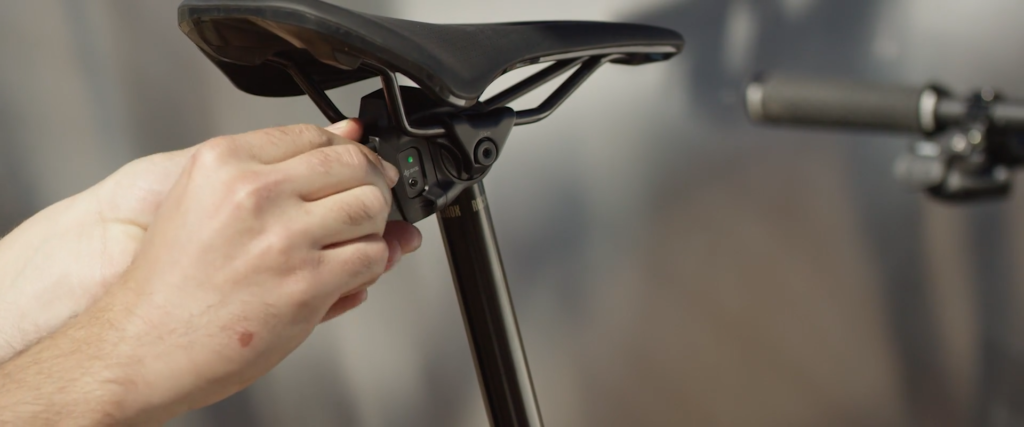
- Lever Installation: Attach the actuation lever to the handlebars in a comfortable position, considering your brake and shifter layout.
- Adjustment and Testing: Fine-tune the cable tension for responsive operation and test the post’s functionality before hitting the trails.
As a cyclist who’s raced and ridden everything from mountain bikes to gravel and cyclocross bikes, I’ve had my fair share of tinkering, upgrading, and, of course, installing dropper posts. For those of you stepping into the world of dropper posts or looking to brush up on your DIY skills, you’ve come to the right place. Let’s dive into the nitty-gritty of installing a dropper post, spiced up with a few personal anecdotes that might just save you from learning things the hard way.
The Journey Begins
Installing a dropper post on your bike can feel like upgrading to first class from economy—you suddenly wonder how you ever managed without it. My journey into the world of dropper posts started a few years back when I decided to retrofit my trusty mountain bike. I quickly learned that while the process isn’t rocket science, there are nuances that can make or break your setup.
Choosing the Right Dropper Post
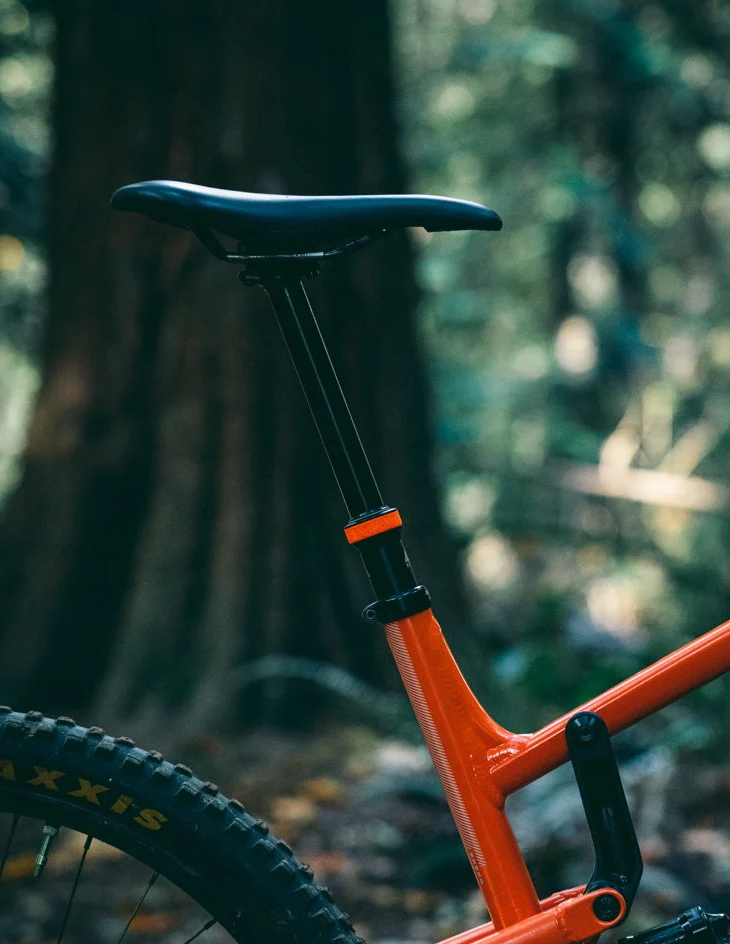
First off, not all dropper posts are created equal. Compatibility with your bike’s seatpost diameter is a must. I once made the rookie mistake of eyeballing it, resulting in a hurried return and a bruised ego. Also, consider the routing type your frame supports—internal or external. My gravel bike setup favors a sleek internal route, but my older mountain bike requires an external setup, dictating my choice of dropper post.

Tool Preparation: A Cyclist’s Best Friend
Having the right tools at hand is half the battle. For this job, you’ll need Allen keys, cable cutters, and possibly a torque wrench. I’ve learned the hard way that guessing the torque can lead to either a slipping post-mid-ride or, worse, a cracked frame. Invest in a torque wrench; your bike will thank you.
The Installation Dance
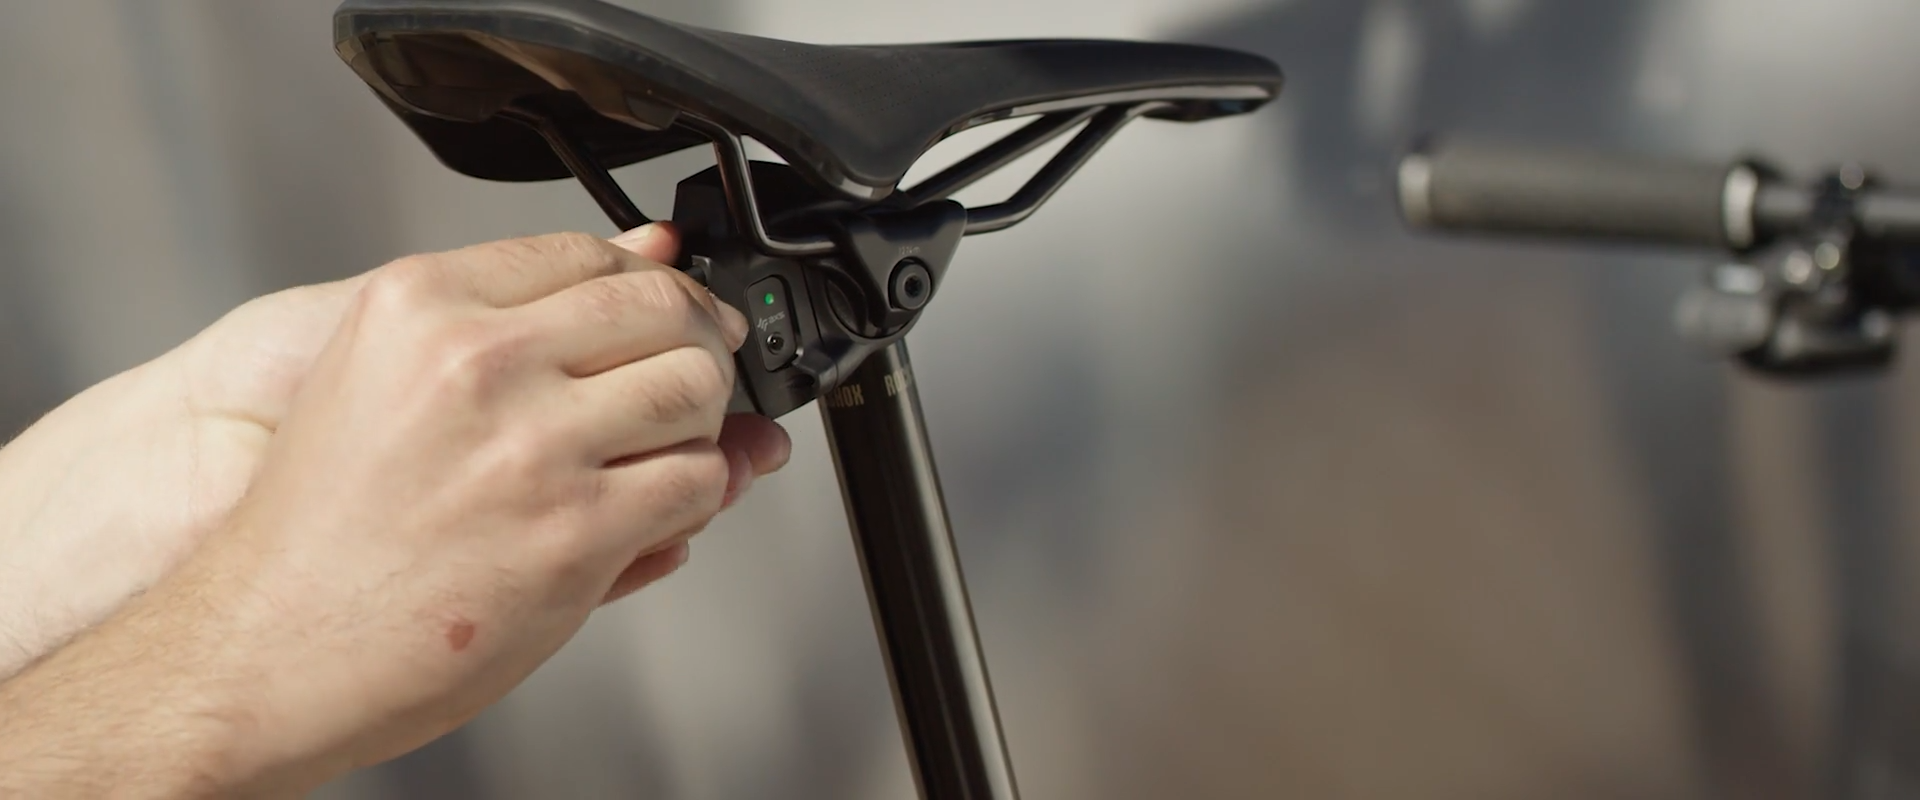
Installing the seatpost itself is straightforward, but respects the minimum insertion depth and torque specifications. There’s a sweet spot that ensures safety and performance, and neglecting this can lead to a post that either slips down or doesn’t drop smoothly.
The Cable Chronicles
Routing the cable is where things get interesting, especially with internal routing. My advice? Be patient. The first time I routed a cable internally, it turned into an afternoon affair, complete with fishing lines and more expletives than I care to admit. The trick is to ensure smooth curves without kinks. For external routing, secure the cable along the frame to avoid snagging.

Lever Installation: The Control Center
Positioning the actuation lever is more art than science. It needs to be within easy reach without cluttering your cockpit or interfering with your brake levers or shifters. I’ve positioned mine just under the bar on the left side, mimicking a shifter setup for intuitive use. This might take a few rides to perfect, so don’t be afraid to adjust as needed.
Adjustment and Testing: The Final Frontier
Once everything’s in place, it’s time to adjust the cable tension. This step is crucial for responsive operation. Too loose and the post won’t actuate smoothly; too tight and you risk cable wear or inconsistent performance. After adjusting, take your bike for a spin around the block, testing the dropper post under different conditions. It’s better to discover any issues now than on the trail.
Final Thoughts
Installing a dropper post is a rewarding DIY project that enhances your riding experience, offering improved control and comfort on the trails. While the process may seem daunting at first, remember that patience and attention to detail will see you through. And, as always, don’t be afraid to learn from mistakes. Each misstep is a lesson that brings you closer to becoming a more proficient and self-sufficient cyclist.

When considering ease of installation, the PNW Components Cascade Dropper Post often comes highly recommended in the cycling community. It’s designed with user-friendliness in mind, making it a great option for both beginner and mid-level cyclists looking to upgrade their ride without the hassle of a complicated setup process.
Why PNW Components Cascade Dropper Post Stands Out:
- Simplicity: The Cascade features a straightforward, mechanical design that is less prone to the complications that can arise with hydraulic systems. This simplicity makes it easier to install and maintain.
- Cable Routing Flexibility: It accommodates both internal and external cable routing, providing versatility for a wide range of bike frames. For those new to dropper posts, this flexibility means you’re more likely to find a setup that works without having to modify your bike significantly.
- Tool-Free Cable Attachment: A standout feature for ease of installation is its tool-free cable attachment. This design allows for quick and easy adjustments or removal, which is particularly beneficial for DIY installers or riders who frequently tweak their setups.
- Comprehensive Instructions: PNW Components is known for providing clear, detailed instructions and online support materials. This can be a godsend for first-timers or less technically inclined cyclists, as it helps demystify the installation process.
Happy trails and may your dropper post always drop smoothly!
John
FAQ
Are dropper posts hard to install?
No, dropper posts are not inherently hard to install, but the difficulty can vary based on the specific model and the bike’s design (internal vs. external routing). With the right tools and instructions, most cyclists can install one with minimal issues.
How do I make my dropper post smoother?
To make your dropper post operate smoother, ensure it’s clean and lubricated regularly, especially around the seal area. Check and adjust cable tension as needed, and ensure the internal mechanism or hydraulic fluid (for hydraulic posts) is in good condition. Avoid overtightening the seatpost clamp.
Why is my dropper post sticking on way up?
A dropper post may stick on the way up due to dirt or debris in the mechanism, insufficient lubrication, cable tension issues, or internal damage/wear. Cleaning, lubricating, and checking for proper installation and cable tension can often resolve the issue.
Why wont my dropper post go up or down?
This could be due to several reasons, including overly tight seatpost clamp, cable tension issues, a need for lubrication, internal damage, or, in the case of hydraulic posts, a lack of hydraulic pressure. Check for these issues in order, starting with the simplest fixes like adjusting cable tension and lubricating the post.
