Perfecting Your Ride: Mastering the Art of Adjusting Saddle Height and Angle for Optimal Comfort and Efficiency
Key Point Summary of Adjusting Saddle Height and Angle:
- Essentials of Saddle Adjustment: Understanding the basics of saddle height and angle adjustment.
- Impact on Cycling Performance and Comfort: How proper saddle adjustment enhances your ride.
- Step-by-Step Guide to Bike Fit: Practical tips for achieving the perfect saddle setup.
As a seasoned cyclist with a wealth of experience across mountain biking, gravel biking, and cyclocross, I’ve learned the critical role that saddle adjustment plays in the cycling experience. Whether you’re a beginner or at a mid-level, understanding the nuances of your bike’s setup, particularly saddle adjustment, can drastically improve both your performance and comfort.
Essentials of Saddle Adjustment
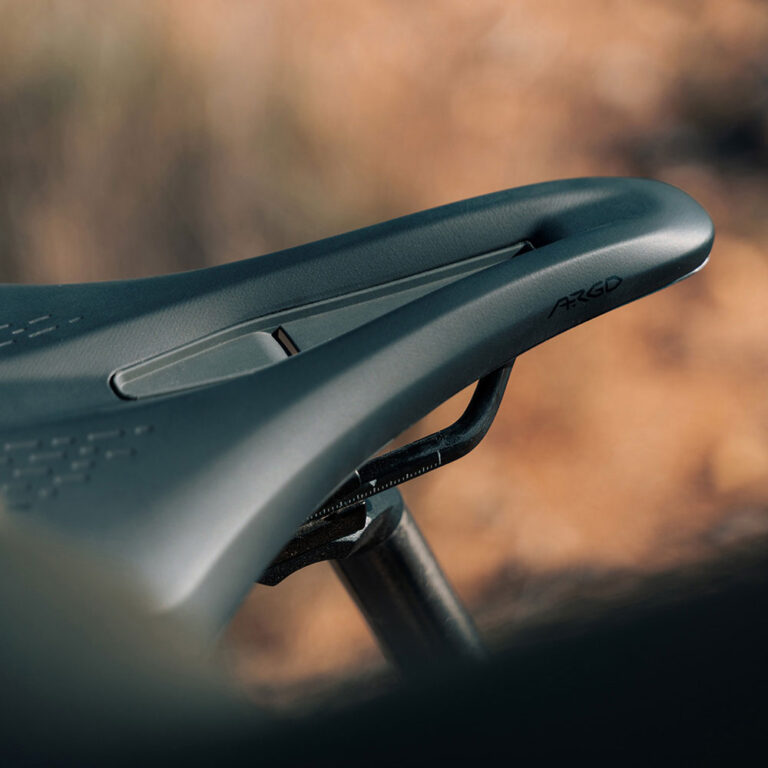
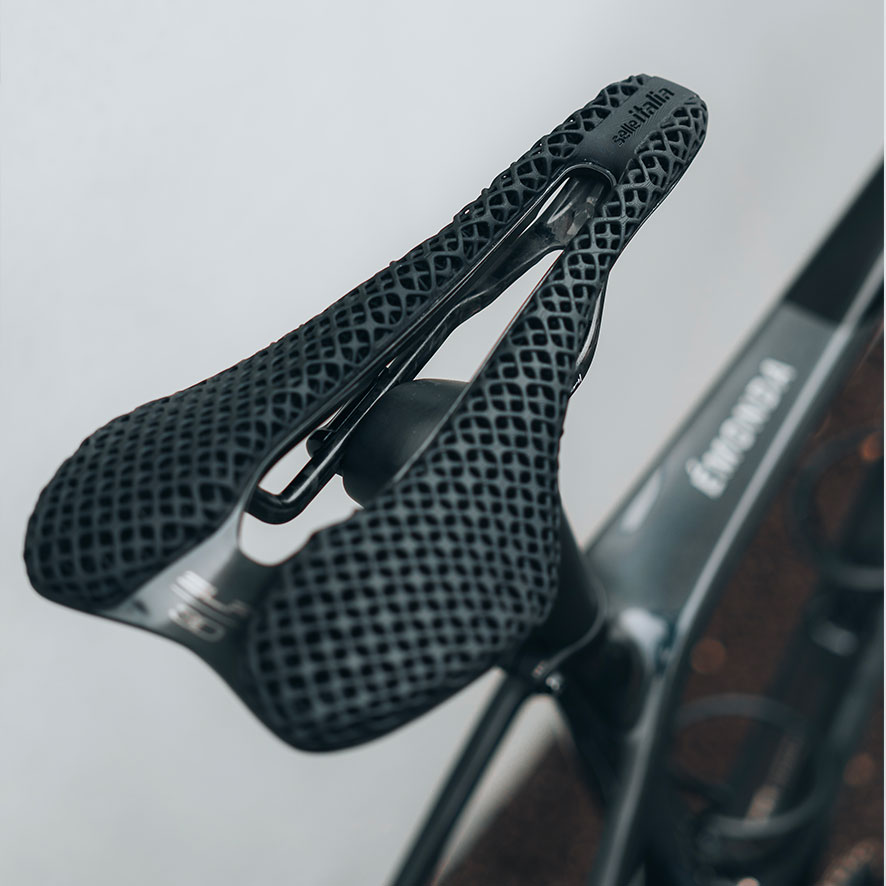
Saddle adjustment is a cornerstone of bike fit. It’s not just about setting your saddle at a specific height; it’s about finding the right balance between comfort and efficiency. The angle and position of your saddle can have a significant impact on your riding experience. In my early days of cycling, I underestimated this, leading to discomfort and inefficiency in pedaling.
Impact on Cycling Performance and Comfort
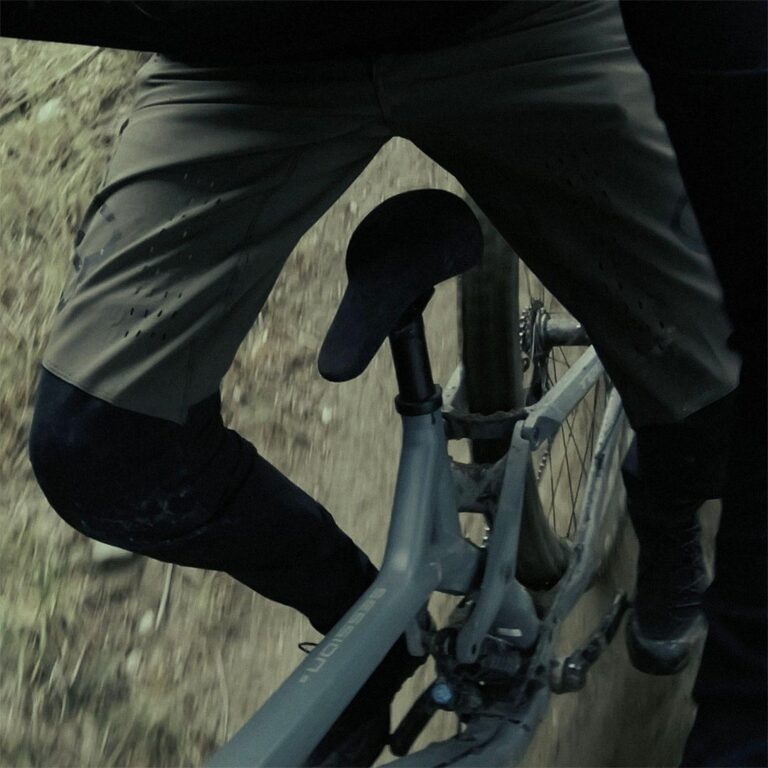
Proper saddle height and angle are vital for optimizing power output and preventing injuries. A saddle that’s too high can cause hip rocking and loss of power, while one that’s too low can lead to knee strain. Similarly, the angle of the saddle can affect your comfort and control. I remember adjusting my saddle angle slightly downward on a long ride, which alleviated pressure and improved my endurance.
Step-by-Step Guide to Bike Fit
Adjusting Saddle Height
To adjust saddle height, you’ll need a level and a measuring tape. Start by placing your heel on the pedal at its lowest point. Your leg should be fully extended without straining. This ensures a slight bend in your knee when you’re actually pedaling. I found this method to be a reliable starting point for fine-tuning.
Setting Saddle Angle
The angle of your saddle should allow you to sit comfortably without sliding forward or backward. Begin with a level saddle, then make small adjustments as needed. It’s often a matter of personal preference, so don’t hesitate to experiment.
Fine-Tuning Saddle Position
The saddle’s fore and aft position is equally crucial. A good rule of thumb is the knee over pedal spindle (KOPS) method, where your knee should be directly over the pedal spindle when the pedal is at the 3 o’clock position. However, this is just a guideline; personal comfort should be your ultimate criterion.
Long-Term Benefits of Proper Saddle Adjustment
Over the years, I’ve come to appreciate how a well-adjusted saddle contributes to long-term cycling health and performance. It’s not just about comfort during a single ride; it’s about preventing chronic injuries and ensuring consistent performance over time. I’ve seen fellow cyclists transform their riding experience simply by making minor adjustments to their saddle.
Tools and Techniques for Saddle Adjustment
While professional bike fitting services are invaluable, some tools and techniques can help you make these adjustments at home. A plumb line, a spirit level, and an Allen key set are essential tools. Remember, making adjustments is a process of small changes. Even a few millimeters can make a significant difference in comfort and efficiency.
Listening to Your Body
Through my cycling journey, I’ve learned the importance of listening to my body. If you’re experiencing discomfort, numbness, or pain, it’s a sign that your saddle setup might need tweaking. It’s crucial to pay attention to these signals and adjust accordingly. There’s no one-size-fits-all in saddle adjustment; what works for one cyclist might not work for another.
Personal Experience and Tips
I recall a long-distance ride where I experienced discomfort around the 50-mile mark. After the ride, I adjusted my saddle height slightly and changed the angle by a few degrees. This minor change had a significant impact on my subsequent rides, reducing discomfort and improving my pedaling efficiency.
Here are some saddle recommendations that are known for their ease of adjustment and comfort:
- Brooks England Cambium C17: This saddle is known for its natural flexibility and ease of adjustment. It’s a favorite among long-distance riders for its durability and comfort.
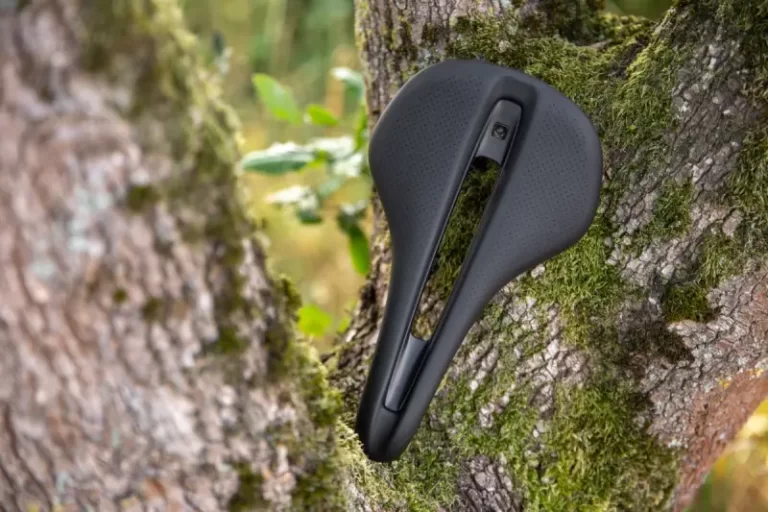
- Specialized Power Saddle: Specialized offers a range of saddles with varying widths and padding levels, all designed for easy adjustment. Their Power Saddle, in particular, is popular for its ergonomic design and ease of setup.
- Fizik Aliante R1: Fizik’s saddles are renowned for their comfort and adjustability. The Aliante R1 features a twin flex design for low weight and comfort, with easy-to-use rails for adjustment.
- WTB Volt Pro Saddle: WTB’s Volt line is another excellent choice for those seeking an easily adjustable saddle. It offers a good balance of comfort and performance, with a wide range of adjustments to suit different riding styles.
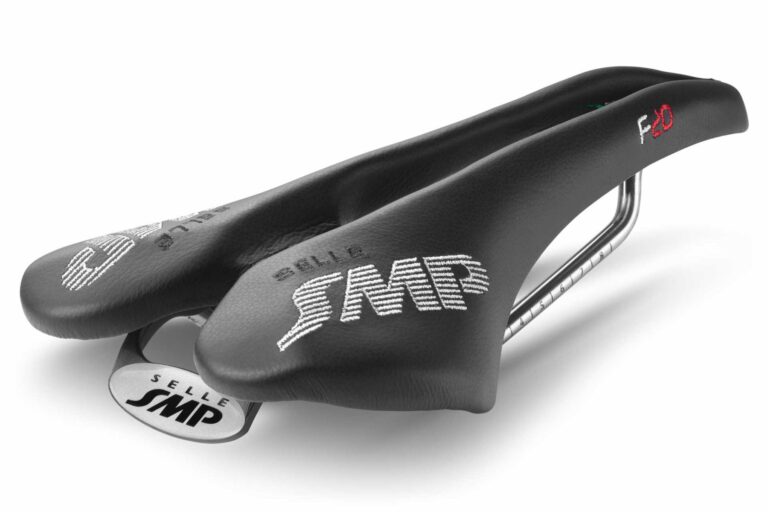
- Selle SMP Pro Saddle: Known for its distinctive design, the Selle SMP Pro offers excellent pressure relief and easy adjustability, making it a top choice for riders seeking both comfort and customization.
These saddles are celebrated for their mix of comfort, durability, and ease of adjustment, making them great choices for riders looking to enhance their cycling experience.
FAQ
What angle should your foot be for saddle height?
For optimal saddle height, your foot should be at a slight angle at the bottom of the pedal stroke, ensuring your knee has a slight bend of about 25-35 degrees. This position helps in efficient pedaling while reducing the risk of knee strain.
What level should a saddle be tilted at?
A saddle should typically be level or slightly tilted (no more than a few degrees) either up or down, depending on personal comfort and riding style. A level saddle is a good starting point, and minor adjustments can be made for optimal comfort and efficiency.
How do you adjust the angle of a seat?
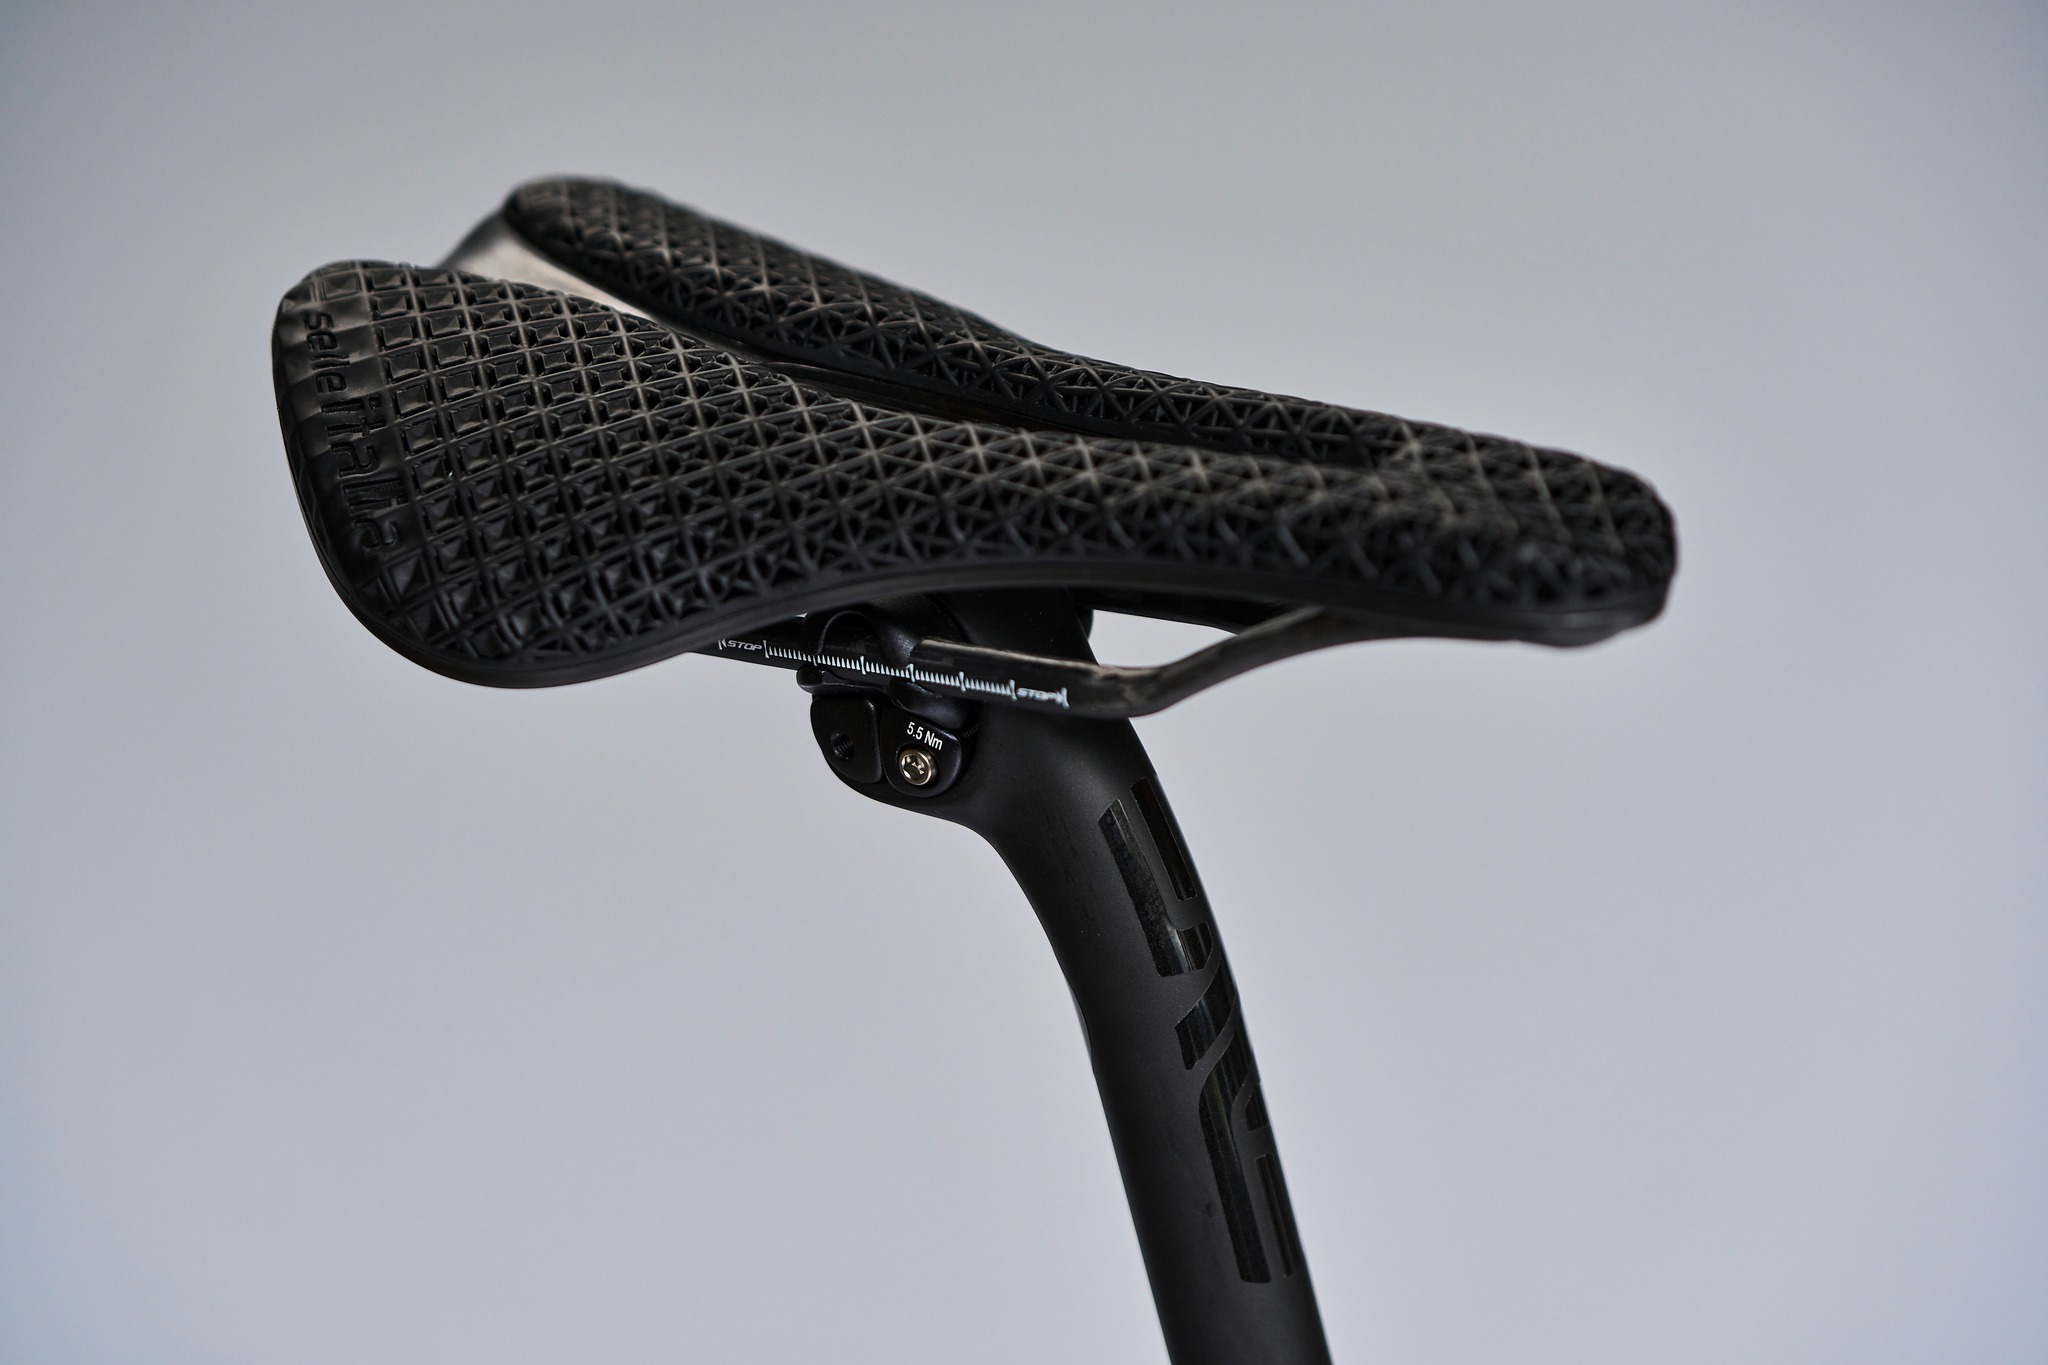
To adjust the angle of a bike seat, loosen the bolts under the saddle that clamp it to the seatpost. Once loosened, you can tilt the nose of the saddle up or down to the desired angle. After adjusting, retighten the bolts securely to ensure the saddle stays in place during your ride.
Final Thoughts
In conclusion, the importance of saddle adjustment in cycling cannot be overstated. It’s a fundamental aspect of bike fit that affects comfort, performance, and long-term health. Whether you’re just starting or have been cycling for years, taking the time to fine-tune your saddle position can lead to a more enjoyable and efficient riding experience. Cycling is a journey, and a comfortable saddle is key to enjoying the ride.
John
