Securing Your Ride: Adjusting Your Road Bike Helmet for Perfect Fit
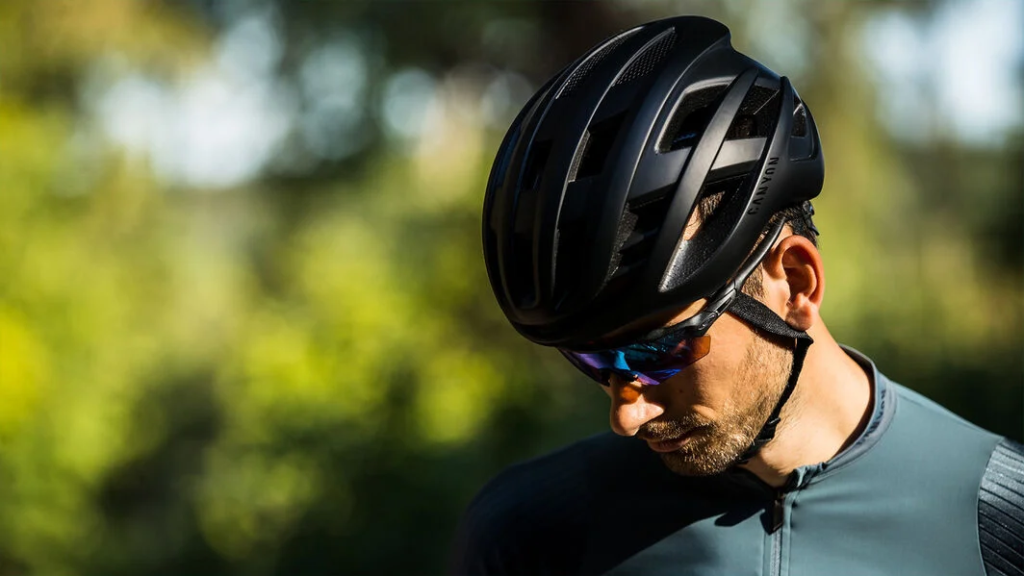
Key Point Summary of Adjusting Your Road Bike Helmet for Perfect Fit
- Understanding Helmet Structure: Familiarize yourself with the parts of your helmet to make effective adjustments.
- Step-by-Step Adjustment Guide: Detailed instructions for achieving the perfect fit.
- Regular Check and Maintenance: Tips for maintaining the fit and condition of your helmet over time.
As a master cyclist with extensive experience in racing and riding mountain bikes, gravel bikes, cyclocross bikes, and road bikes, I understand the critical importance of a properly fitted helmet. Not only is it essential for safety, but it also enhances overall cycling comfort. Here’s my take on adjusting road helmets for that ideal fit, especially for cyclists with beginner to mid-level experience.
Understanding Helmet Structure
Before you begin adjusting, it’s important to get acquainted with your helmet. Most road bike helmets consist of a few key components: the retention system (usually at the back of the helmet), the chin straps, and the padding inside. Each of these plays a crucial role in ensuring a good fit.
- The Shell: This is your helmet’s first line of defense, designed to distribute the force of an impact and protect your skull. But it’s more than just a hard barrier; its shape and design also contribute to aerodynamic efficiency.
- The Padding: Not just for comfort, the padding inside the helmet helps absorb shock and can be crucial in the event of a crash. It also ensures a snug fit, reducing the helmet’s movement during rides.
- The Retention System: Often overlooked, the retention system is the backbone of a good fit. It’s not just about keeping the helmet on your head; it’s about ensuring it’s positioned correctly and remains stable, no matter the conditions of your ride.
- Ventilation System: The strategic placement of vents doesn’t only cool your head. It’s a design element that balances the need for airflow with structural integrity.
- Straps and Buckles: The unsung heroes of helmet safety, the straps, and buckles need to be strong, durable, and adjustable to ensure the helmet stays secure.
In my years of cycling, I’ve learned to appreciate the intricate balance of these elements. A helmet that might seem simple at first glance is actually a result of careful design and engineering, aimed at keeping riders safe and comfortable.
Insight on How to Fit a Helmet
Achieving the perfect fit starts with selecting the right size. Try on different sizes and models to find one that feels snug but not overly tight. Once you’ve got the right size:
- Position the Helmet Correctly: The helmet should sit level on your head, covering most of your forehead. An easy guide is to ensure the front rim is just above your eyebrows.
- Adjust the Retention System: Tighten the dial or strap at the back of the helmet so it grips your head comfortably. It should feel secure but not constrictive.
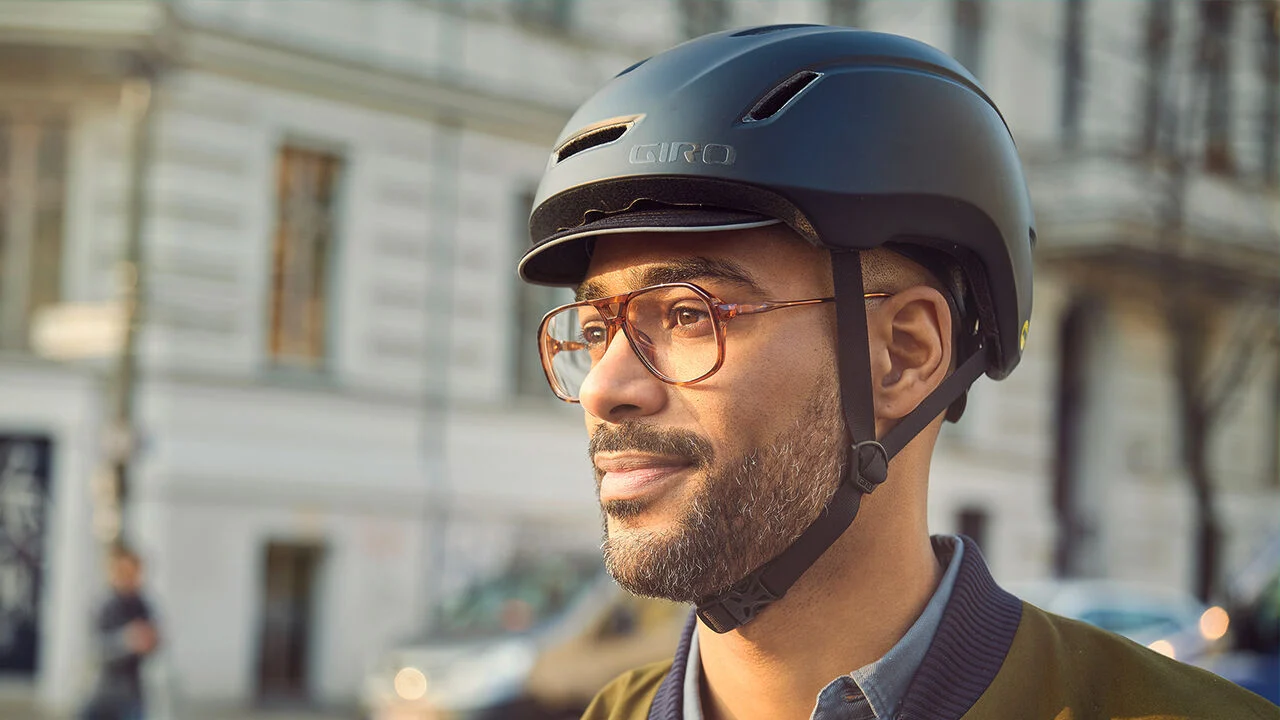
- Fine-Tune the Chin Straps: Adjust the straps so they form a ‘V’ shape around your ears, joining right under your earlobes. When you buckle the strap, it should be snug against your chin with just enough room to speak comfortably.
- Check the Helmet’s Movement: Once fitted, your helmet shouldn’t wobble or move excessively. A good test is to nod and shake your head. If the helmet shifts, tighten the retention system and straps a bit more.
- Pad Adjustment for Comfort: If your helmet comes with additional padding, use it to fine-tune the fit. The pads should press gently against your head without causing pressure points.
Additionally, when looking for information about adjusting chin straps on a bike helmet, consider these key points:
- Correct Positioning: The chin strap should be centered under your chin and fit snugly. It shouldn’t be so tight that it’s uncomfortable, but tight enough that you can only fit one or two fingers between the strap and your chin.
- ‘V’ Shape Around the Ears: The straps should form a ‘V’ shape around your ears. They shouldn’t cover or press against your ears.
- Buckle Adjustment: The buckle should be easy to fasten and unfasten, even with gloves on. Once fastened, it should stay securely in place.
- Comfort: The strap should not irritate your skin. Some helmets come with padded chin straps for added comfort.
From personal experience, I can’t emphasize enough the importance of these adjustments. During a cyclocross race, a slightly loose helmet not only caused discomfort but also obscured my vision at a critical moment. A few simple adjustments beforehand could have made a significant difference.
The Bell Falcon XR MIPS Helmet ranks as our top-rated helmet in our Best Road Bike Helmets list. It features advanced Multi-directional Impact Protection System (MIPS) technology, which adds an extra layer of safety by reducing rotational forces on the brain during angled impacts.
Additionally, this helmet is known for its exceptional comfort and fit. It comes equipped with a lightweight yet durable shell, an adjustable retention system for a custom fit, and ample ventilation to keep you cool on long rides. The interior padding is designed for maximum comfort, ensuring that the helmet sits snugly without causing pressure points. Moreover, the manufacturer of the Bell Falcon XR MIPS Helmet provides detailed fitting instructions and care tips to ensure optimal safety and longevity of the helmet.
Regular Check and Maintenance
Maintaining the fit of your helmet is as important as the initial adjustment. Check the fit regularly, especially before long rides. The padding inside the helmet can compress over time, so you might need to tighten the retention system periodically.
- Impact Inspection: After any impact, closely inspect your helmet. Even if there are no visible cracks, the internal structure may be compromised. The foam inside is designed to compress and absorb shock in a one-time event, and once it’s crushed, it can’t protect you as effectively.
- Micro-Fractures and Wear: Look for tiny fractures or wear that might not be immediately noticeable. These can significantly weaken the helmet’s integrity.
- Strap and Buckle Strength: Check the straps and buckles for any signs of damage or unusual wear. A crash can put unexpected stress on these components.
- Replacement Policy: Be aware of the helmet manufacturer’s crash replacement policy. Many offer a replacement at a reduced cost if your helmet is damaged in a crash within a certain period from purchase.
- When in Doubt, Replace: If you’re ever in doubt about the condition of your helmet after a crash, the safest route is to replace it. It’s a small price to pay for your safety.
- Post-Crash Emotional Impact: Finally, consider the psychological aspect. Riding with a helmet that has been involved in a crash can subconsciously affect your confidence. A new helmet can provide peace of mind, ensuring you’re fully focused and comfortable.
In my cycling career, I’ve replaced helmets after significant crashes, even when they seemed okay visually. It’s a practice that has given me peace of mind, knowing that my safety gear is always in optimal condition.
Also, keep an eye on the condition of the straps and the retention system. If you notice any wear and tear, it might be time to replace your helmet. Safety first!

FAQ
How many fingers should you use when adjusting your helmet?
When adjusting your helmet, you should be able to fit only one or two fingers between your chin and the chin strap.
Should a bike helmet be tight or loose?
A bike helmet should be snug but not too tight. It should be comfortable without any excessive movement.
How tight should bike helmet chin strap be?
The bike helmet chin strap should be snug enough that you can only fit one or two fingers between the strap and your chin.
Final Thoughts
Adjusting your road bike helmet properly is a simple yet vital part of your cycling routine. A well-fitted helmet can significantly enhance your cycling comfort and, more importantly, ensure your safety on the road.
Take your time, follow these steps, and enjoy a safe and comfortable ride.
Stay safe and happy cycling!
John
