Brightening Your Path: Installing Lights on Gravel Bike Helmets

Key Point Summary of Installing Lights on Gravel Bike Helmets:
- Choosing the Right Helmet Light: Understanding the importance of lumens, battery life, and mount compatibility.
- Installation Process: Step-by-step guide to securely installing lights on a gravel bike helmet.
- Safety and Best Practices: Tips for maintaining visibility and safety while gravel biking at night.
As a masters cyclist with a broad spectrum of experience racing and riding across various disciplines like mountain bikes, gravel bikes, and cyclocross, I’ve learned the ins and outs of biking equipment. One crucial aspect, especially for those of us who love to extend our rides into the twilight hours, is the proper installation and use of helmet lights. Whether you’re a beginner or have some experience under your belt, understanding how to effectively install and utilize helmet lights can significantly enhance your gravel biking adventures at night.
Choosing the Right Helmet Light
When it comes to gravel biking at night, the first step is selecting the right helmet light. The market is flooded with options, but here are some key factors to consider:
- Lumens: This measures the light’s output. For gravel biking, I recommend a light with at least 500 lumens. One of my top picks is the Light & Motion Vis 500, which offers not only the ideal lumens but also a balanced beam pattern, essential for both visibility and seeing the path ahead.
- Battery Life: It’s important to choose a light with a long battery life. The CygoLite Metro Pro 500 is an excellent choice, providing extended battery life to last through your longest rides.
- Mount Compatibility: Ensure the light can be securely attached to your helmet. The Blackburn 2’Fer 500 is a versatile option that can be easily mounted on most helmets and also doubles as a headlight.
Installation Process
Installing helmet lights might seem daunting at first, but it’s quite straightforward:
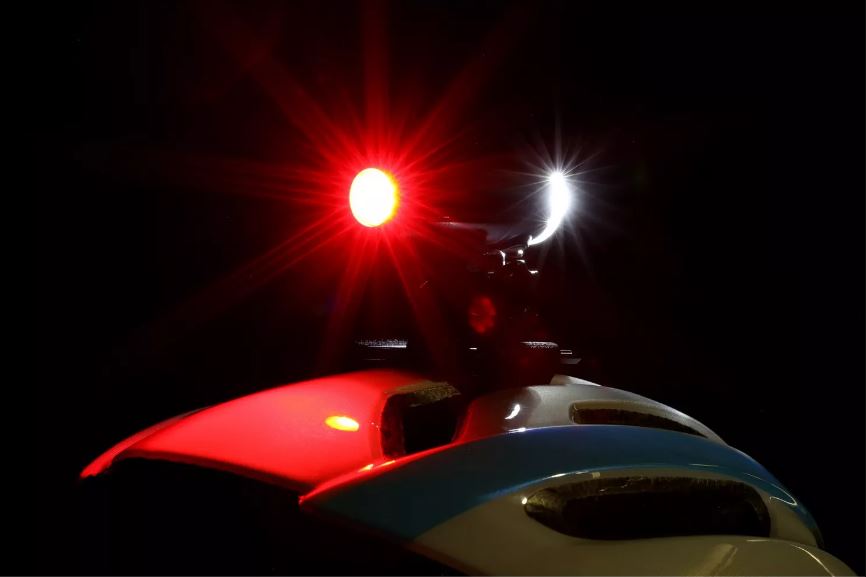
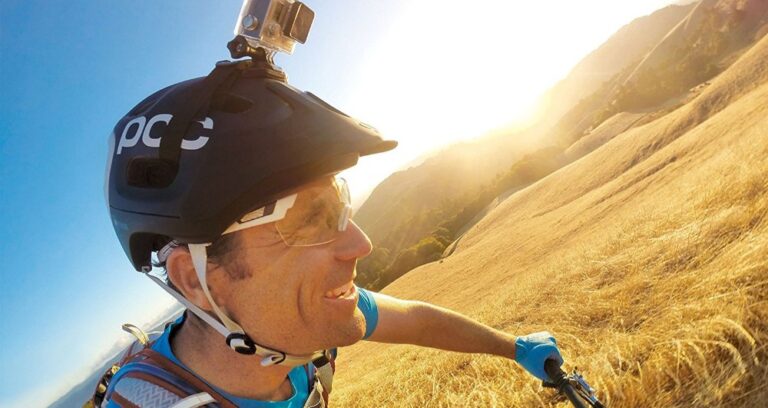
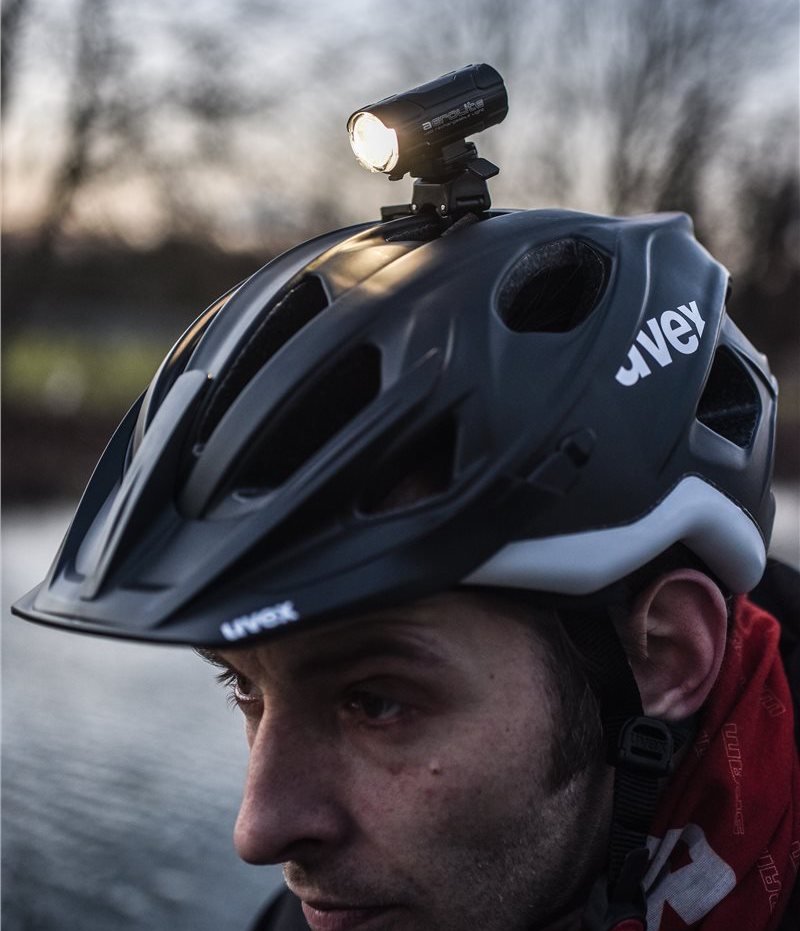
- Mount Placement: Find a spot on your helmet where the light sits level when you’re in your normal riding position. The front center is usually a good spot.
- Attaching the Mount: Most lights come with a mount and straps. Thread the straps through your helmet’s vents and secure the mount. Make sure it’s snug and doesn’t wobble.
- Attaching the Light: Slide or clip your light onto the mount. Adjust the angle so it illuminates the path ahead of you, not the ground just in front of your wheel.
Remember, the goal is to have the light stable and pointing in the right direction. I recall a night ride where my light was angled too low. I didn’t see a small pothole, and it resulted in a jarring experience, to say the least.
Safety and Best Practices
With your light installed, here are some safety tips:
- Test Your Setup: Before heading out, test your light in a dark area. Adjust the angle if necessary.
- Battery Check: Always start with a full charge. It’s good practice to recharge after every ride.
- Be Visible: Combine your helmet light with other lights and reflective gear. Being visible to others is crucial.
- Avoid Blinding Others: Point your light slightly downwards. Blinding oncoming cyclists or pedestrians is a safety hazard.
- Know Your Route: Familiarize yourself with the route. Unexpected terrain can be more challenging at night.
Gravel biking at night with the right helmet light can be exhilarating. But remember, it’s all about safety first. I’ve had some of my best rides under starlit skies, feeling the cool night air as I traverse familiar trails with a new perspective. It’s a unique experience that every cyclist should try at least once.
FAQ
Why is there a light on the helmet?
Having a light-on helmet is beneficial for several reasons, especially for activities like cycling, including gravel biking, mountain biking, or road cycling at night. Here are the key reasons why a helmet-mounted light is important:
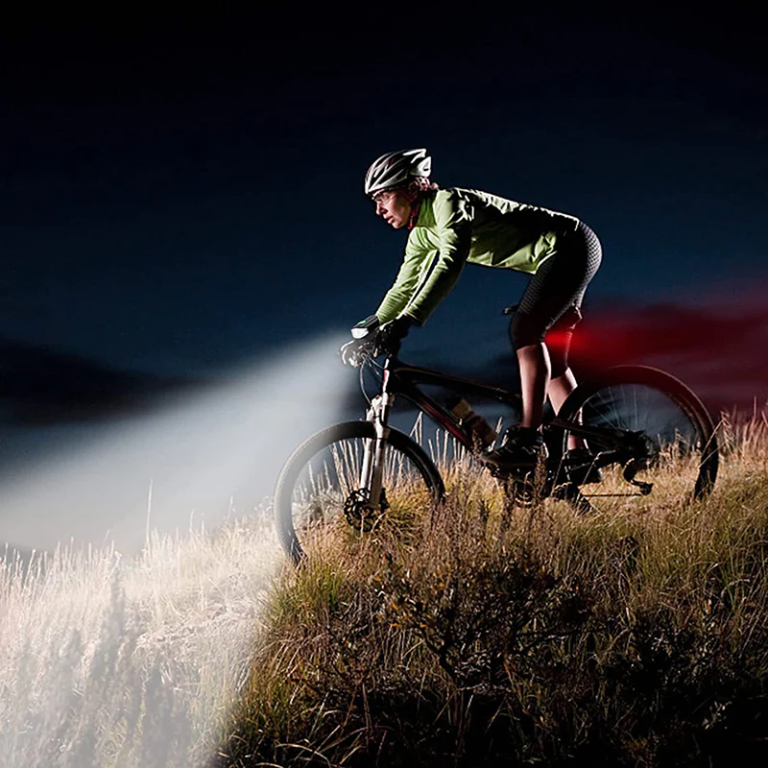
- Enhanced Visibility for Gravel Biking: A helmet light significantly increases your visibility to others while gravel biking, which is crucial for safety, especially when riding on mixed terrain that gravel biking typically involves.
- Illuminating the Path in Gravel Biking: Gravel biking often involves navigating unpredictable and uneven terrain. A helmet light shines wherever you look, allowing for better navigation and anticipation of obstacles specific to gravel biking trails.
- Backup Lighting for Gravel Biking: When gravel biking, having both a handlebar light and a helmet light ensures that if one fails, you still have a reliable source of light. This redundancy is especially important in the less predictable environments encountered in gravel biking.
- Flexibility and Convenience in Gravel Biking: Helmet lights are particularly advantageous for gravel biking due to their ease of installation and removal, providing a flexible lighting solution for the varying conditions and terrains encountered in gravel biking.
- Emergency Situations During Gravel Biking: In emergency scenarios, common in the remote and rugged terrains of gravel biking, a helmet light is invaluable for visibility, allowing you to navigate on foot or signal for help when off your gravel bike.
In essence, a light on the helmet is an essential element for gravel biking, enhancing safety and navigational capabilities in the unique conditions this style of biking presents.
Where do you put the lights on a bike helmet?
When placing lights on a bike helmet, especially for activities like gravel biking, it’s important to find the right spot for optimal effectiveness and comfort. Here’s where and how to position the lights:
- Front of the Helmet: The most common placement for a light on a bike helmet is at the front. This position allows the light to shine directly where you’re looking, which is especially useful for illuminating the path ahead in gravel biking. The light should be centered for balanced weight distribution.
- Top of the Helmet: Some riders prefer mounting the light on the top of the helmet. This position can offer a wider beam spread, illuminating a larger area during gravel biking. However, it’s important to ensure that the light is mounted securely and doesn’t shift while riding, as this can affect balance and the direction of the light beam.
- Side of the Helmet: Although less common, some helmet lights can be mounted on the side. This might be done in conjunction with a front light to increase peripheral visibility, which can be particularly useful in gravel biking for spotting wildlife or other trail users.
- Rear of the Helmet: Adding a rear-facing light or reflector at the back of the helmet is a great way to increase visibility from behind. This is especially important for gravel biking on mixed-use trails or roads where being seen by other cyclists or vehicles is crucial for safety.
What is the helmet with light signals?
A helmet with light signals, often called a smart helmet, is a cycling helmet equipped with built-in lights and sometimes turn signals and brake lights, designed to enhance safety and communication for cyclists on the road.
Just make sure your light is securely installed, and you’re well-prepared for the ride. Happy and safe gravel biking!
John
