Step-by-Step Guide to Pumping Your Tires
Key Point Summary of Step-by-Step Guide to Pumping Your Tires:
- Identify Valve Type: Know whether you have Presta or Schrader valves, as the pumping process differs slightly.
- Remove Valve Cap: Keep it in a safe place to avoid losing it.
- Check Recommended Pressure: Found on the tire sidewall, ensuring you inflate to the correct PSI.
- Attach Pump: Securely connect the pump to the valve, ensuring there’s no air leakage.
- Inflate Tire: Pump to the recommended pressure, checking periodically to avoid overinflation.
- Detach Pump and Replace Cap: Carefully remove the pump and replace the valve cap.
Maintaining the right tire pressure is crucial for a smooth, efficient, and safe cycling experience. Whether you’re diving into mountain biking, cruising on gravel, or sprinting in cyclocross races, understanding how to properly pump your tires is fundamental. Here’s a step-by-step guide tailored for cyclists, from beginners to those with a bit more experience under their belts.
Step 1: Identify Your Valve Type
Bikes typically come with one of two valve types: Presta (slender and often found on road bikes) or Schrader (wider, similar to car tire valves). Identifying your valve type is crucial as it determines how you’ll attach the pump and whether you’ll need an adapter.
Step 2: Remove the Valve Cap
Unscrew the cap from your valve. For Presta valves, you’ll also need to unscrew the small nut at the top to open the valve. Keep the cap somewhere safe during inflation—you don’t want to lose this small but important piece.
Step 3: Check the Recommended Pressure
Your tire’s sidewall will list the recommended pressure range, typically in PSI (pounds per square inch). This range is your guide to how much air your tire needs for optimal performance and safety.
Step 4: Attach the Pump
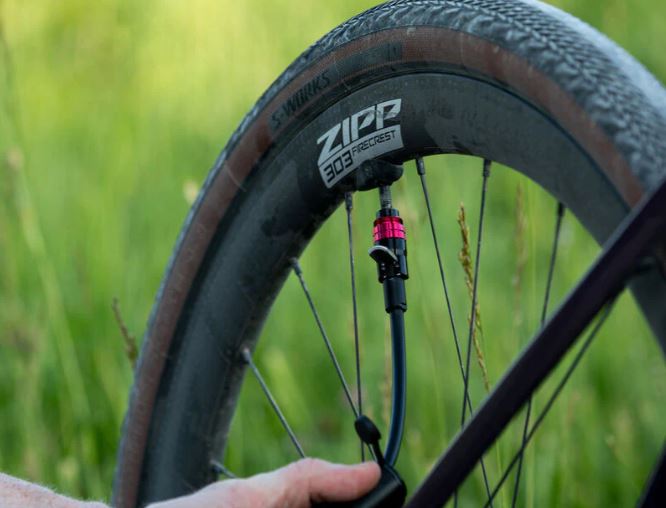
Connect your pump to the valve. If you’re using a floor pump (recommended for ease and accuracy), ensure the head is securely fastened to the valve with no air escaping. If it’s a dual-head pump, choose the side that fits your valve type. For Presta valves, ensure the lever (if your pump has one) is in the open position before attaching it, then secure it by pushing the lever down.
Step 5: Inflate Your Tire
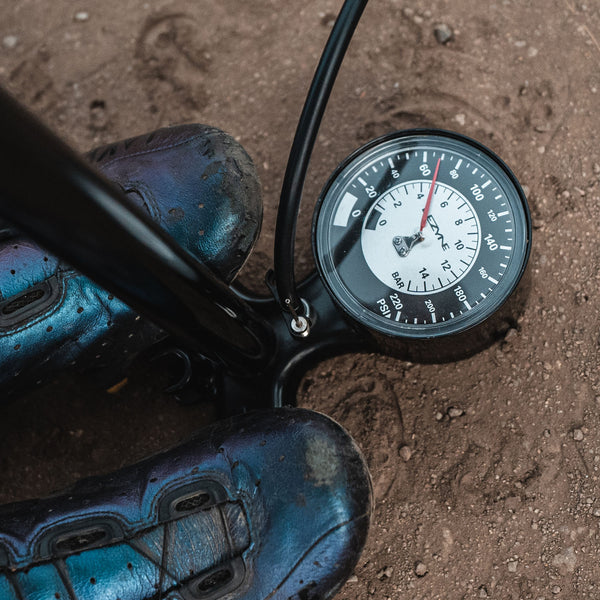
Pump air into the tire, standing over the pump and pushing down firmly. Keep an eye on the gauge if your pump has one. Inflate until you reach the desired pressure within the range recommended on your tire.
Step 6: Detach the Pump and Replace the Cap
Carefully remove the pump from the valve to avoid letting out any air. For Presta valves, tighten the small nut at the top before replacing the cap. This ensures the valve is closed and minimizes the risk of air leakage.
Step-by-Step Guide to Pumping Your Tires: Additional Tips for Successful Inflation
- Frequent Checks: Regularly check your tire pressure, especially before long rides. Tires naturally lose air over time, and riding with incorrect pressure can affect performance and increase the risk of punctures.
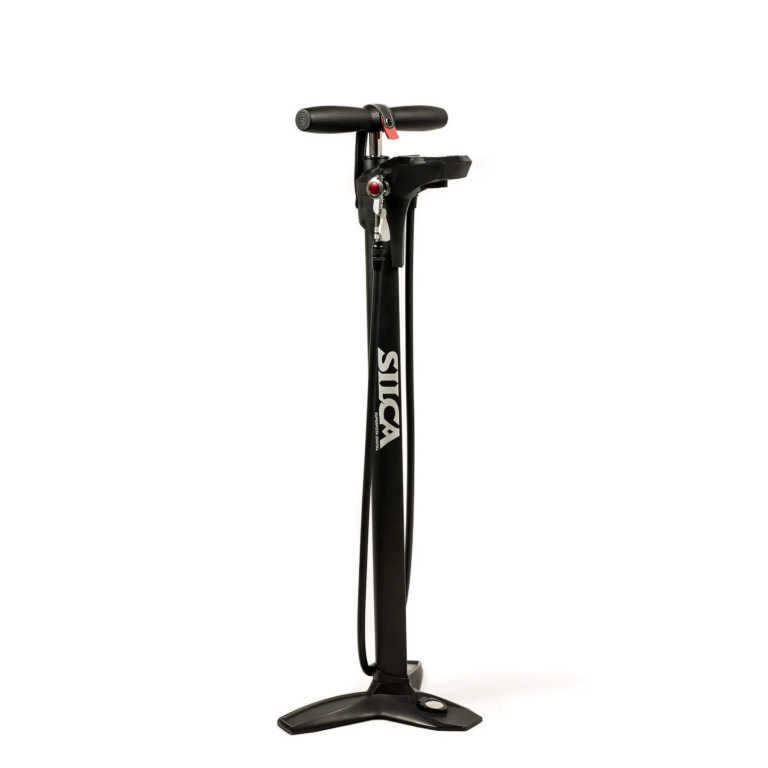
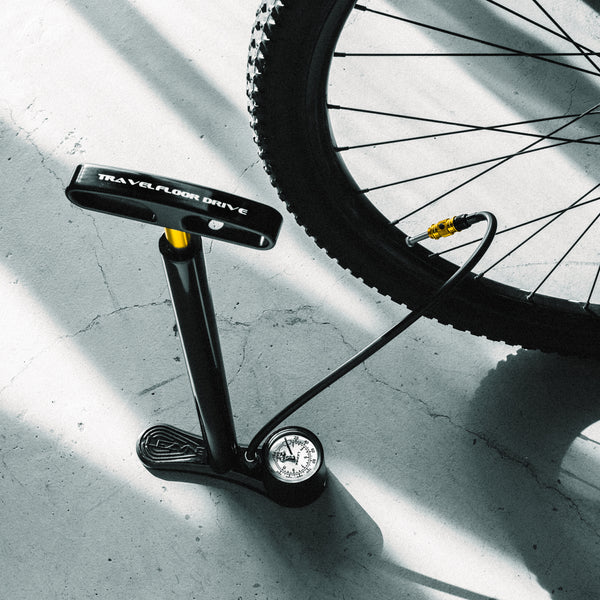
- Invest in a Quality Pump: A reliable floor pump with a pressure gauge is a worthwhile investment for any cyclist. It makes inflating tires easier and more accurate.
- Be Mindful of Weather: Air pressure can change with temperature fluctuations. Cooler temperatures can reduce tire pressure, so adjust accordingly during colder months.
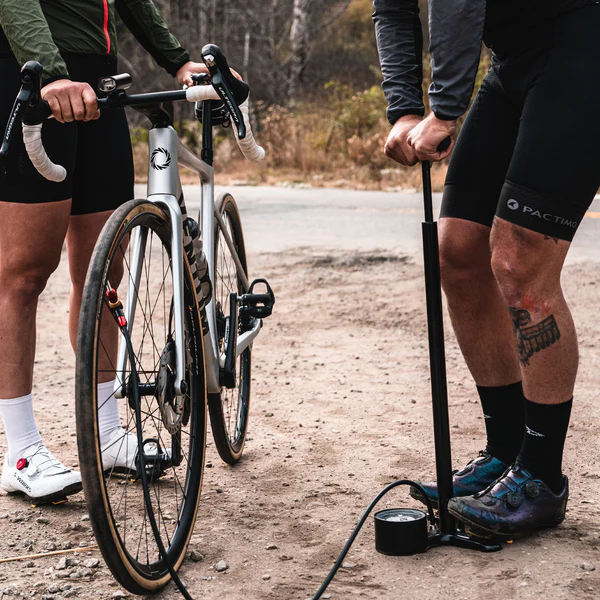
Pumping your bike tires may seem like a simple task, but doing it correctly is key to maintaining your bike’s performance and your safety on the road or trail. With practice, inflating your tires becomes a quick and effortless part of your cycling routine, ensuring you’re always ready for the ride ahead.
To recap the guide on pumping your tires and considering the needs of cyclists at all levels, the Topeak JoeBlow Sport III Floor Pump stands out as an excellent choice. It combines durability, ease of use, and precision, making it suitable for both beginners and experienced riders. Here’s why it fits the bill perfectly:
- Versatility: Comes with a TwinHead DX pump head that easily switches between Presta and Schrader valves without needing adapters, catering to all types of bikes.
- Accurate Pressure Gauge: Features a large, easy-to-read gauge that helps you inflate your tires to the precise pressure, adhering to the step of checking the recommended PSI.
- Efficient Inflation: Its steel base and barrel offer stability and power, allowing for quick and effortless inflation to the desired tire pressure.
- Additional Features: Includes ball and bladder needles, ensuring it’s not just limited to bike tires but can be used for sports balls and other inflatable items.
This pump exemplifies the advancements in bike pump technology, offering cyclists a reliable tool for maintaining optimal tire pressure and enhancing their riding experience.

FAQ
How do you pump a tire?
To pump a tire, remove the valve cap, attach the pump to the valve (ensure it’s compatible with Presta or Schrader), and pump air until you reach the desired pressure. Detach the pump and replace the valve cap.
How do I know what to pump my tires to?
You’ll know what to pump your tires to by checking the recommended PSI range printed on the sidewall of your tire. Inflate within this range based on your riding conditions and weight.
How do you pump tyres at a gas station?
To pump tires at a gas station, use the air machine, ensuring the adapter fits your bike’s valve type (you may need an adapter for Presta valves). Attach it to the valve and fill to the recommended PSI, checking the pressure as you go.
How high should I pump my tires?
How high to pump your tires depends on the tire’s recommended PSI range, your weight, and riding conditions. Generally, road bike tires are inflated between 80-130 PSI, mountain bikes 25-35 PSI, and hybrids around 40-70 PSI. Adjust within these ranges based on specific needs and preferences.
Happy cycling
John
