Adding Hydration Bladders to Regular Backpacks: A Cyclist’s Guide
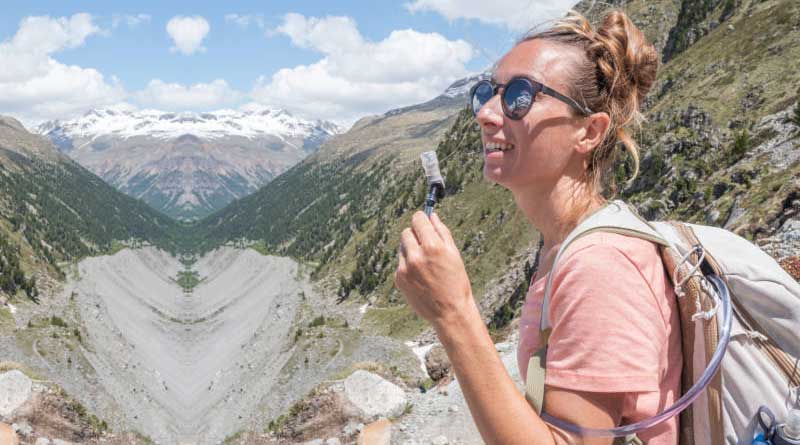
Key Point Summary of Adding Hydration Bladders to Regular Backpacks:
Converting a regular backpack into a hydration pack is a practical and cost-effective solution for cyclists. This article explores the process of adding hydration bladders to regular backpacks, focusing on materials needed, steps for installation, and tips for ensuring a comfortable and functional fit. Emphasizing the versatility and convenience of DIY hydration packs, the guide is tailored for cyclists ranging from beginners to mid-level, offering insights into the benefits of custom hydration solutions for various cycling disciplines.
Hello fellow cyclists! As someone who’s spent a significant amount of time pedaling on mountain trails, gravel paths, and cyclocross circuits, I’ve come to appreciate the importance of staying hydrated during rides. While there are many hydration options available, today I want to share with you the nifty trick of transforming a regular backpack into a DIY hydration pack. This is something I’ve done numerous times and have found incredibly useful.
Choosing the Right Backpack
The first step in this DIY adventure is selecting the right backpack. Not every backpack will work for this purpose. Ideally, you want something lightweight with a slim profile that won’t sway too much as you ride. I’ve used everything from a small daypack to a larger hiking backpack, depending on the ride’s length and my hydration needs.
Materials Needed
Here’s what you’ll need:
- A hydration bladder: I recommend a 1.5 to 3-liter bladder, depending on your hydration needs and backpack size.
- A tube and bite valve: Most bladders come with these, but they can also be purchased separately.
- Optional: Insulation for the tube, clips or Velcro strips to secure the tube, and a tube brush for cleaning.
Installation Steps
- Insert the Bladder: Place the bladder into the main compartment of your backpack. I prefer to put it against the back panel for stability.
- Thread the Hose: Most backpacks have a hole for headphones that can double as an exit point for the hose. If not, you might have to get creative. I once used a small carabiner to clip the hose onto the shoulder strap.
- Secure the Hose: Use clips or Velcro strips to secure the hose along the shoulder strap for easy access.
Comfort and Functionality
Ensuring your DIY pack is comfortable and functional is key. Adjust the straps for a snug fit to prevent bouncing while you ride. I also recommend adding a piece of foam or a folded towel between the bladder and your back for added comfort, especially if your backpack isn’t designed for a bladder.
Benefits of a DIY Hydration Pack
Creating your hydration pack is not only cost-effective but also allows for customization. You can choose the bladder size, hose length, and pack size that best suits your needs. Plus, you have the added benefit of using a backpack you already own and love.
Here are several backpack models known for their compatibility with hydration bladders or reservoirs:
- Osprey Packs Talon 22: A versatile pack with a designated hydration compartment.
- Deuter Speed Lite 20: Lightweight and includes a compatible hydration system slot.
- The North Face Recon: Offers a dedicated hydration port and is versatile for various activities.
- Gregory Mountain Products Zulu 30: Features a hydration sleeve and port for easy bladder integration.
- Patagonia Nine Trails Backpack 28L: Designed with a hydration reservoir sleeve.
- Hydro Flask Journey Series 20L: Built with a hydration reservoir pocket and routing for the hose.
- Thule Stir 35L: Comes with a hydration reservoir sleeve and an exit port for the hose.
- Arc’teryx Brize 25 Backpack: Suitable for a hydration bladder with a clip to secure the hose.
- Salomon Agile 12 Set: Designed for running and hiking, it fits hydration bladders efficiently.
These backpacks are designed to accommodate hydration systems effectively, making them excellent choices for outdoor activities where carrying water is essential.
Maintenance and Care
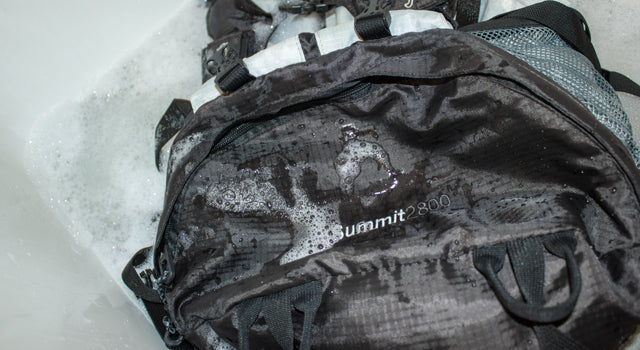
Maintaining your DIY hydration pack is crucial. Clean the bladder and hose regularly to prevent mold and bacteria growth. I usually rinse mine with baking soda and lemon juice for a natural clean.
Final Thoughts
Adding a hydration bladder to a regular backpack is a simple, cost-effective way to stay hydrated on your rides. It offers the flexibility to tailor the pack to your specific needs and ensures you always have water at hand. So, give it a try and enjoy the convenience of your custom hydration solution on your next ride!
John
FAQ
Can you put a hydration bladder in a normal backpack?
Yes, you can put a hydration bladder in a normal backpack. You’ll need to ensure the bladder fits comfortably inside the backpack and secure the drinking hose for easy access. Some backpacks have specific compartments or openings for hydration hoses, but you can also adapt a regular backpack to accommodate a bladder. Here’s a YouTube video from Embark Exploration Co for a step-by-step guide on how to add a hydration bladder to a normal backpack.
How do you put a water bladder in a regular backpack?
To put a water bladder in a regular backpack, follow these steps:
- Choose the Right Bladder: Ensure the bladder size fits comfortably inside your backpack.
- Place the Bladder: Insert the bladder into the backpack’s main compartment, ideally against the back panel for stability.
- Route the Hose: Thread the drinking hose through a hose port if available, or through a gap in the zipper. Secure the hose along the shoulder strap for easy access.
- Secure the Bladder: If your backpack has a laptop sleeve or similar compartment, use it to hold the bladder upright and in place.
Is it better to backpack with a bladder or bottle?
Whether it’s better to backpack with a bladder or bottle depends on personal preference and specific needs. A bladder offers convenience with hands-free hydration and higher capacity, ideal for longer hikes. A bottle is easier to refill, clean, and monitor water intake, suited for shorter trips or those with frequent water sources.

