Adding Visor to Road Bike Helmet: A Guide for Enhanced Riding Comfort and Protection
Key Point Summary of Adding Visor to Road Bike Helmet:
- Benefits of Adding Visors: Explore how visors can enhance your road cycling experience by offering sun protection and reducing glare.
- Choosing the Right Visor: Guidance on selecting the appropriate visor for your road bike helmet, focusing on compatibility and style.
- Installation Process: A step-by-step guide to securely adding a visor to your road bike helmet.
With my extensive background in various cycling disciplines including mountain biking, gravel biking, and cyclocross, I’ve learned to appreciate the small adjustments that can greatly improve cycling experiences. This includes adding a visor to a road bike helmet, a modification that’s particularly beneficial for cyclists from beginners to intermediates. In this article, I’ll guide you through the reasons and methods for attaching a visor to your road bike helmet, drawing on insights from my own trail experiences.
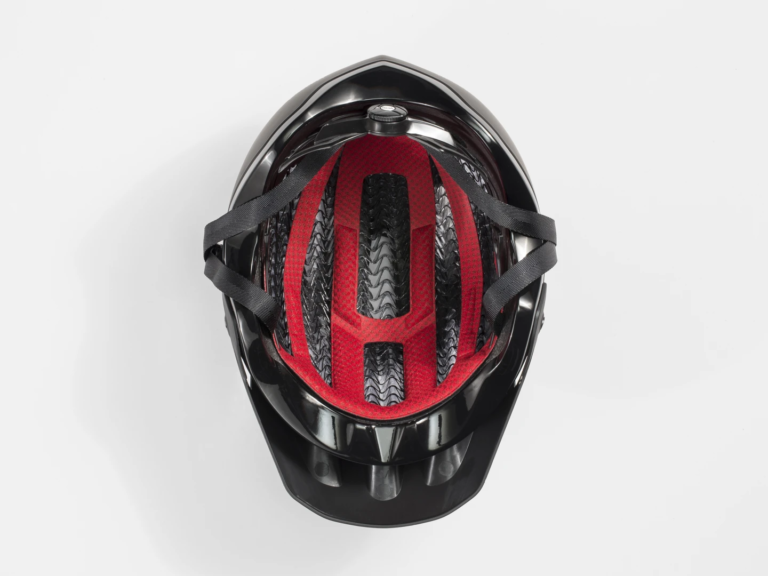
Why Add a Visor to Your Road Bike Helmet?
Sun Protection and Glare Reduction
Visors on road bike helmets serve more than an aesthetic purpose; they are crucial in protecting your eyes from the sun and minimizing glare. This is particularly vital when cycling in areas with little shade.
I recall a summer ride where the sun’s glare was intense. My helmet at the time didn’t have a visor, leading to constant squinting, which was both a distraction and a cause of fatigue. After attaching a visor to my helmet, the improvement in comfort was immediately noticeable.
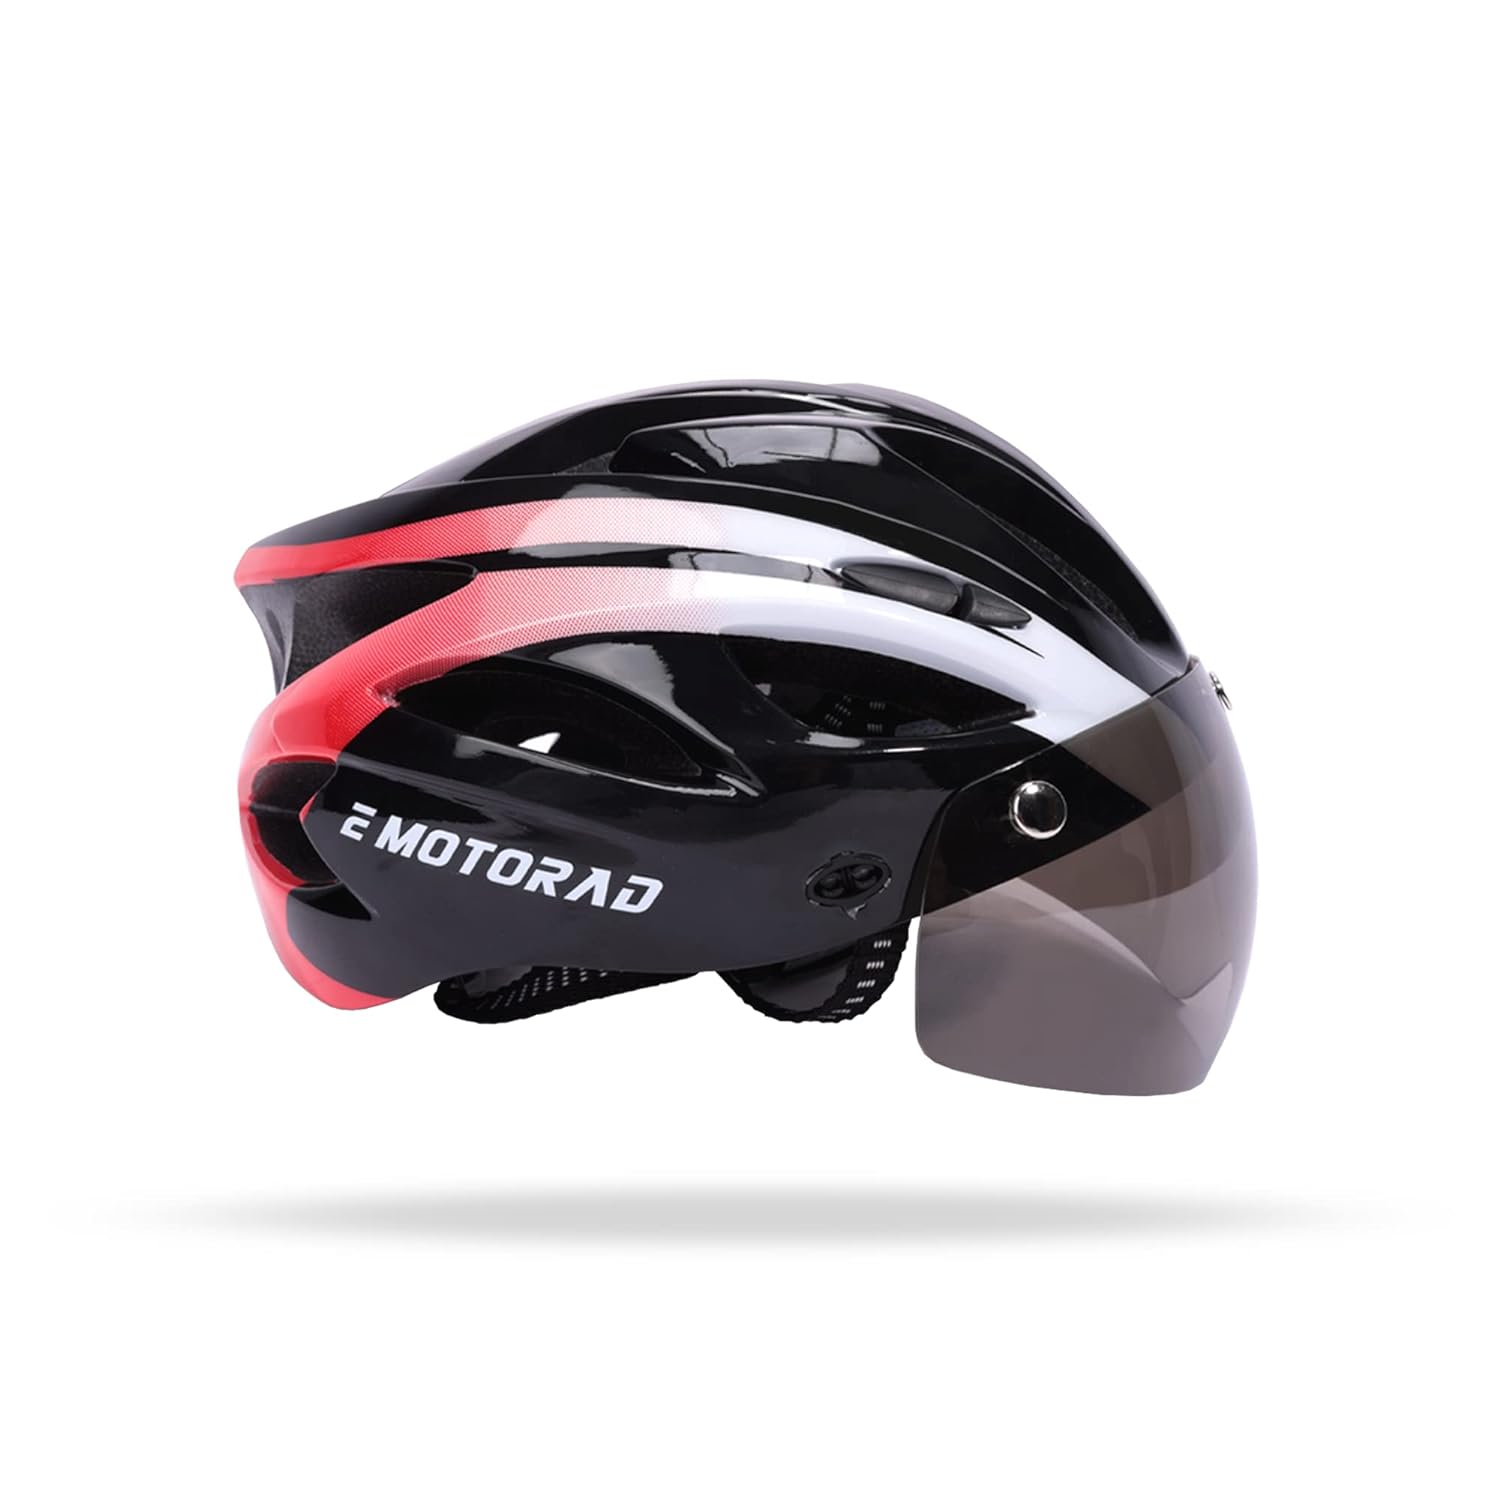
Choosing the Right Visor
When selecting a visor for your road bike helmet, it’s important to consider both compatibility and style. Ensure the visor fits your helmet model and doesn’t obstruct your vision. While there are universal visors available, those designed specifically for your helmet brand and model often provide the best fit and appearance.
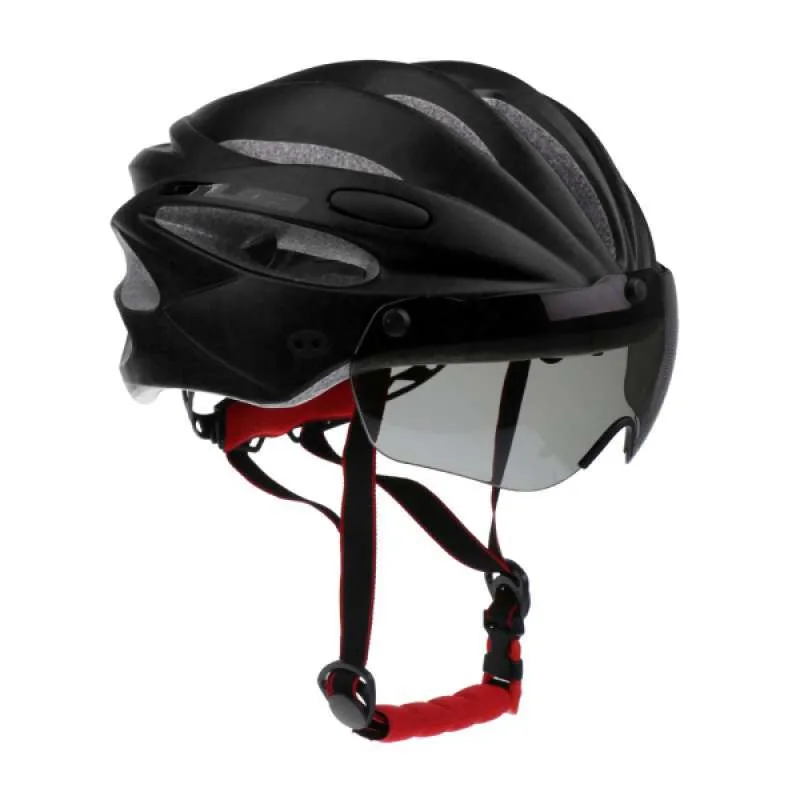
Installing the Visor
- Check Compatibility: Verify that the visor is suitable for your helmet. Some helmets have integrated attachment points, while others might need a universal fitting.
- Gather Tools: Depending on the visor and helmet, you may need basic tools, such as a screwdriver.
- Attach Securely: Follow the instructions provided by the manufacturer to attach the visor. It should be secure and stable to avoid distractions while cycling.
- Adjust for Visibility: Once the visor is attached, adjust its angle for the best visibility. It should protect your eyes from the sun without hindering your view.
Customization and Personalization
Adding a visor also allows for personal customization. You can choose from a variety of colors and designs to match your style and make your helmet unique.
FAQ
Does any visor fit any helmet?
No, not all visors fit every helmet. Visors are typically specific to helmet models, particularly for road bike helmets. It’s crucial to choose a visor that is compatible with your specific helmet model.
How do I choose a helmet visor?
For road bike helmets, it’s essential to match the visor to your helmet’s specific model. Helmets such as the Giro Syntax MIPS, Bell Z20 MIPS, and Specialized Echelon II are examples of models compatible with visor attachments. Always verify compatibility with the helmet manufacturer.
Is a helmet visor necessary?
While not essential, a helmet visor is beneficial for sun protection and reducing glare during road cycling, especially in bright conditions.
Final Thoughts
Adding a visor to your road bike helmet can greatly enhance your cycling experience by providing sun protection and reducing glare. It’s a straightforward yet impactful customization that I recommend for any cyclist looking to improve their gear. With the correct selection and installation, a visor can significantly change the dynamics of your rides.
Ultimately, though a helmet visor isn’t crucial, it is a valuable addition for increased comfort and visibility during your cycling adventures.
John