Bicycle Light Buyers Guide
Cycling, whether for sport, leisure, or commute, requires more than just pedal power and enthusiasm. Among the essentials for a safe ride, bicycle lights shine brightest. With the lots of options available, this Bicycle Light Buyers Guide breaks down how to select the best lights for your cycling endeavors.
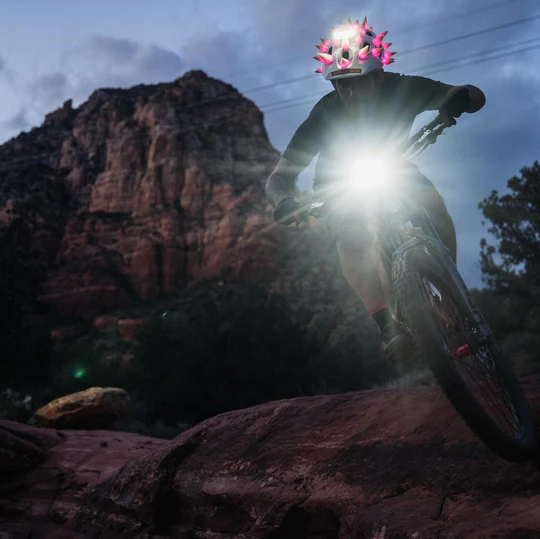
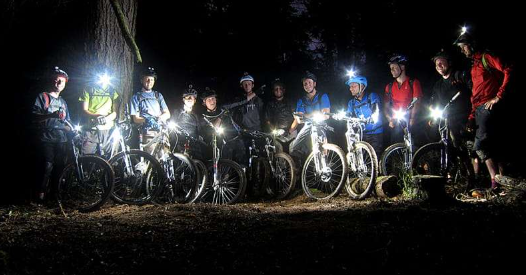
The bottom line here guys is to take lights and your safety seriously! I have different light setups based on the type of riding I’m doing. On the road, I always run a headlight and taillight for visibility. At night, I run a light that I attach to my handlebar with a taillight on the road, a bar-mounted headlight, and a helmet light with a taillight for mountain.
1. Introduction
Bicycle lights serve two paramount purposes. First, they ensure you’re visible to others. Second, they light up the path ahead of you. With the increasing popularity of cycling both during the day and at night, understanding your bicycle light is more than just about lumens; it’s about ensuring a safe ride.
2. The Fundamentals of Bicycle Lighting
- Visibility Factors: There’s a marked difference between lighting that ensures others see you and lights that illuminate your path. Depending on your cycling activity, the emphasis may lean more towards one than the other.
- Lumens, Lux, & Candela Demystified: Lumens measure a light’s total output. Lux gauges the amount of light on a specific surface area, offering insight into beam concentration. Candela evaluates light brightness in a chosen direction, crucial for understanding how far a light can project.
- Beam Pattern Analysis: While floodlights give you a broad, even illumination—ideal for peripheral vision—spotlights focus intensely on a narrow area, illuminating specific parts of your path.
3. Types of Cycling and Light Needs
a. Road Cycling: When sharing space with vehicles, both forward and rear visibility become pivotal. Urban settings, with other sources of light, may necessitate only 100-300 lumens. However, the dimly lit rural areas might demand between 400-600 lumens for safe cycling.
b. Mountain Biking: Navigating uneven terrains laden with obstacles requires robust lighting. Depending on the trail’s complexity, lights should range between 500-1200 lumens, offering wide and far-reaching beams.
c. Gravel Riding: Traversing variable terrains means your lighting needs to be adaptable. A range between 400-700 lumens, with adjustable settings, is typically ideal for these paths.
d. Commuting: Daily rides to work or town necessitate durability and longevity in lighting. A lumens range of 200-500, with extended battery life and easy-to-handle mounts, should be sought after.
4. Safety Considerations
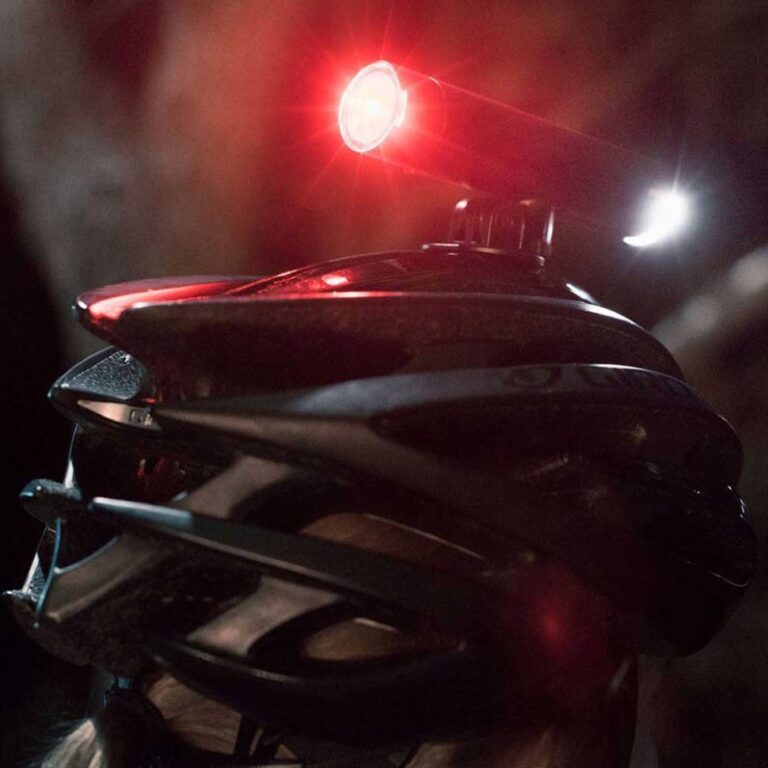
Regardless of the time, safety remains paramount. Daytime running lights can dramatically reduce the chances of daytime collisions. The discernibility of flashing lights during the day can outweigh steady ones, making them a must-have. Side visibility is another aspect that can’t be ignored. For rear visibility, lumens between 20-100 are typically adequate, influenced by the ambient lighting.
5. Daylights: Beyond the Night
The modern era of bicycle lights champions the cause of daytime-specific modes. Such lights come with heightened lumen outputs and flash patterns, optimized for daylight conditions. These ensure that a cyclist stands out even in bright conditions.
6. Technical Aspects: Power Output Unveiled
The brightness of a bicycle light isn’t just about the lumens. Factors like the light’s burn time become crucial for endurance rides. Delving into batteries, the choice between integrated and external batteries or between rechargeable and disposable ones can influence your cycling experience. Additionally, a light’s beam distance and spread significantly affect brightness perception.
7. Features Worth a Glance
- Waterproofing: For those who won’t be deterred by a drizzle or downpour, checking for IP ratings becomes essential. IPX4 or higher-rated lights will endure most wet conditions.
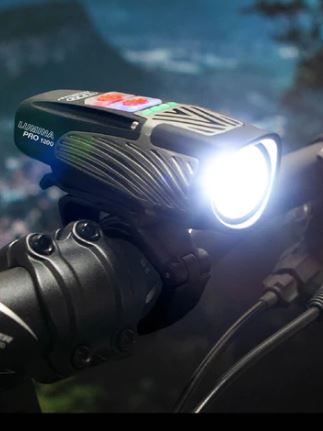
- Mounting Varieties: While handlebar mounts are ubiquitous, helmet and body mounts offer added flexibility, especially for off-road adventures.
- Tech-Savvy Features: Modern lights come with ambient light detection, adjusting brightness accordingly. Some even offer smartphone integration, enhancing safety features like crash alerts.
8. Caring for Your Bicycle Lights
Regular and careful maintenance prolongs light life. Overcharging can harm battery life, and lights should be cleaned with mild detergents. A dry, cool storage space ensures they remain in optimal condition for the next ride.
9. Conclusion
In the realm of cycling, where safety and visibility are intertwined, investing in the right lights becomes imperative. By tailoring your choice to your cycling needs and always prioritizing safety, you ensure that every ride is not just exhilarating but safe.
Click here to see our Best Bicycle Lights Rated and Ranked
I hope you enjoyed this Bicycle Light Buyers Guide! John
10. Appendix/Additional Resources
Below is a listing of the Top Bicycle Light Manufacturers:
FAQ’s
What to look for when buying bike lights?
When buying bike lights, several key factors should be considered to ensure they suit your cycling needs and environment. Here’s a comprehensive checklist:
- Purpose:
- Visibility: If you’re cycling in well-lit areas and your primary goal is to be seen by others, then smaller, less powerful lights may suffice.
- Illumination: If you’re in poorly lit areas or off-road trails, you’ll need lights powerful enough to illuminate the path ahead.
- Brightness & Lumens:
- Lumens: The measure of light output. More lumens generally mean a brighter light, but the beam pattern also plays a significant role.
- Remember to consider the type of cycling: city commuting might require 100-500 lumens, while mountain biking or rural roads might demand 600-1800+ lumens.
- Beam Pattern:
- Flood (or Wide): Useful for lighting up a large area around you, suitable for slower speeds or tight turns.
- Focused (or Narrow): Directs light straight ahead, ideal for faster speeds on straight paths.
- Battery Life & Type:
- Check the battery life at the light’s highest and lowest settings.
- Consider the battery type: Integrated (built-in) versus External (can be detached and replaced).
- Rechargeable batteries are more environmentally friendly and can save money in the long run, while Disposable batteries can be convenient for quick replacements.
- Mounting Options:
- Ensure the mount is sturdy and fits your bike’s handlebars or wherever you intend to place it.
- Consider if you want the versatility of a helmet or body mount.
- Water Resistance:
- Check for an IP rating. An IPX4 rating or higher is desirable as it ensures the light can handle splashes from any direction.
- Multiple Modes & Settings:
- Look for lights with variable settings: high, medium, low, pulse, and flashing modes to suit different conditions and needs.
- Daytime Visibility:
- Even during the day, being seen is crucial. Lights with a pulsing or flashing mode can increase your visibility in daylight.
- Side Visibility:
- Some lights offer side visibility features, increasing safety at intersections where a straight-on light might not be visible to cross traffic.
- Durability & Build Quality:
- Consider how easy it is to turn the light on/off, change modes, and mount/dismount, especially if you’ll be doing these actions while riding.
How many lumens is good for a bike light?
The number of lumens needed for a bike light largely depends on the intended use and the specific cycling environment. Here’s a breakdown based on different cycling scenarios:
- Urban Commuting and Well-Lit Areas:
- Front Light: 100-500 lumens
- This range offers enough brightness to make you visible and allows you to see occasional obstacles on well-lit streets.
- Rear Light: 20-100 lumens
- Being visible to vehicles behind you is the primary concern here.
- Front Light: 100-500 lumens
- Rural Roads with Minimal to No Lighting:
- Front Light: 500-1000 lumens
- With little to no street lighting, you’ll require a brighter light to illuminate the path ahead and spot potential hazards.
- Rear Light: 50-100 lumens
- A brighter rear light ensures you’re noticeable to vehicles on darker roads.
- Front Light: 500-1000 lumens
- Off-road/Mountain Biking:
- Front Light: 1000-1800+ lumens
- Trails demand a higher lumen count to discern obstacles like rocks, roots, and sudden drops. A wider beam pattern is also beneficial.
- Rear Light: While not always necessary on secluded trails, if you’re on shared trails or areas with potential traffic, 50-100 lumens should suffice.
- Front Light: 1000-1800+ lumens
- Gravel and Adventure Riding:
- Front Light: 400-800 lumens
- Since gravel roads can vary in terms of lighting conditions and obstacles, a mid-range lumen count with adjustable settings is ideal.
- Rear Light: 50-100 lumens
- Front Light: 400-800 lumens
- Daytime Riding (All Environments):
- Front and Rear Lights: 100-200 lumens
- Daytime running lights, especially those with flashing modes, make riders significantly more noticeable even in broad daylight.
- Front and Rear Lights: 100-200 lumens
- Additional Considerations:
- Flashing vs. Steady Modes: Flashing modes often appear brighter to the human eye and use less battery. However, a steady beam is necessary for lighting up the path in front of you.
- Beam Pattern: While lumens indicate brightness, the beam pattern (how the light is dispersed) is equally crucial. A flood or wide pattern is useful for illuminating a broader area, while a focused or narrow pattern is ideal for lighting up a specific path ahead.
Remember, these are general guidelines. The best approach is to assess your specific needs and perhaps even test different lumen ranges in your typical cycling environment. Also, always ensure your lights comply with local regulations.
Is 1000 lumens enough for bike light?
Yes, 1000 lumens is quite bright for a bike light and is sufficient for a variety of cycling scenarios. Here’s a breakdown of its suitability:
- Urban Commuting and Well-Lit Areas:
- While 1000 lumens is on the higher end for urban commuting, it can be especially useful during inclement weather or if you occasionally traverse poorly lit areas. In densely populated areas, however, it’s essential to angle the light downward or use a lower setting to avoid blinding oncoming traffic or other cyclists.
- Rural Roads with Minimal to No Lighting:
- 1000 lumens is ideal for rural or suburban roads with little to no street lighting. It provides a clear view of the road ahead, making potential hazards easily identifiable.
- Off-road/Mountain Biking:
- For off-road or trail cycling, 1000 lumens provides good visibility, especially for moderate-speed biking. However, if you’re cycling at higher speeds or on particularly challenging terrains with significant obstacles, you might benefit from a brighter light.
- Gravel and Adventure Riding:
- 1000 lumens is suitable for gravel roads and mixed terrains. It strikes a balance between urban commuting and off-road biking requirements.
- Daytime Riding:
- While 1000 lumens is more than what’s typically required for daytime visibility, many 1000-lumen lights come with a flashing mode that can be used during the day to increase visibility without utilizing the light’s full brightness.
- Additional Considerations:
- Battery Life: Brighter settings, like 1000 lumens, typically drain batteries faster. Consider the light’s battery life at this brightness level, especially if you’re planning longer rides.
- Adjustability: A bike light with multiple brightness settings or modes is beneficial. While 1000 lumens might be great for a dark road, it might be overkill in well-lit areas.
- Heat Dissipation: Some high-lumen lights can get hot. Ensure the light has a good heat dissipation system, especially if you plan to use it on the highest setting for extended periods.
In summary, 1000 lumens is versatile and suitable for a wide range of scenarios. However, the best practice is to adjust the brightness based on your environment, always keeping safety and the comfort of others in mind.
What kind of bike lights do I need?
The type of bike lights you need depends on your riding environment, purpose, and personal preferences. Here’s a guide to help you determine the right lights for your needs:
- Purpose & Environment:
- Urban Commuting in Well-Lit Areas:
- Front Light: A moderate brightness (100-500 lumens) is sufficient for being seen and seeing occasional obstacles.
- Rear Light: A blinking red light between 20-100 lumens ensures you’re visible to traffic from behind.
- Rural Roads or Areas with Minimal Lighting:
- Front Light: A brighter light (500-1000 lumens) is required to illuminate the road and identify hazards.
- Rear Light: A blinking or steady red light of 50-100 lumens.
- Off-Road/Mountain Biking:
- Front Light: A high-power light (1000-1800+ lumens) to navigate trails and spot obstacles.
- Rear Light: Not always necessary, but a blinking red light can help if there’s any traffic or other riders.
- Daytime Riding:
- Daytime Running Lights: Both front (white) and rear (red) blinking lights in the range of 100-200 lumens can significantly enhance visibility.
- Urban Commuting in Well-Lit Areas:
- Type of Lights:
- Be-Seen Lights: Primarily for urban areas with good lighting. They ensure that others on the road notice you.
- See-By Lights: For poorly lit areas, these lights illuminate your path and help you navigate. They’re brighter and have a broader beam.
- Mounting Location:
- Handlebar: The most common location for front lights.
- Helmet: Allows you to direct the light wherever you look, useful for mountain biking.
- Rear: Seat post or under the saddle are common, but some also attach to backpacks or helmets.
- Frame & Wheels: Some lights attach to the bike’s frame or wheels for added visibility from multiple angles.
- Shoes: Clip-on lights for shoes enhance visibility, especially while pedaling.
- Features to Consider:
- Battery Life & Type: Decide between rechargeable vs. disposable batteries. Check how long the light lasts on full charge/battery, especially at its brightest setting.
- Water Resistance: Essential if you ride in rainy conditions.
- Multiple Modes: Various brightness levels and blinking modes can be useful in different settings.
- Side Visibility: Lights with side visibility are crucial at intersections.
- Quick Release: Allows for easy removal of the light, useful if you park in public places.
- Smart Features: Some lights can connect to smartphones, adjust brightness based on ambient light, or have crash detection.
- Legal Requirements:
- Many regions have specific legal requirements for bike lights. For example, some places mandate a steady (non-flashing) front light, while others might have lumen requirements. Ensure your lights comply with local regulations