Lighting the Way: Installing Lights on Mountain Bike Helmets
Key Point Summary of Installing Lights on Mountain Bike Helmets:
- Choosing the Right Light: Understanding different types of helmet lights for MTB night riding.
- Installation Process: Step-by-step guidance on safely installing helmet lights.
- Riding with Helmet Lights: Tips for effective use and maintenance for optimal safety lighting.
As a master cyclist with years of experience racing and riding various bikes – from mountain bikes to gravel and cyclocross bikes – I’ve navigated my fair share of trails, including exhilarating night rides. For beginners and mid-level riders, installing lights on your mountain bike helmet can transform your night riding experience, enhancing both visibility and safety. Let me walk you through the essentials of choosing and installing helmet lights, along with some tips drawn from my own experiences.
Choosing the Right Light
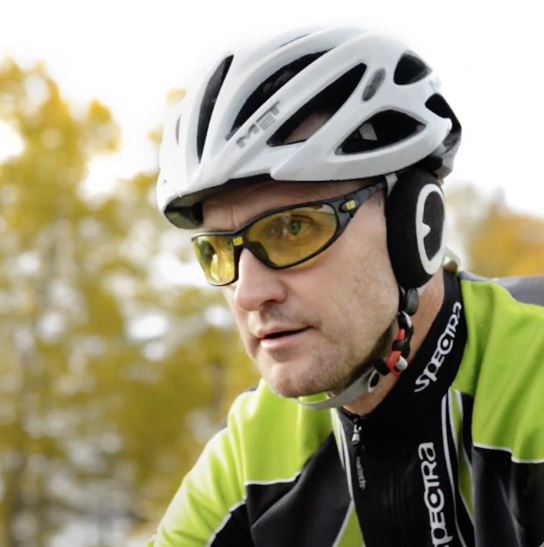
Brightness and Beam Angle: Look for lights that offer sufficient brightness (measured in lumens) for your riding environment. A broader beam angle can provide better peripheral vision, which is crucial for spotting obstacles on winding trails.
Weight and Balance: A light helmet light is ideal. Heavy lights can make your helmet feel unbalanced, especially on longer rides. I recall a night ride where my overly heavy light caused neck discomfort, detracting from the experience.
Battery Life and Charging: Consider how long the light lasts on a charge. Longer battery life is beneficial for extended rides. Also, easy charging options, like USB charging, add convenience.
Installation Process
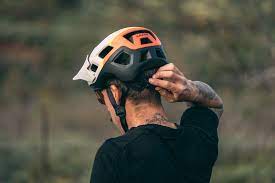
1. Choosing the Mounting Spot: Find a flat or slightly curved area on your helmet. This spot should allow the light to sit securely without affecting the helmet’s fit or comfort.
2. Attaching the Mount: Many lights come with mounts designed for helmet attachment. Follow the manufacturer’s instructions for securing the mount. If using adhesive mounts, ensure the helmet surface is clean and dry.
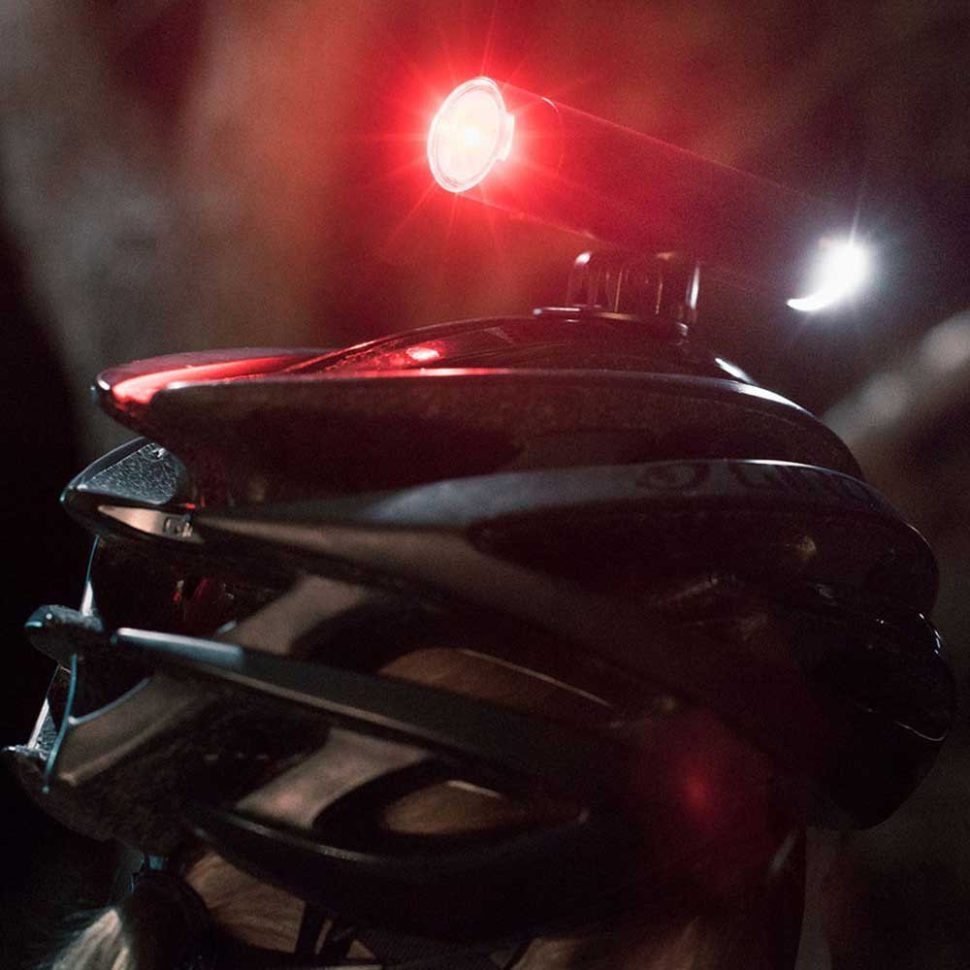
3. Positioning the Light: Attach the light to the mount, adjusting it so that it points where you look, usually a few meters ahead of your bike. Remember, the light should illuminate your path, not blind other riders or pedestrians.
4. Managing Cables: If your light has a separate battery pack, run the cables along the helmet, securing them with cable ties or clips. Avoid loose cables as they can catch on branches or interfere with your vision.
Riding with Helmet Lights
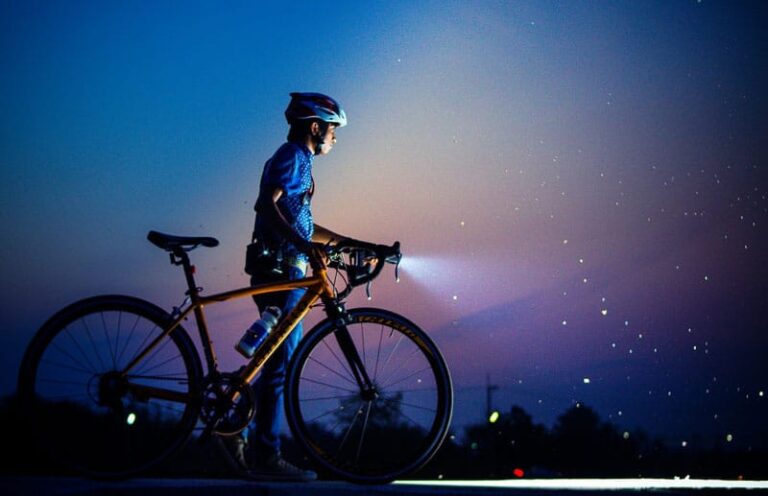
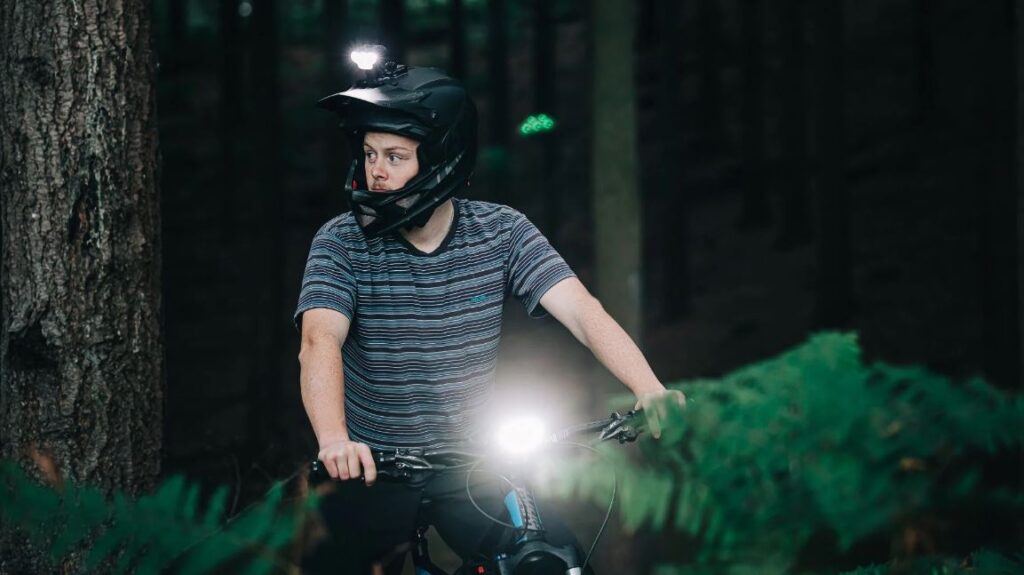
Visibility and Awareness: Helmet lights improve your visibility to others, a crucial safety aspect. They also enhance your ability to see the trail ahead. On a night ride through a dense forest, my helmet light was a game-changer, revealing roots and rocks that would have been treacherous otherwise.
Adjusting to Night Riding: It takes time for your eyes to adjust to the darkness. Start with lower light settings and gradually increase brightness as needed.
Maintenance and Care: Regularly check your light for any damage and ensure it’s securely attached before each ride. Keep the lens clean for maximum light output.
Battery Management: Always start with a fully charged light, and carry a spare light or battery pack if possible, especially on longer or remote trails.
When choosing the best lights to be mounted on a mountain bike (MTB) helmet, it’s important to consider factors like brightness, weight, battery life, and ease of mounting. Here’s a list of some highly regarded lights for MTB helmets, known for their performance and reliability:
- NiteRider Lumina Micro 850: Compact and lightweight, this light offers great brightness (850 lumens) and is known for its durability and ease of use.
- Black Diamond Storm Headlamp: While not a traditional bike light, this headlamp is favored for its versatility, multiple light modes, and water resistance, making it suitable for MTB helmets.
- Cygolite Metro Pro 1100: This light provides exceptional brightness (1100 lumens) and features multiple settings for different riding conditions, including a daytime flashing mode for increased visibility.
- Lezyne Hecto Drive 500XL: Known for its compact design and powerful light output (500 lumens), this light is easy to mount on a helmet and offers great battery life.
- Garmin Varia UT800: This smart headlight adjusts its brightness based on speed and light conditions when paired with a compatible Garmin device, offering up to 800 lumens.
- CatEye Volt 800: Offering a strong beam (800 lumens) with multiple modes, this light is a good balance between brightness, battery life, and weight.
- Light & Motion Vis 360 Pro: Providing 360-degree visibility, this light system is designed specifically for helmet mounting and offers excellent visibility with a balanced weight distribution. If you’re only looking for a halfway solution, we’ve got you covered; we’ve already rated and ranked the Light and Motion Vis 180 Pro in our Best Bike Tail Lights list.
When selecting helmet lights, consider the specific conditions you’ll be riding in. For instance, if you’re planning on riding technical trails at night, you may prioritize a higher lumen count for better visibility. However, for more casual night rides, a light with lower lumens but longer battery life might be more suitable. Always ensure the light is securely mounted and doesn’t significantly affect the comfort or balance of your helmet.
If you’re interested in our latest rated and ranked Bicycle Headlights, we recommend checking out our Best Bike Headlights list. Additionally, if you’re looking for Headlight Tail Light sets, we have also rated and ranked those for your convenience.
My Experience with Helmet Lights
During a memorable night ride, my helmet light played a crucial role. It not only illuminated my path through dark trails but also alerted a group of night riders to my presence. This experience really underscored the two-fold advantage of using helmet lights: they not only keep you safe by improving your visibility but also help in responsibly acknowledging and ensuring the safety of others sharing the trail.
FAQ
How do you attach a light to a bike helmet?
To attach helmet lights, you typically follow these steps:
- Choose a Suitable Mounting Spot: Find a flat or slightly curved area on the helmet for the light.
- Attach the Mount: Use the mount that comes with the light. If it’s an adhesive mount, clean the helmet surface first, then stick the mount on.
- Attach the Light to the Mount: Clip or slide the light onto the mount.
- Adjust the Light: Position the light so it points where you want it to, usually a few meters ahead on the trail.
- Secure Cables: If there’s a separate battery pack, run the cable securely along the helmet, using cable ties if necessary.
Always ensure the light is securely attached and doesn’t affect the helmet’s fit or comfort.
Where is the best place to mount a helmet light?
The best place to mount helmet lights is typically on the top front area of the helmet. This location offers several advantages:
- Direct Line of Sight: Mounting the light at the top front ensures that the light points in the direction you’re looking, illuminating the path ahead effectively.
- Optimal Beam Spread: This position allows for a good spread of light, covering both the trail in front of you and the immediate peripheral areas.
- Avoiding Obstructions: Mounting on the top helps avoid obstructions from helmet features like visors or ventilation holes.
- Balance: Placing the light on the top front helps maintain the helmet’s balance, preventing it from feeling front-heavy or causing neck strain.
It’s important to ensure that the mount is securely attached and that the light’s weight does not negatively impact the helmet’s fit or comfort.
Is it better to have bike light on helmet or handlebar?
Choosing between mounting a bike light on the helmet or handlebar depends on your riding needs and conditions:
Helmet-Mounted Lights:
- Directional Lighting: They illuminate where you look, providing excellent visibility around corners and over obstacles.
- Visibility: An elevated position makes you more visible to others.
- Versatility: Useful for looking at things off the side of the trail or road.
- Weight: This can add weight to the helmet, potentially affecting comfort.
Handlebar-Mounted Lights:
- Stable Beam: Provides a steady, consistent light directly in front of the bike.
- Wider Spread: Often covers a broader area, good for illuminating the whole road or trail ahead.
- Battery Size: Can accommodate larger lights with longer battery life due to less weight restriction.
- No Additional Helmet Weight: Comfortable for long rides.
Combination Approach: Many experienced cyclists use both for optimal illumination. The handlebar light provides steady, broad lighting for the path ahead, while the helmet light offers directional light for specific areas of interest or corners.
Ultimately, the choice depends on personal preference, the type of riding you do, and the specific conditions in which you ride. For technical mountain biking, a helmet light might be more beneficial, while for road cycling or commuting, a handlebar light often suffices.
Final Thoughts
Installing lights on your mountain bike helmet is a simple yet effective way to enhance your night riding experience. It’s not just about seeing the path ahead; it’s about being visible and safe. As you venture into night riding, remember that a well-lit helmet is as essential as any other piece of your biking gear. Embrace the adventure that night riding offers, safely illuminated by your trusty helmet lights.
In conclusion, whether you opt for a helmet-mounted light, a handlebar light, or a combination of both, the key is to ensure that you have adequate lighting for your rides, enhancing both your visibility and safety. Happy cycling, and stay safe on the roads and trails!
John