Bike Computer Installation Tips: From a Seasoned Cyclist

Key Point Summary of Bike Computer Installation Tips:
- Choose the right location for your bike computer for optimal viewing and operation.
- Ensure the sensors are properly aligned with the magnets for accurate data tracking.
- Pay attention to the mounting hardware and secure the bike computer firmly to avoid slippage or damage.
- Regularly test and adjust the setup to ensure ongoing accuracy and functionality.
As someone who has navigated the trails and roads on mountain bikes, gravel grinders, and cyclocross steeds, I’ve had my fair share of experiences with installing and tweaking bike computers. Over the years, I’ve learned that while setting up a bike computer may seem straightforward, a few key tips can significantly enhance your riding experience, whether you’re just starting out or looking to refine your setup. Here, I’ll share some insights and anecdotes to help you get your bike computer up and running smoothly.
Choosing the Right Location
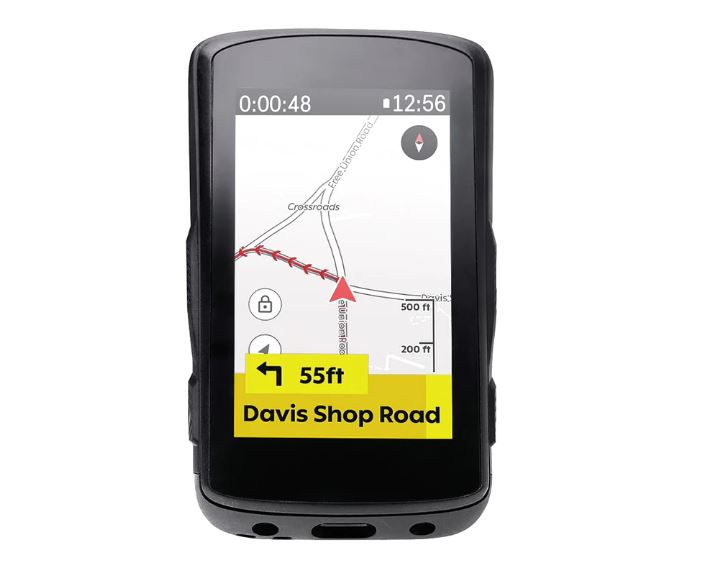
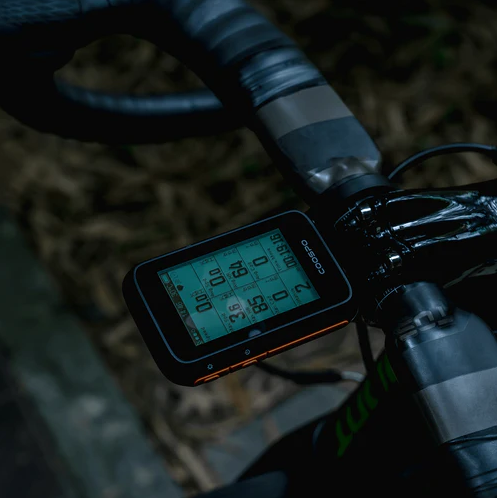
The placement of your bike computer can greatly affect its usability. Most riders prefer mounting it on the handlebar or stem for easy viewing. Personally, I find the stem mount offers a cleaner look and centers the display, but it’s all about personal preference and your bike’s configuration. Remember, you want it positioned where you can easily glance down without straining your neck or compromising your posture.

Sensor and Magnet Alignment
For bike computers that use wheel and cadence sensors, proper alignment with the magnets is crucial for accurate data. The sensor should be close enough to the magnet to detect each pass but not so close that they make contact. I recall a gravel race where my speed readings were off because the sensor had shifted slightly after a bumpy section. A quick realignment at the next aid station fixed the issue, but it taught me the importance of securing everything tightly before a big ride.
Mounting Hardware Matters
The type of mount and its installation can make a big difference in your bike computer’s stability and longevity. Most computers come with standard mounts, but there are aftermarket options that offer more robustness or positioning flexibility. After losing a computer mid-race due to a failed rubber band mount, I switched to a more durable handlebar clamp system. It was a small investment that paid off in peace of mind.
Waterproofing and Wiring
If your bike computer setup involves any external wiring (for sensors, for example), routing and securing the wires is key to avoid damage or disconnection. Also, while most modern bike computers are fairly water-resistant, ensuring that any connections are secure and sealed can save you from data loss on wet rides. A friend once wrapped electrical tape around his sensor connections as an extra precaution, a simple trick that can offer additional protection.
Testing and Adjusting
Once installed, it’s essential to test your bike computer on a short ride to check for accuracy and adjust settings as needed. This includes verifying speed, distance, and, if applicable, heart rate and cadence readings. Don’t hesitate to go back and tweak the placement or settings. Cycling is as much about comfort and confidence in your equipment as it is about endurance and skill.
Firmware Updates and Customization
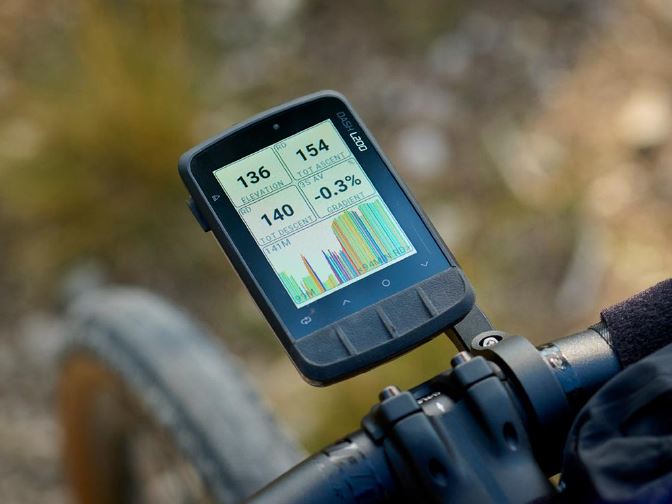
Finally, keeping your bike computer’s firmware up to date can enhance its functionality and accuracy. Most manufacturers release updates that can be installed via a computer or smartphone. Additionally, take the time to customize your data screens. Having the information that’s most important to you (like heart rate, elevation gain, or power output) readily accessible can make a significant difference in managing your efforts during a ride.
Bike Computer Installation Tips: In Conclusion
Installing a bike computer doesn’t have to be daunting. By choosing the right location, ensuring proper sensor alignment, securing the mount, considering waterproofing, and making adjustments as necessary, you can significantly improve your riding experience. Remember, the goal is to enhance your ride, not complicate it. With these tips and a bit of patience, you’ll be on your way to more informed and enjoyable cycling adventures.
Selecting the best bike computer that’s easy to install depends largely on what features you prioritize—GPS navigation, connectivity (Bluetooth, ANT+), data fields (speed, distance, heart rate, power), ease of use, and of course, installation simplicity. Here are a few models known for their user-friendly setup and robust features, making them popular among cyclists at various levels:
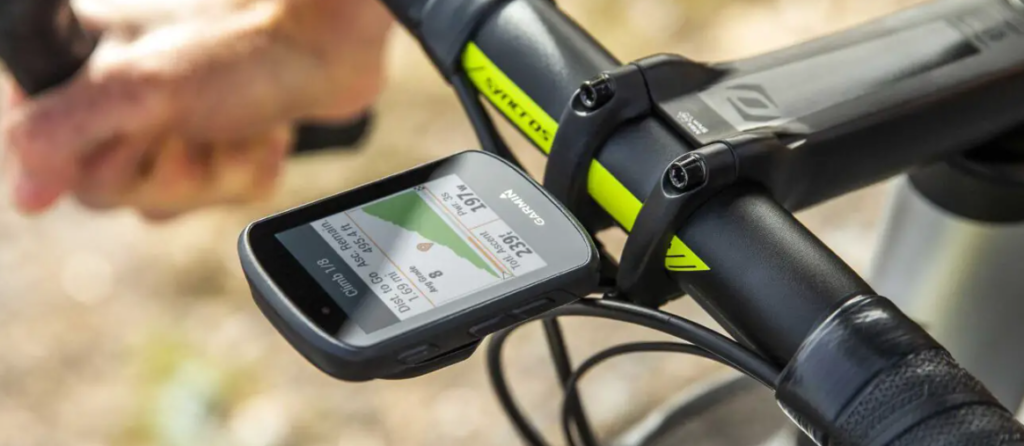
- Garmin Edge 530: This is a high-performance GPS cycling computer offering comprehensive ride data, navigation, and connectivity features. Its installation is straightforward, typically involving a standard quarter-turn mount that easily attaches to your handlebars or stem. The Garmin Edge 530 is praised for its detailed mapping and extensive performance metrics, suitable for a wide range of cycling activities.
- Wahoo ELEMNT Bolt: Known for its aerodynamic design and ease of use, the Wahoo ELEMNT Bolt also boasts a simple setup process, primarily due to its companion app. The app guides you through the installation and configuration process, making it easy to pair sensors and customize data pages. The ELEMNT Bolt’s integrated mount system securely attaches to the handlebars, providing a clean and streamlined setup.
- Lezyne Mega XL GPS: This model is favored for its long battery life and the ability to be mounted in either portrait or landscape orientation. The Lezyne Mega XL’s setup is simplified through the Lezyne Ally app, facilitating easy device configuration and customization. Its mounting system is versatile, offering options for handlebar or stem mounting that cater to personal preferences or cockpit setups.
- Cateye Padrone Wireless: For cyclists who prefer simplicity and ease of installation without the need for GPS navigation, the Cateye Padrone Wireless is a great choice. It offers basic cycling metrics like speed, distance, and time, with a very straightforward sensor and computer mount that can be easily attached to most bikes without tools.
When choosing a bike computer, consider how you plan to use it—whether for serious training, navigation on long rides, or simply tracking your rides for personal satisfaction. Look for models that balance the features you need with an installation process you feel comfortable handling. Reading reviews and watching setup tutorials can also provide additional insights into how easy or complex it is to install and configure a particular bike computer. Here’s one great installation tutorial by Global Cycling Network.
FAQ
How do you attach a bike computer to a bike?
Attaching a bike computer to a bike typically involves mounting a bracket or holder on the handlebar or stem using rubber bands or zip ties provided by the manufacturer, then clicking the computer into the bracket. Some models use a quarter-turn mount system for easy attachment and removal.
Can a phone replace a bike computer?
A phone can replace a bike computer to some extent, using cycling apps to track speed, distance, and route. However, dedicated bike computers offer advantages such as better battery life, more accurate data (especially with external sensors), easier visibility in sunlight, and durability against weather and impacts.
How do I setup my wireless cycle computer?
To set up a wireless cycle computer, start by installing the computer mount on your handlebar or stem. Attach any external sensors (e.g., speed, cadence) to the appropriate locations on your bike, following the manufacturer’s instructions. Pair the computer with the sensors, often done through holding a button on the computer until it recognizes the sensor signals. Finally, enter any required setup information into the computer, such as wheel size or personal metrics, for accurate data tracking.
Do you need sensors for bike computer?
Sensors are not always needed for a bike computer, especially for basic models that only display time, distance, and speed calculated through GPS. However, for more accurate data on speed, cadence, heart rate, or power, compatible external sensors are required. GPS-based computers can provide a wealth of data without sensors but integrating them enhances precision and expands the metrics available for training and analysis.