Mastering the Uphill: Setting Up Your Gravel Bike Saddle Setup for Climbing Efficiency

Key Point Summary of Gravel Bike Saddle Setup for Climbing:
- Optimizing Saddle Position for Uphill Rides: Adjusting saddle height and angle for efficient climbing.
- Personal Insights on Climbing Comfort: How my experiences shaped my approach to saddle setup for gravel biking.
- Guiding Cyclists through Saddle Adjustment: Tips for cyclists at beginner to mid-level stages on tailoring their bikes for uphill cycling.
As a seasoned cyclist with a rich background in various biking disciplines, I’ve come to recognize the critical role a properly set up saddle plays in gravel biking, especially when facing the challenge of climbing.
The Art of Saddle Setup for Climbing
Cycling uphill requires a unique saddle position to maximize efficiency and comfort. The key lies in finding the right balance that allows you to pedal powerfully without straining your body.
Height and Angle Adjustments
When tackling ascents, a slightly higher saddle position can enhance your leg extension, allowing more power with each pedal stroke. The angle is equally important. A minor tilt downward at the front can alleviate pressure, but too much can lead to sliding forward, causing unnecessary strain.
My Journey with Saddle Adjustments
Through trial and error, I’ve refined my saddle setup for optimal climbing. On a challenging gravel ascent, adjusting my saddle height made a noticeable difference in my power output. It was a small tweak with a significant impact.
Tips for Setting Up Your Saddle
- Start Small: Even minor adjustments can have a major impact. Begin with slight changes and test them out.
- Body Feedback: Pay attention to how your body responds. Comfort and efficiency should guide your adjustments.
- Tools and Consistency: Use precise tools for adjustments and record your settings for consistency.
Practical Adjustments for Beginner and Mid-Level Cyclists
- Saddle Height: Raise your saddle slightly to allow better leg extension.
- Saddle Angle: Experiment with a slight downward tilt for comfort on steep climbs.
- Post-Ride Assessment: After your ride, assess any discomfort or fatigue and adjust accordingly.
When looking for bike saddles that are easy to adjust, several models stand out due to their comfort, easy installation, and robust design:
- Prologo Dimension Space: Known for its comfort and ease of installation. It’s durable and offers good value for its cost, being a great all-around saddle choice.
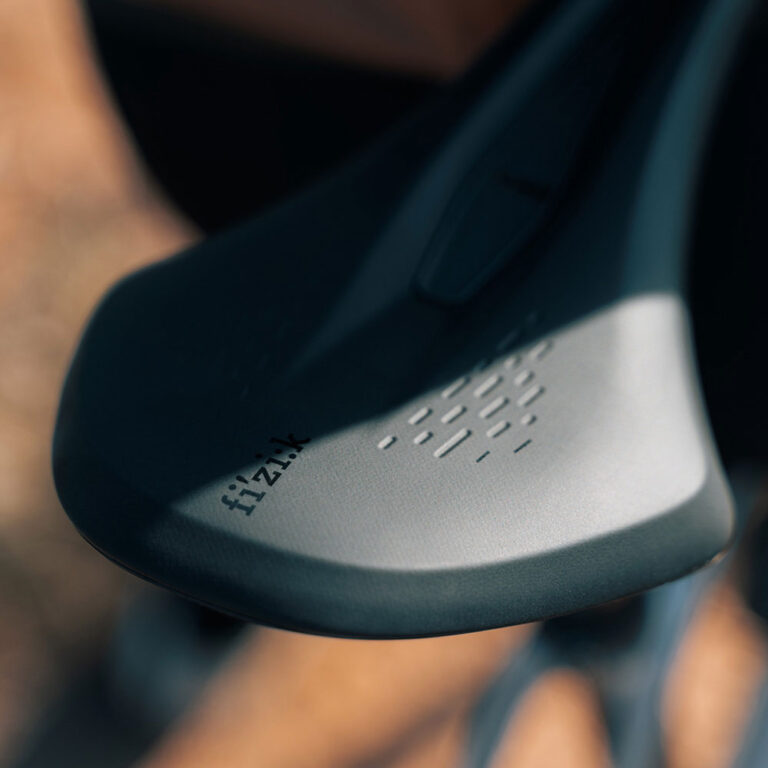
- Fizik Vento Argo 00 Adaptive: This saddle is noted for being supportive and comfortable in various riding positions. It features a 3-D printed liquid polymer upper and a carbon fiber base, making it a top choice for those who prefer a firm ride with advanced saddle technology.
- Brooks Cambium C15 Carved: Offers a classic look with modern comfort features. It’s known for being firm yet comfortable and is easy to position. The vulcanized rubber material used in this saddle aids in comfort and longevity.
- Ankuka Bike Seat: An affordable option that offers surprising comfort. It includes features like a rear reflector for better visibility and double anti-vibration rubber balls for a smoother ride.
- Active Zone Road Bike Saddle: Suitable for both road and mountain bikes, this saddle offers a balance of firm and soft padding, with an air canal and reflector for added comfort and safety.
These saddles are known for their comfort and ease of adjustment, making them suitable for various types of cycling, including road, mountain, and leisure riding. Each model brings unique features to the table, catering to different preferences and requirements of cyclists
Final Thoughts
Perfecting your gravel bike saddle setup for climbing is a blend of art and science. It’s about understanding your body and how it interacts with your bike. As an experienced cyclist, I encourage you to take the time to adjust your saddle. This can transform your uphill performance, turning daunting climbs into enjoyable challenges. The right setup is unique to each rider and is key to unlocking your full potential on the trails.
John
FAQ
What is the best saddle position on a gravel bike?
The best saddle position on a gravel bike typically involves setting the saddle height so that your leg is almost fully extended at the bottom of the pedal stroke, with a slight bend in the knee. The saddle should be level or slightly tilted, depending on personal comfort. It’s important to adjust the fore-aft position of the saddle so that when the pedals are horizontal, your knee is directly above the pedal axle.
This position helps in maintaining a comfortable, efficient, and powerful riding posture, especially on varied gravel terrains. Experimentation and minor adjustments can be crucial to find the ideal position that works best for your body and riding style.
How should I be positioned on a gravel bike?
On a gravel bike, your position should balance comfort and efficiency for varied terrain. Your body should be slightly more upright than on a road bike for better control and visibility. The saddle should be at a height that allows efficient pedaling without overextending your legs. Handlebar height can be slightly higher for comfort, and you should have a relaxed grip.
Positioning on the saddle should allow you to move around a bit, adapting to changes in terrain. Ensure your knees are not too stretched or compressed at the bottom of the pedal stroke. This setup helps in tackling long rides, rough terrains, and climbs effectively. Here’s a 5-minute tip from Physiovélo.
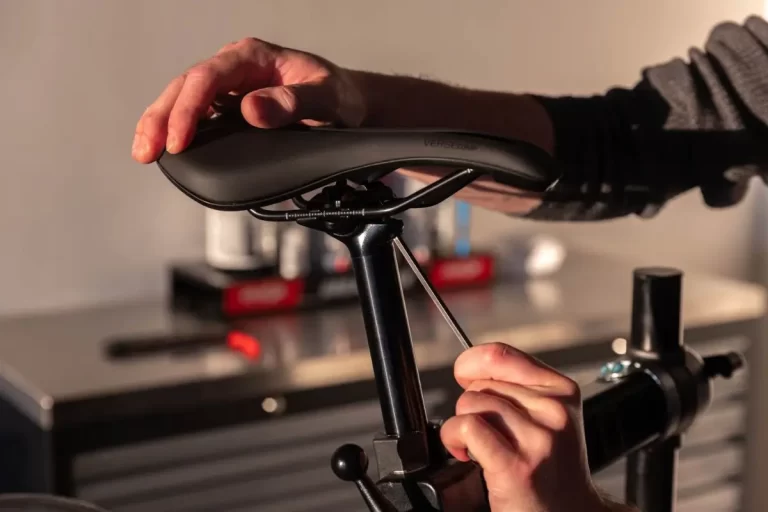
How do you adjust the height of a gravel bike saddle?
To adjust the height of a gravel bike saddle, follow these steps:
- Loosen the Saddle Clamp: Use an Allen key or appropriate tool to loosen the bolt(s) on the saddle clamp at the top of the seat post.
- Adjust the Height: Slide the saddle up or down to the desired height. A good starting point is to set the saddle height so that when you are seated with a heel on the pedal, your leg is fully extended with the pedal at its lowest position.
- Check Knee Bend: Sit on the bike with the ball of your foot on the pedal. At the bottom of the pedal stroke, your knee should have a slight bend (about 25-30 degrees).
- Align and Tighten: Ensure the saddle is aligned straight with the bike’s frame. Then tighten the clamp bolt(s) to secure the saddle in place, following the manufacturer’s recommended torque specifications.
It’s important to make incremental adjustments and test-ride the bike to fine-tune the saddle height for comfort and efficiency. Proper saddle height helps prevent injuries and improves your pedaling efficiency.