Gear Up and Go: Installation Tips for Hitch-Mounted Bike Racks for Adventurous Cyclists
Key Point Summary of Installation Tips for Hitch-Mounted Bike Racks:
- Check Compatibility: Ensure your vehicle’s hitch size and class match the rack’s requirements.
- Gather Necessary Tools: Some installations may require specific tools, although many racks are designed for tool-free setup.
- Follow Instructions Carefully: Read the manufacturer’s installation guide thoroughly before starting.
- Secure the Rack: Ensure all bolts and fasteners are tightened to the manufacturer’s specifications.
- Test the Rack: Before loading bikes, gently test the rack’s stability and adjust as necessary.
Installing a hitch-mounted bike rack is a task that, while it might seem daunting at first, is quite manageable with the right approach and preparation. Having spent years racing and riding across various terrains and disciplines, from the rugged trails on my mountain bike to the less forgiving paths on my cyclocross and gravel bikes, I’ve had my fair share of experiences with transporting bikes.
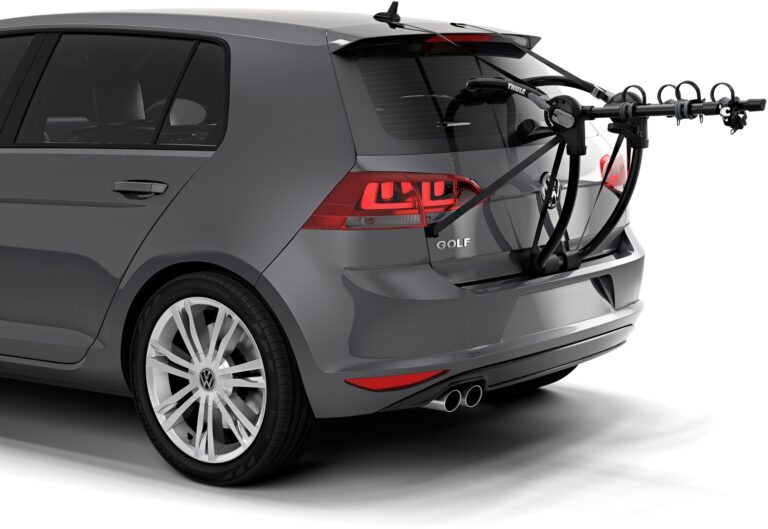
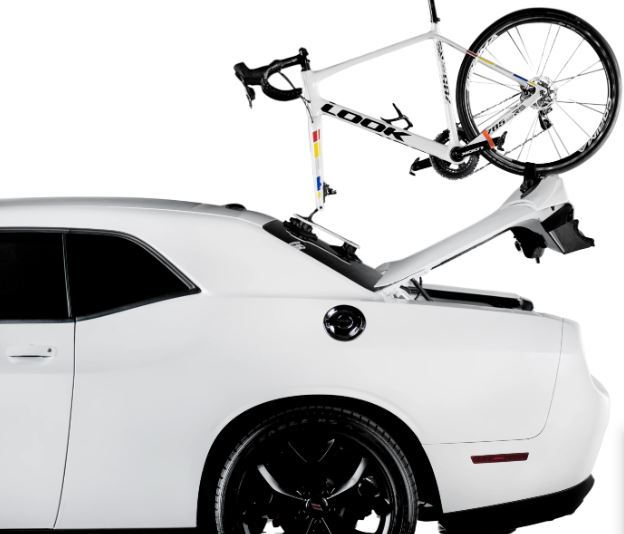
The convenience and reliability of a hitch-mounted bike rack have been indispensable for getting to races, trailheads, and cycling events. Here’s a comprehensive guide to installing your hitch-mounted bike rack, filled with practical tips to ensure a smooth, secure fit for all your cycling adventures.
Checking Compatibility
First things first, verify that your vehicle’s hitch type and size are compatible with the bike rack you’ve chosen. Most hitches come in standard sizes (1.25″ and 2″), but there’s also the matter of the hitch class which corresponds to the weight it can handle. Matching these specifications with your rack ensures a secure fit and safe transport of your bikes.
Gathering Necessary Tools
While many modern hitch-mounted bike racks are designed for easy, tool-free installation, some may require basic tools like wrenches or Allen keys. Check the product manual beforehand to ensure you have everything needed. Keeping a set of automotive gloves handy can also make the installation more comfortable, especially in hot or cold weather.
Following Instructions Carefully
Manufacturers provide detailed instructions for a reason. Taking the time to read and understand these instructions can save you from common mistakes during installation. Pay special attention to the sections on properly securing the rack to the hitch to avoid any movement while driving.
Securing the Rack
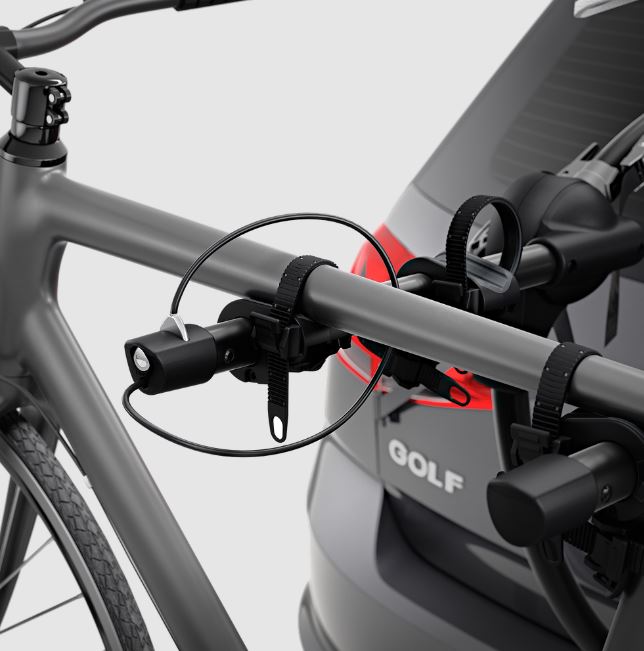
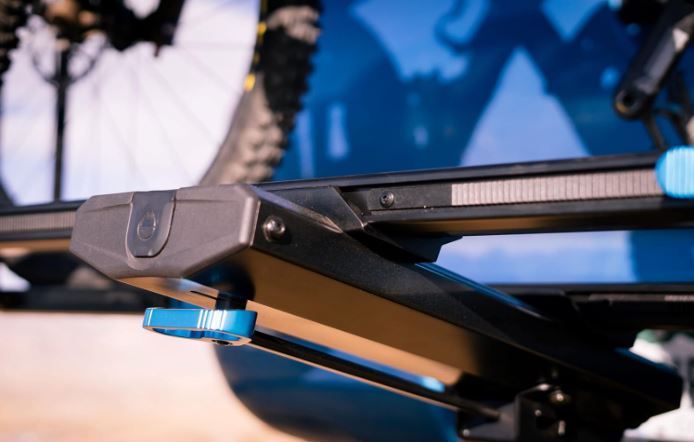
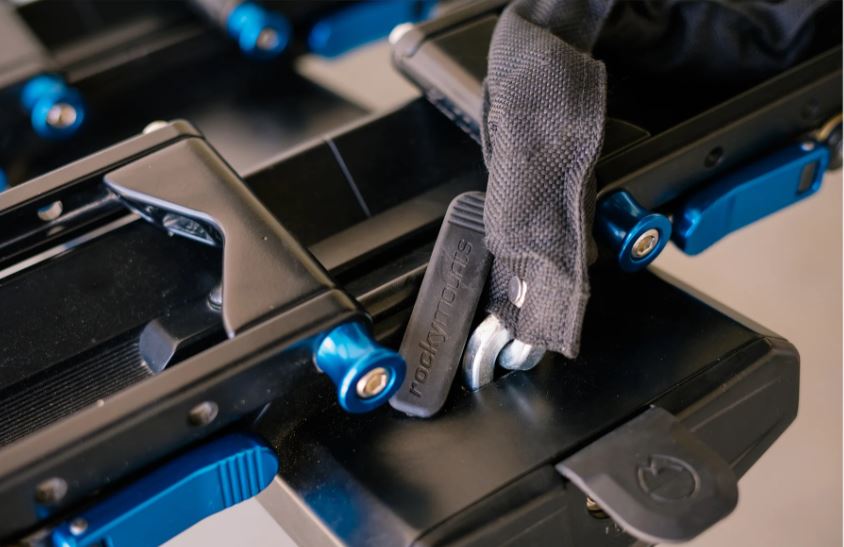
Most hitch-mounted racks will have a bolt or a pin that secures them to the hitch receiver. Ensure this connection is as tight as possible to prevent the rack from wobbling. Some racks include locks for this bolt for added security against theft. If your rack has an anti-wobble knob or bolt, tightening it until the rack is firmly in place can significantly reduce movement.
Testing the Rack
Before heading out, it’s crucial to test the rack’s stability. Gently shake the rack to check for any looseness in the connection. Drive around the block with the empty rack to see how it behaves. Listen for any unusual noises and stop to make adjustments if necessary. This step is vital to ensure everything is secure before you load your bikes.
Loading Your Bikes
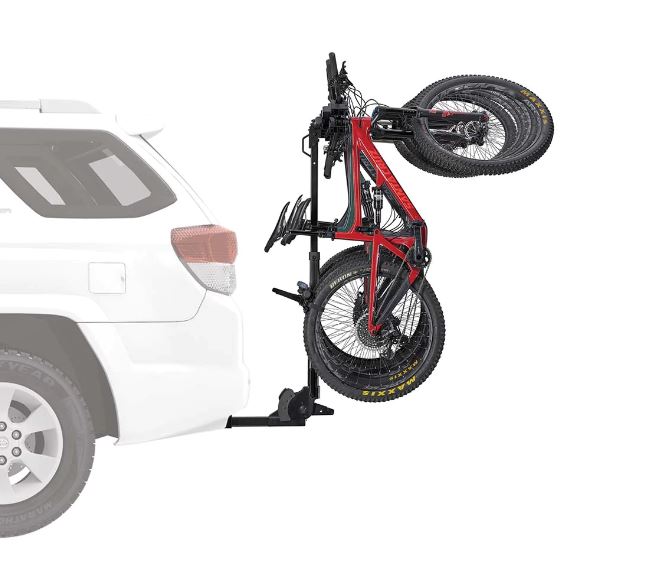
When it comes time to load your bikes, make sure you understand the proper placement and securing mechanisms of your specific rack. Bikes should be loaded with the heaviest closest to the vehicle. Ensure each bike is securely fastened and that there’s no contact between bikes or between bikes and the vehicle to prevent damage.
Final Check
Before every trip, perform a quick but thorough check of the rack and bikes:
- Ensure the hitch pin or bolt is still tight.
- Double-check that all bikes are securely fastened and that their wheels and pedals won’t come into contact with the vehicle.
- Confirm that the rack’s lights (if it has them) and license plate are visible if your bikes or rack cover your vehicle’s lights and plate.
Maintenance Tips
Regular maintenance of your hitch-mounted bike rack can extend its life and ensure safe operation. Periodically check for rust or damage, especially if you live in a coastal area or use the rack in harsh weather conditions. Lubricating moving parts can keep them functioning smoothly.
Wrapping Up
A hitch-mounted bike rack is a fantastic tool for any cyclist looking to explore far beyond their local routes. With the right preparation and care, installing and using one can be a straightforward, stress-free process. Whether you’re off to a race, chasing new adventures on untraveled trails, or just heading out for a leisurely ride in the countryside, the convenience of having your bikes securely attached to your vehicle allows you to focus on what you love most: cycling.
Selecting the best hitch-mounted bike rack depends on various factors including the number of bikes you need to carry, your vehicle type, and your budget. Here are some top picks known for their durability, ease of use, and security:
1. Thule T2 Pro XT/XTR
- Why It Stands Out: The Thule T2 Pro XT/XTR is renowned for its robust build quality, ease of loading/unloading bikes, and excellent bike security features. It can accommodate up to 4 bikes with an add-on and fits both 1.25″ and 2″ hitches. Its tool-free AutoAttach system makes it easy to install and remove.
- Key Features: Integrated cable lock and a hitch lock, adjustable wheel holders, and a tilt-down feature for rear vehicle access even when bikes are loaded.
2. Kuat NV 2.0
- Why It Stands Out: The Kuat NV 2.0 combines aesthetics with functionality, offering a sturdy construction that can carry up to 4 bikes with an extension kit. It’s compatible with 1.25″ and 2″ hitches and includes a built-in repair stand for on-the-go maintenance.
- Key Features: Foot-assisted pivot system, integrated cable locks, adjustable cradle design, and a trail doc repair stand for easy bike fixes on the road.
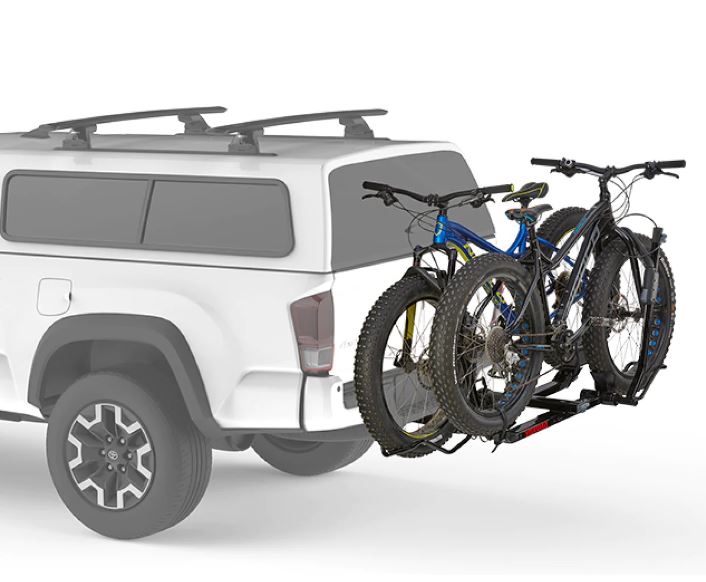
3. Yakima HoldUp EVO
- Why It Stands Out: The Yakima HoldUp EVO is designed for easy access and reliability, capable of carrying 2 bikes out of the box, with the option to expand to 4 bikes with the HoldUp EVO +2. It fits 1.25″ and 2″ hitches and features a strongArm hook to secure bikes without touching the frame.
- Key Features: Tool-free installation, tilt-down mechanism for vehicle access, and SKS locks included for bike and rack security.
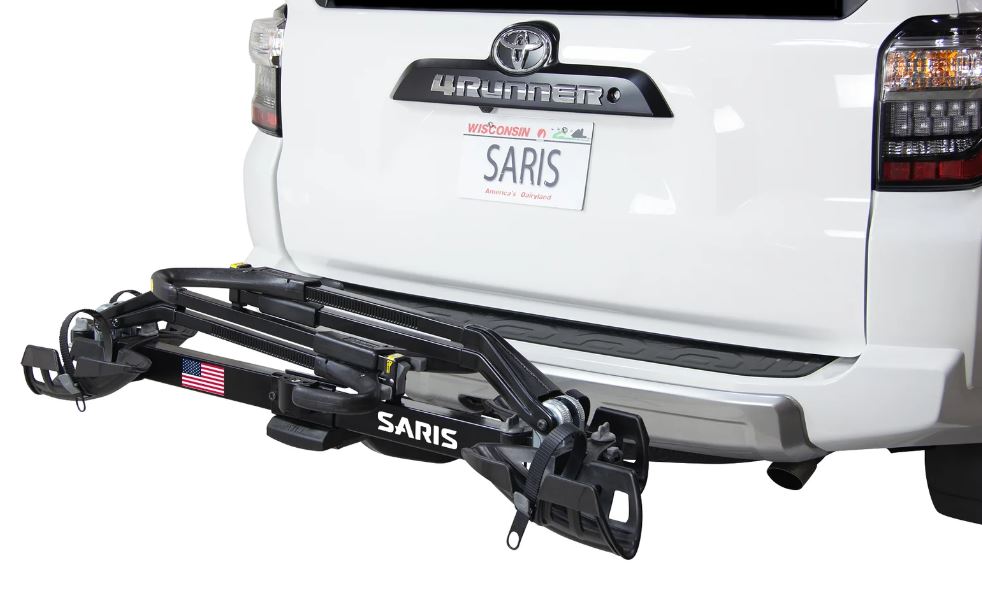
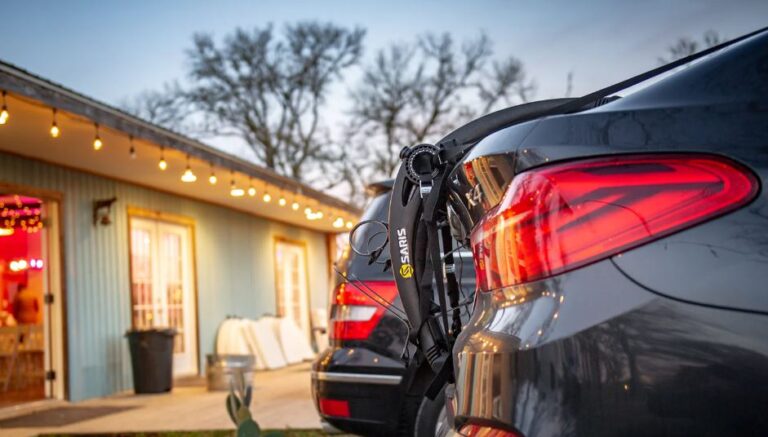
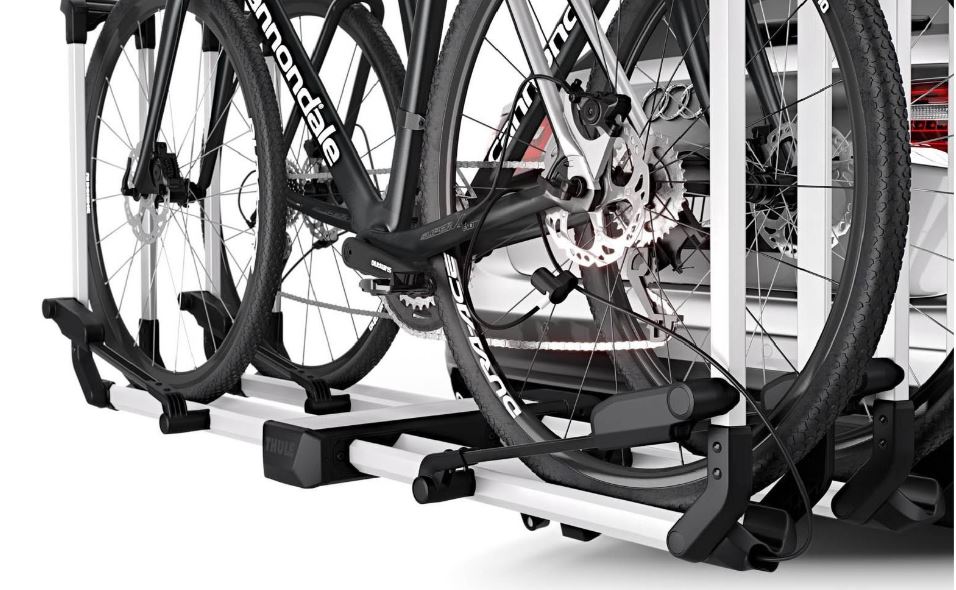
4. Saris SuperClamp EX
- Why It Stands Out: The Saris SuperClamp EX is a lightweight yet sturdy option that can carry up to 4 bikes securely without contact between them. It’s known for its compact design and ease of use, fitting both 1.25″ and 2″ hitches.
- Key Features: Integrated locks for bikes and hitch, tilting feature for rear vehicle access, and a unique clamping system that secures bikes by the wheels, reducing frame contact.
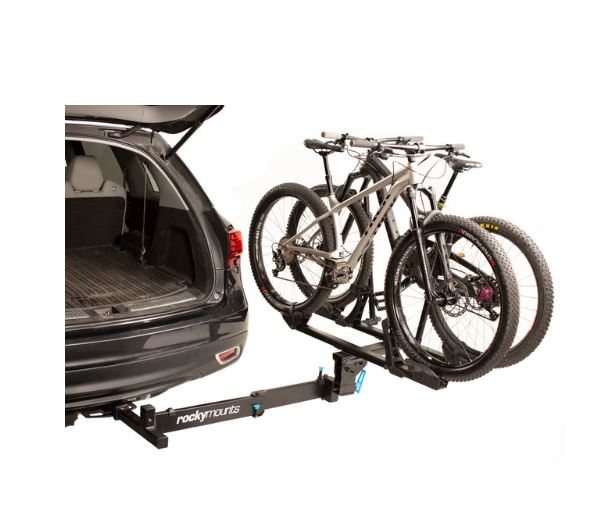
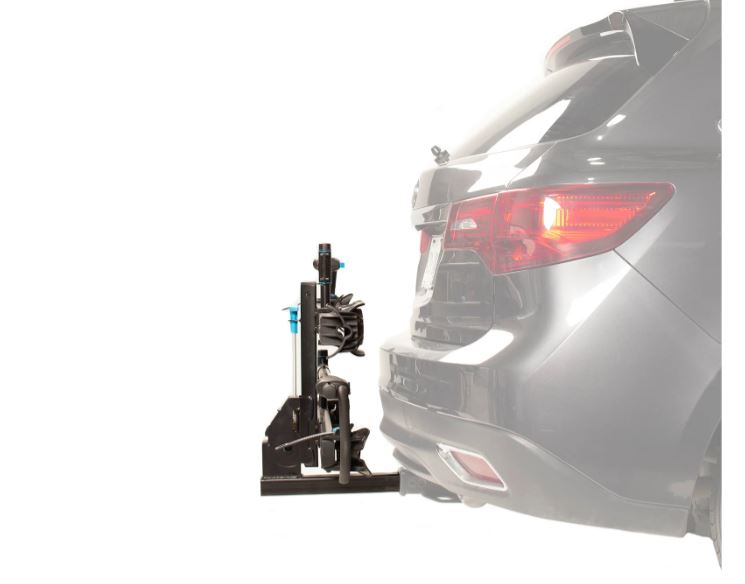
5. RockyMounts BackStage
- Why It Stands Out: Unique in its category, the RockyMounts BackStage is the only swing-away style hitch-mounted rack on this list, offering full access to the vehicle’s rear without removing the bikes or the rack. It fits 2″ hitches and carries up to 2 bikes.
- Key Features: Swing-away mechanism for full vehicle access, robust construction, and includes a locking hitch pin and cable lock for security.
When choosing a hitch-mounted bike rack, consider factors like the number of bikes you need to transport, the types of bikes (e.g., road, mountain, fat tire, electric), and key features such as security, vehicle access, and ease of loading. The best rack for you will balance these considerations with your specific needs and budget.
Happy Riding!
John
FAQ
How do you install a bike hitch rack?
Slide the rack’s shank into your vehicle’s hitch receiver until the holes align. Insert and secure the hitch pin through the holes, then tighten any included anti-wobble bolts or knobs according to the manufacturer’s instructions. Some racks also have locking mechanisms for added security.
Do I need wiring for a hitch for bike rack?
Wiring is not needed for the rack itself but is necessary if the rack blocks your vehicle’s taillights and license plate. In such cases, a rack with a built-in lighting system and license plate holder that connects to your vehicle’s wiring is recommended for safety and legal compliance.
How do you stabilize a hitch bike rack?
Use the anti-wobble bolt or knob that comes with your rack to minimize movement. These components tighten the rack within the hitch receiver to reduce sway. Additionally, some aftermarket products, like hitch tighteners or stabilizing straps, can provide extra stability.
Why does my hitch bike rack wobble?
Wobble can occur if the hitch pin is not properly secured, the anti-wobble device isn’t tightened enough, or there’s a mismatch between the rack’s shank size and the hitch receiver’s size. Regular wear and tear or damage to the hitch or rack can also cause instability.