Mastering Your Indoor Ride: A Cyclist’s Guide to Setting Up Your Indoor Bike Trainer

Key Point Summary of Setting Up Your Indoor Bike Trainer:
- Choosing the Right Space: Opt for a well-ventilated area with enough room to ride comfortably.
- Trainer Types: Understand the differences between direct-drive, wheel-on, and smart trainers.
- Installation Basics: Securely attach your bike, ensuring stability.
- Connectivity for Smart Trainers: Pair with apps for a more interactive experience.
- Accessories for Enhancement: Consider a mat, fan, and sweat guard to protect your bike and improve comfort.
Setting up an indoor bike trainer can be a game-changer for cyclists of all levels, especially when outdoor conditions are less than ideal. Whether you’re a seasoned racer accustomed to the rugged trails of mountain biking, the unpredictable terrains of cyclocross, or the long, grinding roads of gravel biking, or someone just starting to dip their toes into the cycling world, bringing your ride indoors can keep your training consistent and effective. Here’s a distilled guide to getting started, drawing from my own experiences across various cycling disciplines.
Diving Deeper
Finding the Perfect Spot
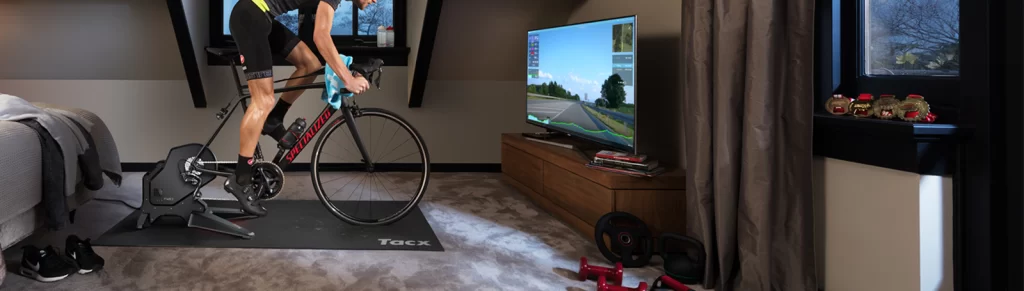
The first step in setting up your indoor bike trainer involves selecting the right space. It’s not just about the physical room but also considering factors like floor type, ventilation, and proximity to power outlets if you’re using a smart trainer. I learned the hard way that a carpeted room might dampen noise but it’s a magnet for sweat and requires extra cleaning. A hard, flat surface is ideal, and a dedicated fan can make a world of difference for airflow.
Choosing Your Trainer
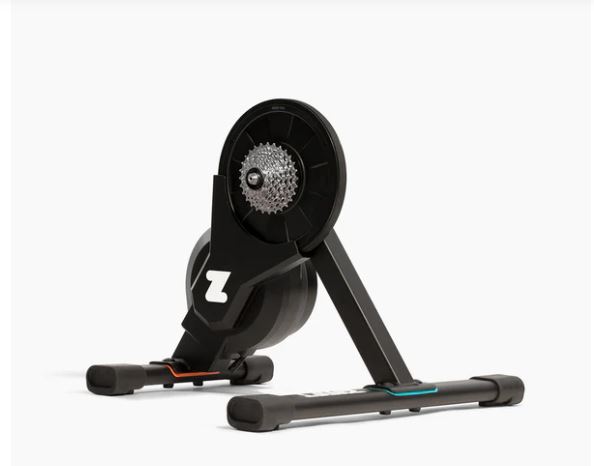
The evolution of bike trainers over the years is something to behold. From the basic wind trainers I started with to the ultra-sophisticated smart trainers that mimic outdoor riding dynamics, there’s a lot to consider. Direct-drive trainers have been a game-changer for me, eliminating tire wear and offering a more realistic riding feel, though they require removing the rear wheel. Wheel-on trainers are a simpler, more budget-friendly option, great for beginners or those who switch between indoor and outdoor rides frequently.
Setting It Up
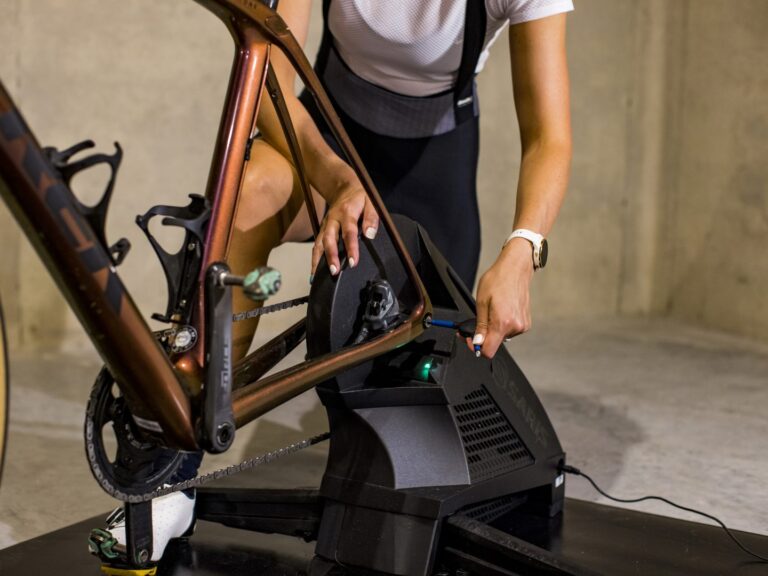
Installation can be straightforward, but it’s crucial to ensure everything is secured correctly to avoid damage to your bike or injury to yourself. Aligning the bike properly with the trainer ensures stability and a realistic riding position. For direct-drive trainers, make sure you have the right cassette installed that matches your bike’s gearing.
Going Smart
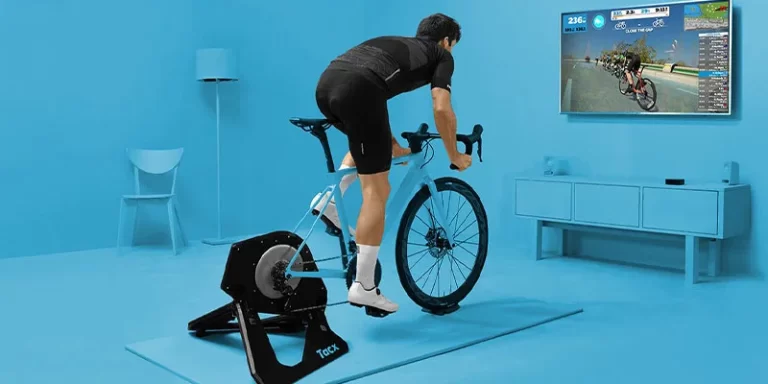
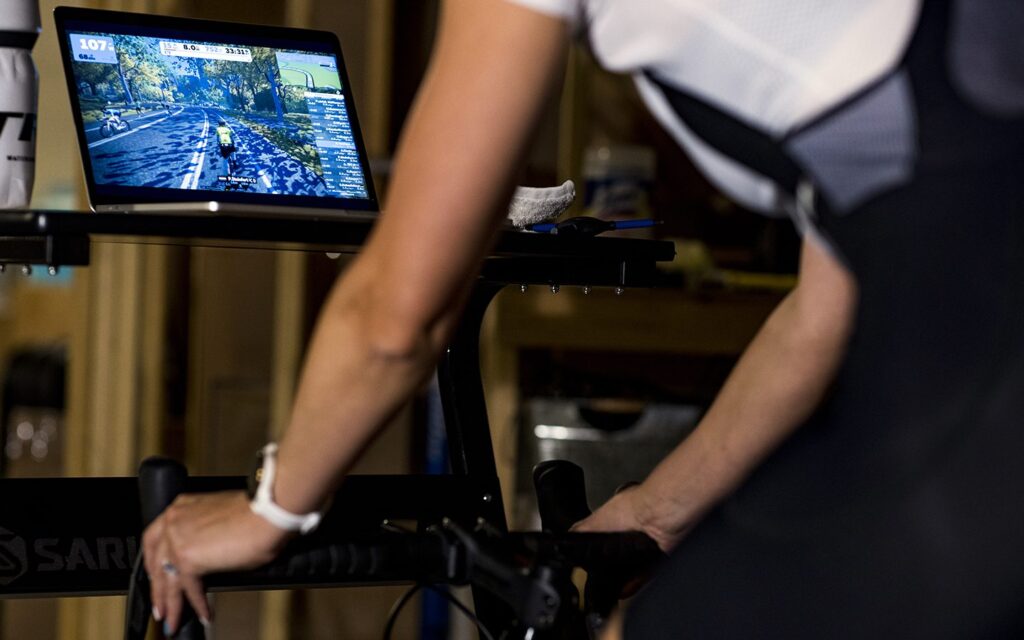
The introduction of smart trainers and cycling apps has transformed indoor cycling from a monotonous chore to an engaging and dynamic experience. Connecting your trainer to apps like Zwift or TrainerRoad not only makes training sessions fly by but also provides detailed data to track your progress. Calibration is key to accurate data, something I had to learn through trial and error.
Accessories for a Better Ride
Investing in a few key accessories can significantly enhance your indoor training setup. A mat not only protects your floor but also reduces noise—a consideration that my downstairs neighbors appreciate. A good-quality fan is essential for keeping cool, and a sweat guard can protect your bike from corrosion caused by sweat.
Final Thoughts
Setting up your indoor bike trainer might seem like a small task, but it’s a step that opens up a world of training possibilities. Whether you’re fighting off the winter blues, looking to get a jumpstart on spring training, or simply wanting to add a new dimension to your cycling routine, the right setup can make all the difference. Remember, the goal is to mimic the outdoor riding experience as closely as possible, so take the time to choose the right equipment, space, and accessories to make your indoor training both effective and enjoyable.
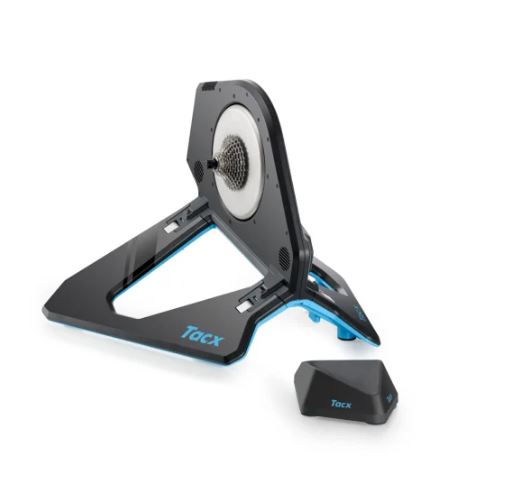
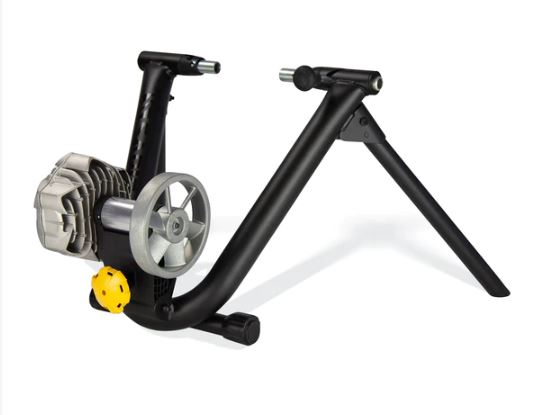
For an easy setup in less than 30 minutes, the Tacx NEO 2T Smart Trainer and the Saris Fluid2 Indoor Bike Trainer are excellent options. The NEO 2T is known for its quiet, vibration-free ride and doesn’t require calibration, offering realistic simulation of various terrains. The CycleOps Fluid2 stands out for its quiet operation for a wheel-on trainer and offers a smooth resistance feel, making it a good choice for quick setup and ease of use
Happy riding!
John
FAQ
How do you set up an indoor cycling trainer?
To set up an indoor cycling trainer:
- Choose a stable, flat surface for the trainer.
- Assemble the trainer according to the manufacturer’s instructions, ensuring all parts are tightly secured.
- Adjust the trainer for your bike’s size and type, if necessary.
- Mount your bike onto the trainer, securing it firmly in place.
- Connect any power sources or sensors if your trainer is electronic.
Where is the best place to put a bike trainer?
The best place to put a bike trainer is in a well-ventilated area to keep cool while riding. It should be on a stable, flat surface to ensure safety and optimal performance. A space that can accommodate the bike’s length and handlebar width, plus additional room for movement, is ideal.
How do I track my indoor bike trainer?
To track your indoor bike training, you can use apps like Zwift, TrainerRoad, or the companion app provided by your trainer’s manufacturer. These apps can track your performance, including speed, distance, power output, and heart rate, by connecting to your trainer via Bluetooth or ANT+.
How much space do you need for a bike trainer?
For a bike trainer, you’ll need a space that’s slightly larger than your bike’s footprint to comfortably mount and dismount. Typically, a space about 2 meters long and 1 meter wide should suffice, but ensure you have extra room for any side-to-side movement and for your arms while handling the handlebars.