Shining Bright: The Best Placement for Bicycle Lights for Maximum Visibility
Key Point Summary of The Best Placement for Bicycle Lights for Maximum Visibility:
- Front Light Placement: Mount your front light on the handlebar or helmet for direct illumination ahead and visibility to oncoming traffic.
- Rear Light Positioning: Secure the rear light on the seatpost, ensuring it’s not obstructed by clothing or bags for maximum visibility from behind.
- Side Visibility: Consider adding lights or reflective materials to the sides of your bike or wheels to enhance visibility from all angles.
- Height Variability: Positioning lights at different heights (e.g., one on the helmet and one on the handlebars) can help in being seen over obstacles and by all vehicle types.
Ensuring you’re seen while riding, whether tearing through the mountain trails at dusk, grinding gravel as the day fades, or navigating the urban jungle at night, is paramount for safety. My journey across various cycling disciplines has ingrained a crucial aspect of cycling safety: the strategic placement of bicycle lights. This isn’t just about having lights; it’s about positioning them to maximize visibility to others. Here’s a comprehensive guide on the best placement for bicycle lights, tailored for cyclists at the beginning and intermediate levels.
Front Light: Guiding the Way
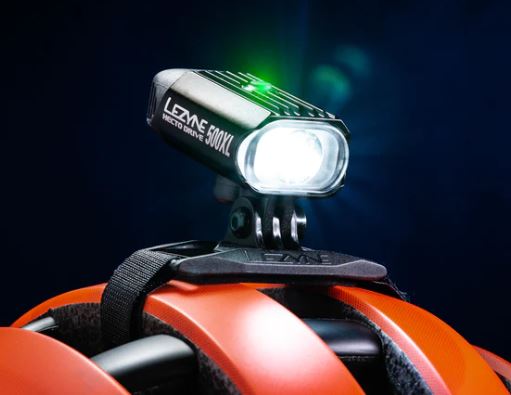
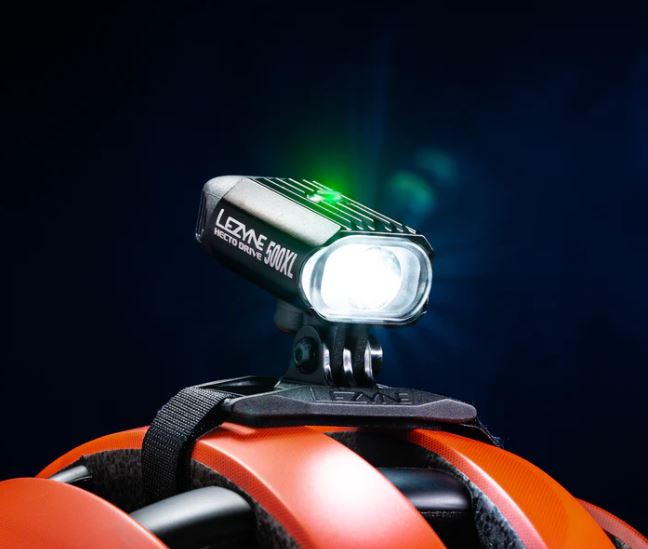
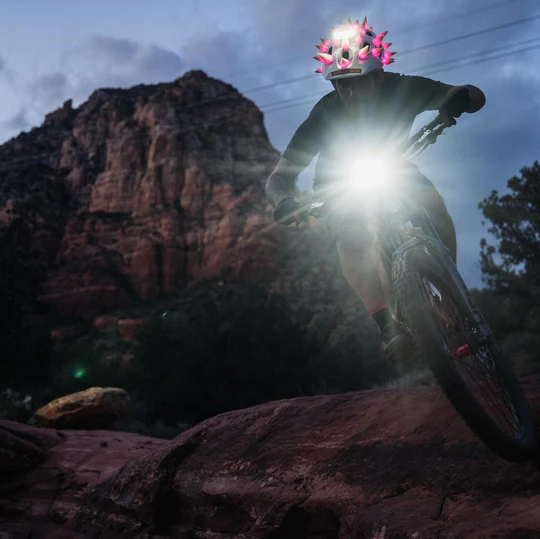
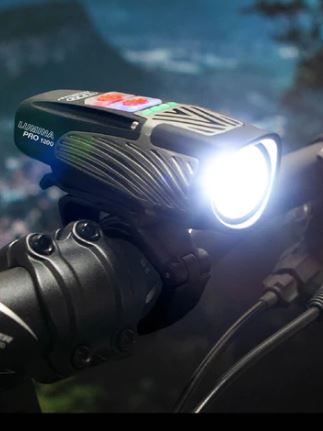
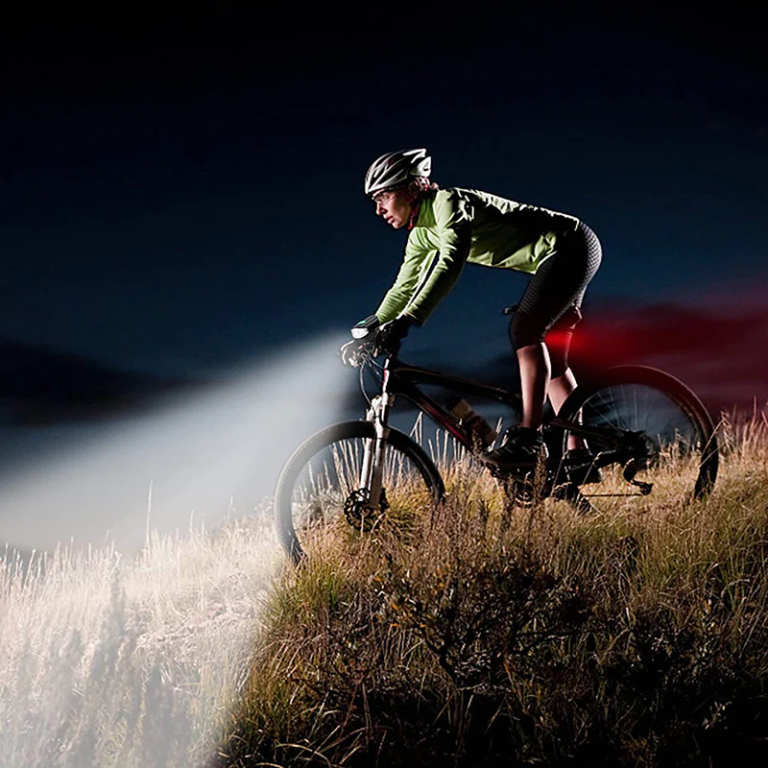
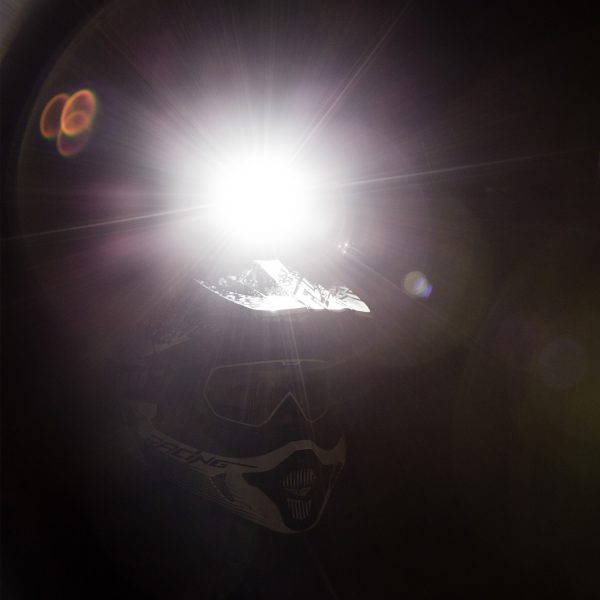
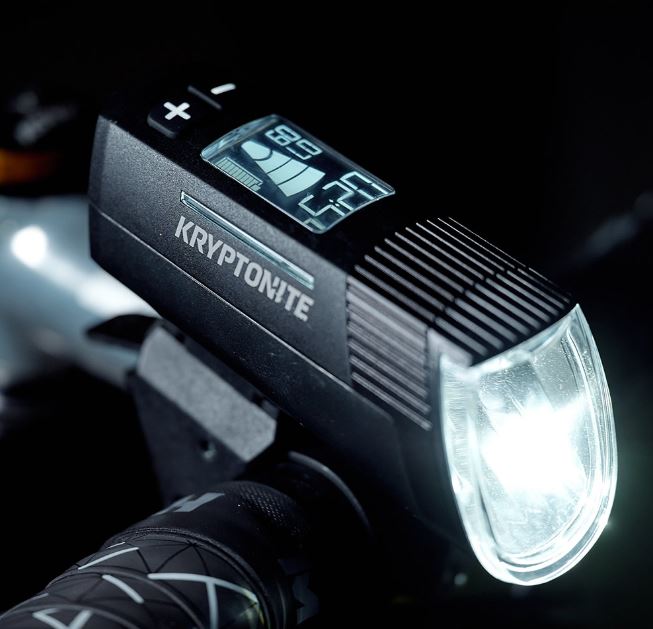
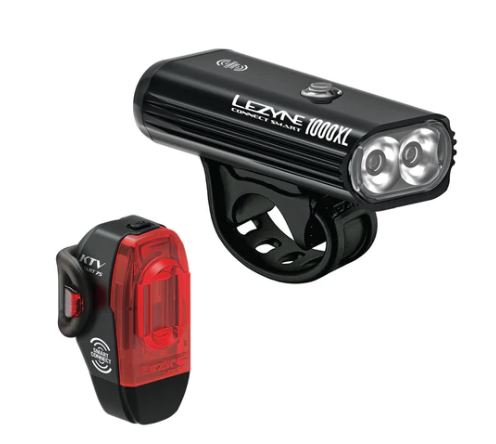
The front light not only helps in illuminating the path ahead during low-light conditions but also plays a critical role in making you visible to oncoming traffic. Mounting the light on the handlebar offers a stable, wide-reaching beam, while a helmet-mounted light can direct the beam wherever you look, offering additional visibility for turns or when navigating obstacles. The key is ensuring the light is angled correctly, illuminating the road or trail ahead without blinding oncoming traffic.
Rear Light: Signaling Your Presence
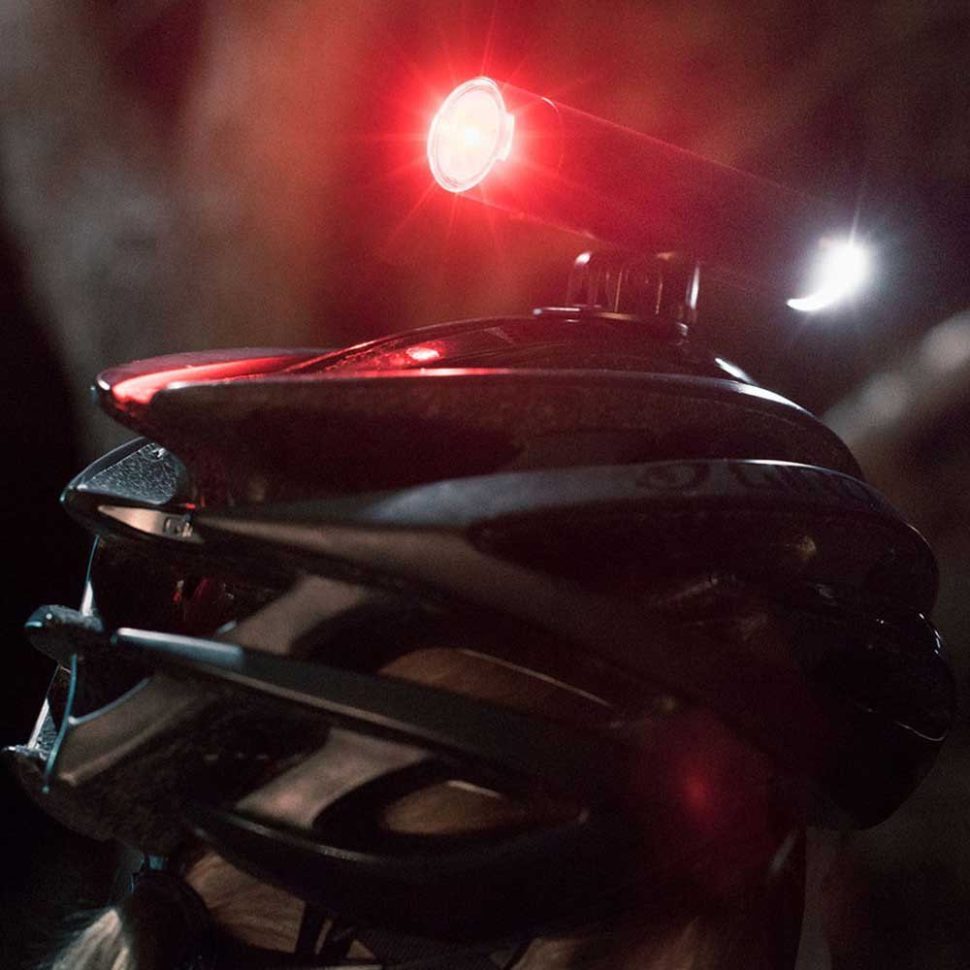
Arguably as crucial as the front light, the rear light alerts drivers and cyclists to your presence from behind. The most effective placement is on the seatpost, positioned to face directly back. It’s vital to check that the light is mounted high enough to be visible over any saddlebags or jackets that might cover it. For added visibility, consider a secondary rear light attached to your helmet or backpack.
Side Visibility: Completing the 360° Safety Bubble
While front and rear lights cover visibility from the main angles, don’t overlook the importance of being seen from the sides. Lights with side illumination features, or additional spoke or frame lights can significantly enhance your visibility at intersections and to pedestrians. Reflective tapes or stickers can also complement lights for side visibility without adding bulk or the need for extra power sources.
Height Variability: The Layered Approach
Using lights at different heights can make you visible over a range of obstacles and to drivers of all vehicle types. A light on your helmet can catch the attention of taller vehicles, while handlebar and seatpost lights ensure visibility to lower vehicles and pedestrians. This layered approach ensures that no matter the road or trail conditions, you’re seen.

The Best Placement for Bicycle Lights for Maximum Visibility: In Conclusion
Mastering the placement of your bicycle lights is as crucial as the rides you embark on. As we navigate through various terrains and times of day, ensuring our visibility can mean the difference between a memorable ride and an avoidable mishap. By strategically placing our lights, we not only safeguard our journey but also contribute to a culture of safety and awareness on the roads and trails we cherish. Visibility is your ally in the quest for endless cycling adventures.
For maximizing visibility according to the principles outlined, look for lights that:
- Offer high lumens for front lights to illuminate your path and make you visible to oncoming traffic.
- Have a long battery life and are rechargeable for convenience and sustainability.
- Include a sturdy mount that allows for precise positioning on the handlebars or helmet for front lights and securely on the seatpost for rear lights.
- Feature water resistance for reliability in all weather conditions.
A model that encapsulates these principles well is the Garmin Varia™ RTL515. This device serves as both a rearview radar and a tail light, but focusing on its lighting features, it provides excellent visibility to oncoming traffic from behind, thanks to its high-lumen output. The Varia™ RTL515 is designed for long battery life, offering up to 16 hours in day flash mode, ensuring that riders remain visible throughout their rides. It’s rechargeable, promoting convenience and environmental sustainability.

For the front light, the Bontrager Ion Pro RT is an excellent match. It offers high lumens to illuminate the road ahead and ensure visibility in traffic, with various modes and a long battery life that’s also rechargeable. Both models come with sturdy mounts, allowing for precise positioning on your bike, and are water-resistant, making them reliable in all weather conditions.

Happy Cycling
John
FAQ
Where is the best place to put the bike light?
The best place to put bike lights is the front light on the handlebar or helmet for visibility and illumination ahead, and the rear light on the seatpost for visibility from behind. Side visibility can be enhanced with lights or reflectors on wheels or frame.
How to position bike lights?
Position bike lights so the front light points slightly downwards to illuminate the road without blinding oncoming traffic, and the rear light is level and visible to traffic behind you. Ensure side lights or reflectors are visible from both sides.
Where should bike lights go?
Bike lights should go on the front (handlebars or helmet) for the headlight and on the rear (seatpost) for the taillight. Additional lights or reflectors can be placed on the sides of the bike or wheels for better overall visibility.
How far should a bike light be visible?
A bike light should be visible from at least 500 feet (152 meters) away to ensure adequate warning for drivers and other road users, providing safety in low-light conditions.
