Tubeless Solutions in Downhill Bike Tires: The Downhill Cyclist’s Guide to Tire Freedom

Key Point Summary of Tubeless Solutions in Downhill Bike Tires:
- Introduction to Tubeless: Understanding the basics of tubeless tire setups for downhill biking, emphasizing the elimination of inner tubes for a direct seal between the tire and rim.
- Benefits of Going Tubeless: Highlighting lower pressures for better traction, reduced risk of pinch flats, and the self-sealing nature of tubeless tires using sealant.
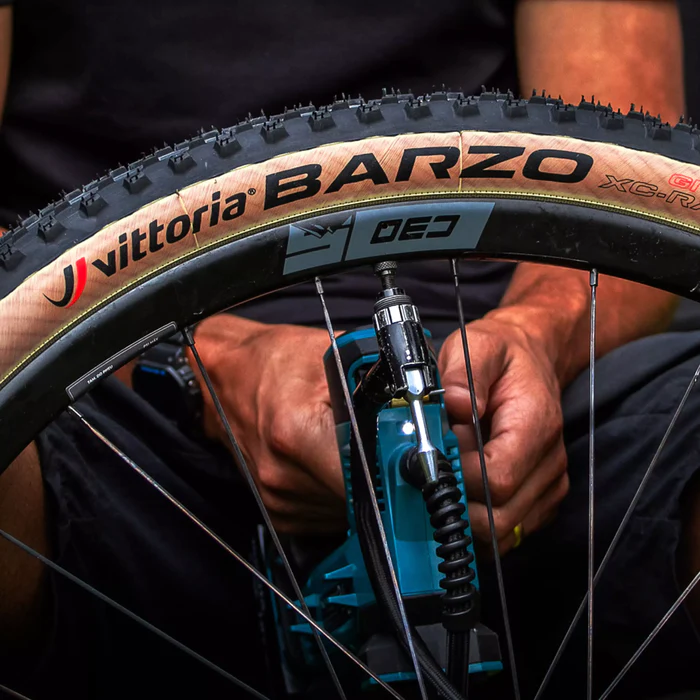
- Setting Up Tubeless Tires: A step-by-step guide on converting to tubeless, including rim preparation, tire installation, and the importance of sealant.
- Choosing the Right Sealant: Discussion on different types of sealants and their properties, tailored for downhill applications.
- Troubleshooting Common Issues: Tips for dealing with common tubeless setup problems like leaks, burping, and sealant maintenance.
- Personal Anecdotes: Sharing experiences with tubeless setups in various riding conditions and how they’ve impacted performance and maintenance.
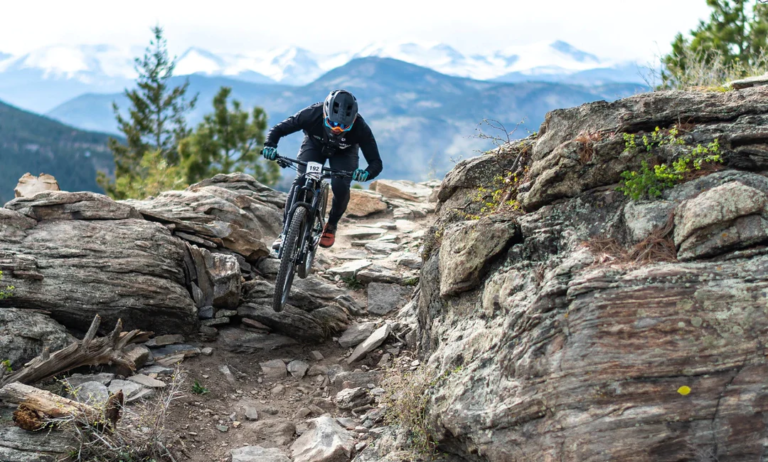
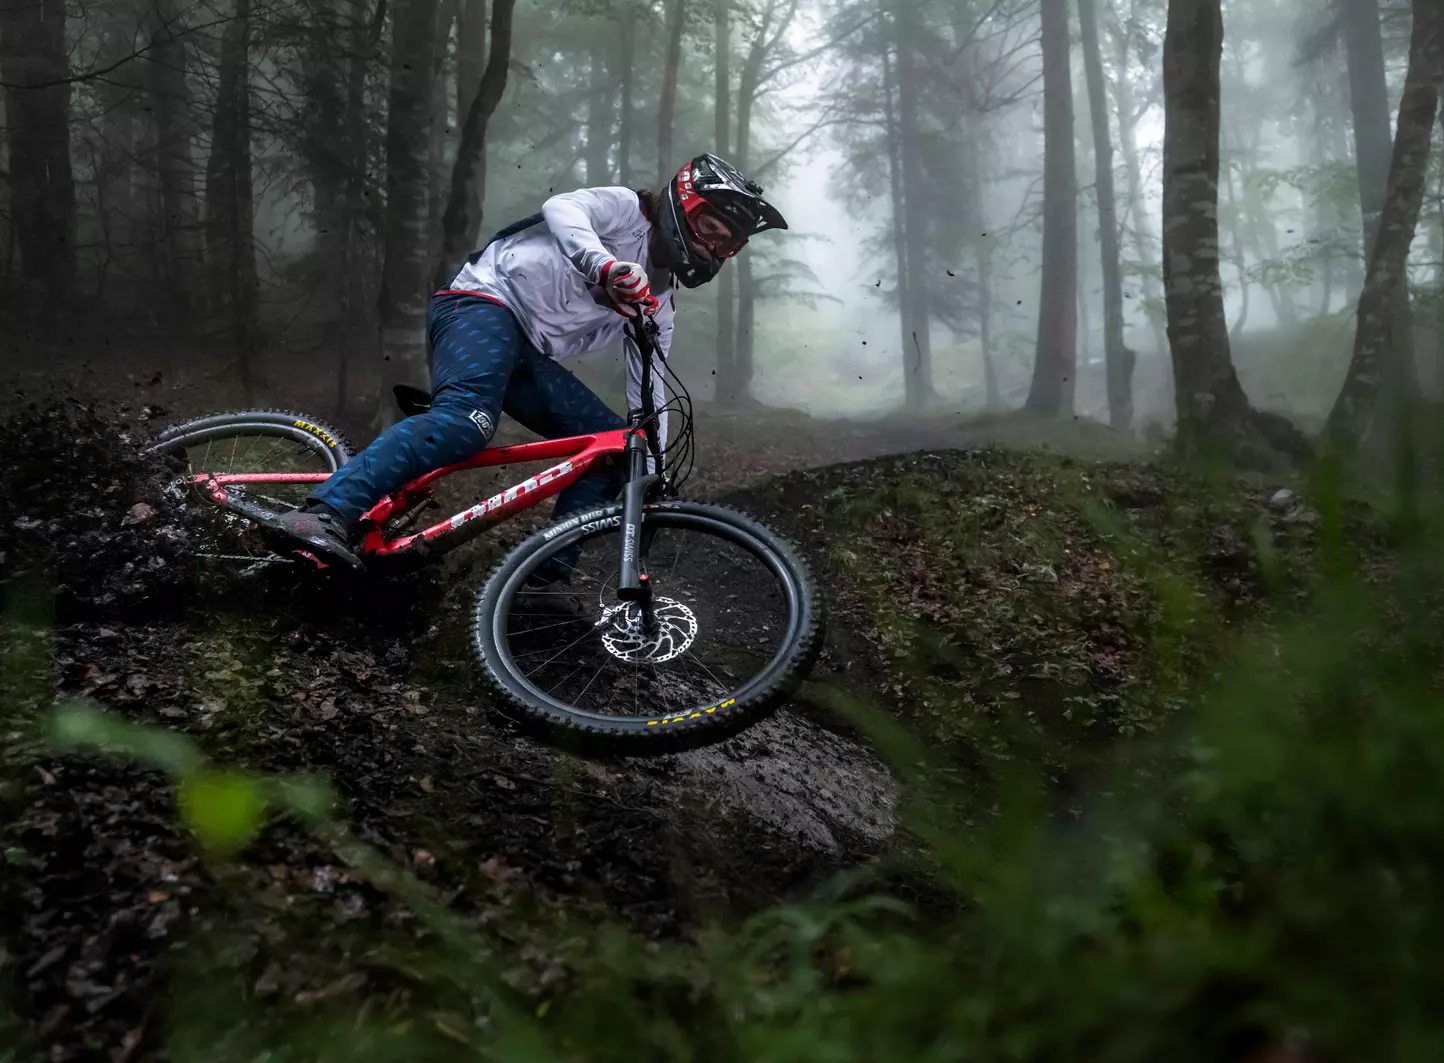
As a seasoned cyclist with years of experience tearing down mountainsides, grinding through gravel, and navigating the technicalities of cyclocross, I’ve come to appreciate every component of my bike setup, none more so than my choice of tires. The transition from traditional tubed tires to a tubeless setup was a revelation, particularly for my downhill mountain biking endeavors. In this piece, I aim to demystify tubeless solutions for downhill bike tires, drawing on my journey and learnings to offer a comprehensive guide for those considering making the switch.
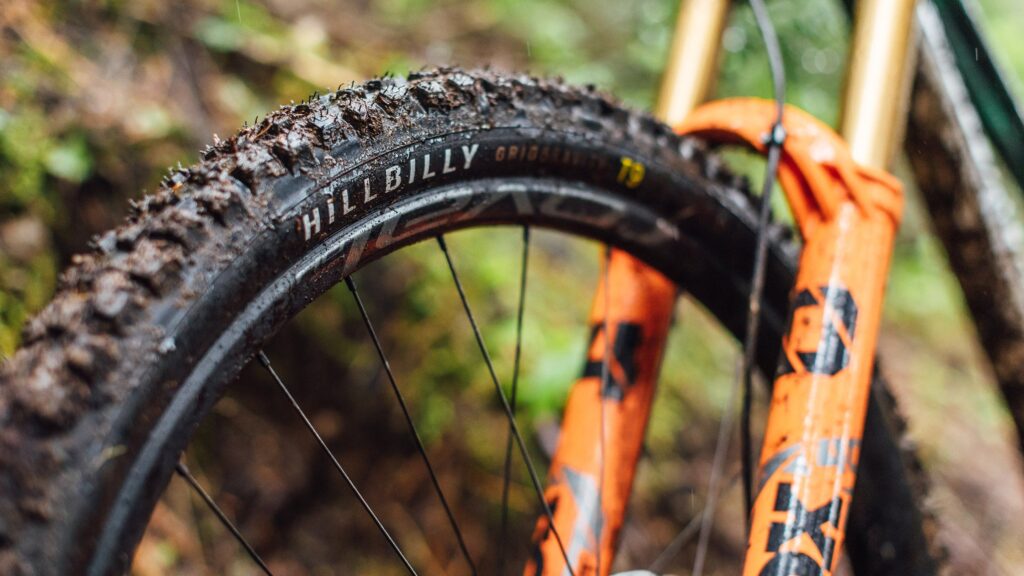
Understanding Tubeless Tires
Tubeless tires for downhill biking represent a significant shift from the traditional tubed setup. By eliminating the inner tube, riders gain direct contact between the tire and the rim, creating a seal that, when combined with liquid sealant, offers a myriad of benefits. This system not only reduces the bike’s overall weight but also enhances the tire’s ability to conform to the terrain, providing unmatched grip and a smoother ride over rough downhill tracks.

The Transition to Tubeless: A Personal Journey
I remember my first tubeless conversion like it was yesterday. The promise of fewer flats and better control on the trails was too tempting to ignore. The process, while initially daunting, proved to be straightforward and immensely rewarding. Preparing the rim with tape, fitting the tire, and then the magic moment of adding sealant and inflating the tire to watch it seal was nothing short of satisfying. It was a DIY project that paid dividends on the trail.
Navigating the World of Tubeless Sealants
Choosing the right sealant is crucial for maintaining the integrity of a tubeless setup, especially in the demanding conditions of downhill riding. I’ve experimented with various sealants over the years, from those promising the fastest sealing times to eco-friendly formulas. Each has its pros and cons, but finding one that balances sealing efficiency with longevity has been key to avoiding mid-ride mishaps and ensuring durability across seasons.
Troubleshooting and Tips from the Trail
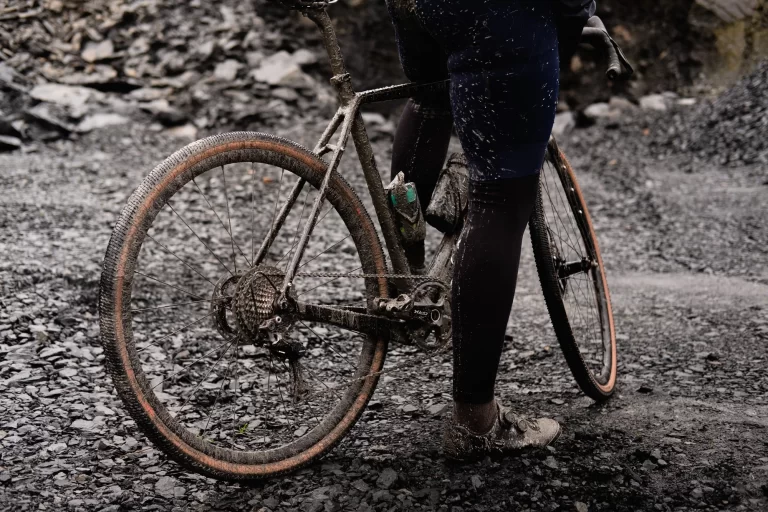
Even the most meticulously set up tubeless tires can encounter issues. I’ve had my share of burps during aggressive cornering and leaks that seemed to defy explanation. Through trial and error, I’ve learned the importance of regular sealant top-ups, the right tire pressure for different terrains, and the nuances of tire and rim compatibility. These lessons have not only saved me from trailside fixes but have also deepened my understanding and appreciation of my tubeless setup.

Conclusion and Encouragement
Adopting tubeless tires for downhill biking is more than a mere equipment upgrade; it’s a commitment to enhancing your riding experience. The journey from skepticism to advocacy was one paved with learning curves, surprising benefits, and the occasional setback. However, the improvement in performance, comfort, and reliability on the trails has made it clear that tubeless is the way to go for any serious downhill rider.
In wrapping up, I encourage all riders, regardless of experience level, to consider the switch to tubeless. The initial setup may require some effort and adjustment, but the long-term benefits of improved traction, reduced flat tires, and overall better ride quality are undeniable. As you embark on your tubeless journey, remember that patience, experimentation, and a bit of maintenance are key to unlocking the full potential of your downhill setup.
Choosing the best downhill tires depends on various factors including terrain, riding style, and personal preferences. However, several models consistently receive high praise for their performance, durability, and grip on demanding downhill tracks. Here are some top choices:
- Maxxis Minion DHF: A favorite among downhill and enduro riders for its exceptional traction, cornering stability, and versatility across a wide range of conditions.
- Schwalbe Magic Mary: Known for its aggressive tread pattern, the Magic Mary offers excellent grip in wet and muddy conditions, making it a go-to choice for many professional downhill racers.
- Continental Der Kaiser Projekt: Designed for racing, this tire offers great puncture resistance and durability, with a compound that balances grip and rolling resistance effectively.
- Maxxis Assegai: Developed in collaboration with downhill legend Greg Minnaar, the Assegai is lauded for its unmatched grip and performance in a variety of soil conditions, from dry and loose to wet and muddy.
Each of these tires has its strengths and is designed to perform best under specific conditions, so the best choice will vary based on the specific demands of the trails you ride and your personal riding style.
FAQ
Is tubeless better for mountain bike tires?
Yes, tubeless is generally considered better for mountain bike tires due to improved traction, lower pressures without the risk of pinch flats, and reduced overall weight.
How do you maintain tubeless tires on a mountain bike?
To maintain tubeless tires on a mountain bike, regularly check and refill the sealant (every 2-6 months), inspect for and remove any debris that may cause leaks, maintain proper tire pressure, and periodically inspect the tire and rim for damage.
How do I make my mountain bike tires tubeless?
To make your mountain bike tires tubeless, you need tubeless-ready rims and tires, tubeless sealant, and tubeless valves. Remove the existing tube, install the tubeless valve on the rim, apply tubeless rim tape if necessary, mount the tire onto the rim, add sealant through the tire or valve stem, and inflate the tire to seal it.
Do MTB tyres need to be tubeless ready?
Yes, for the best performance and reliability, MTB tires should be tubeless-ready when setting up a tubeless system. Tubeless-ready tires are specifically designed to create an airtight seal with the rim, which is crucial for the tubeless setup to work effectively.
Happy trails, and may your rides be smooth and your flats nonexistent!
John