Attaching a Camera to Your MTB Helmet: Capture Every Thrill and Spill
Key Point Summary of Attaching a Camera to Your MTB Helmet:
- Choosing the Right Helmet Camera: Essential features to consider for mountain biking recordings.
- Mounting Techniques and Tips: Detailed steps and advice for securely attaching your camera.
- Recording and Sharing Your Rides: Creating engaging and high-quality biking vlogs.
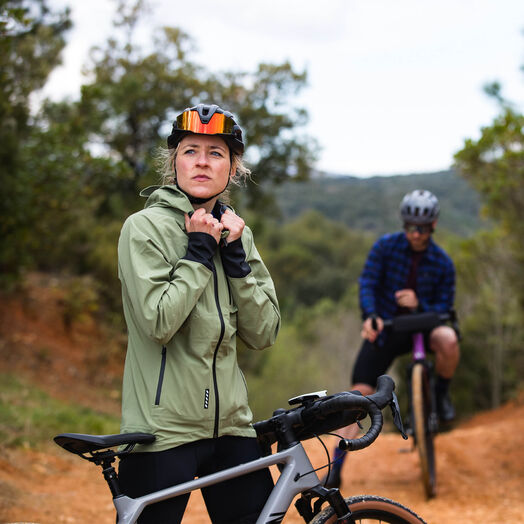
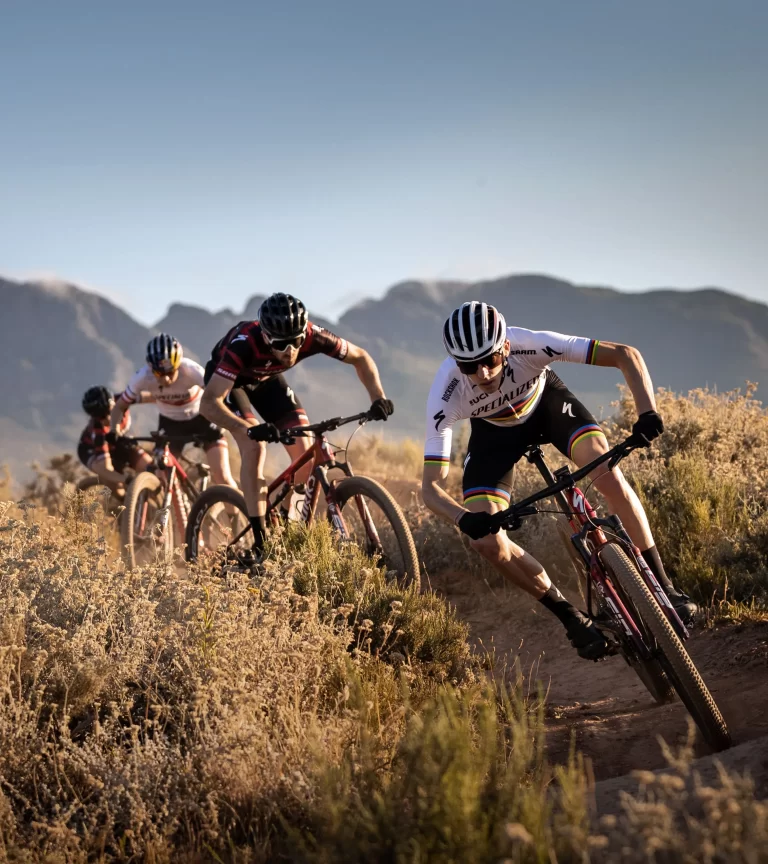
As a master cyclist with extensive experience in mountain, gravel, and cyclocross biking, I’ve had my fair share of adventures and learned a lot about capturing them on camera. Whether you’re just starting out or have some experience, attaching a camera to your MTB helmet is a fantastic way to share your rides and relive your experiences.
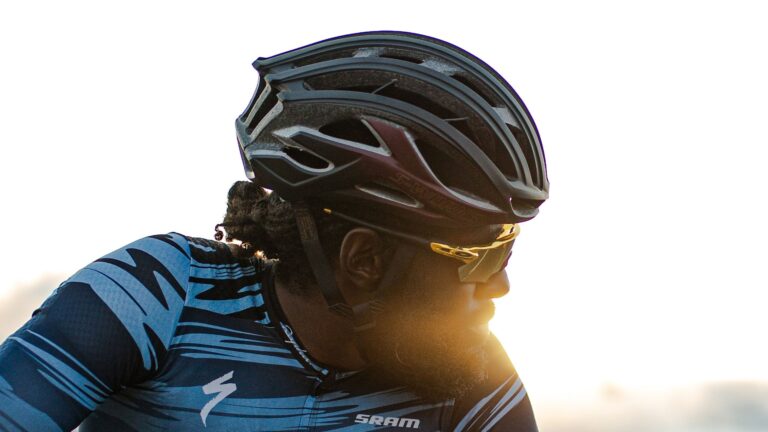
Choosing the Right Helmet Camera
Key Considerations
Prioritize weight, battery life, image stabilization, and ease of use. A lightweight camera for MTB helmet ensures comfort, while good stabilization is crucial for clear footage on bumpy trails. Long battery life is a must for recording entire rides, and an intuitive user interface helps in quick setup and operation.
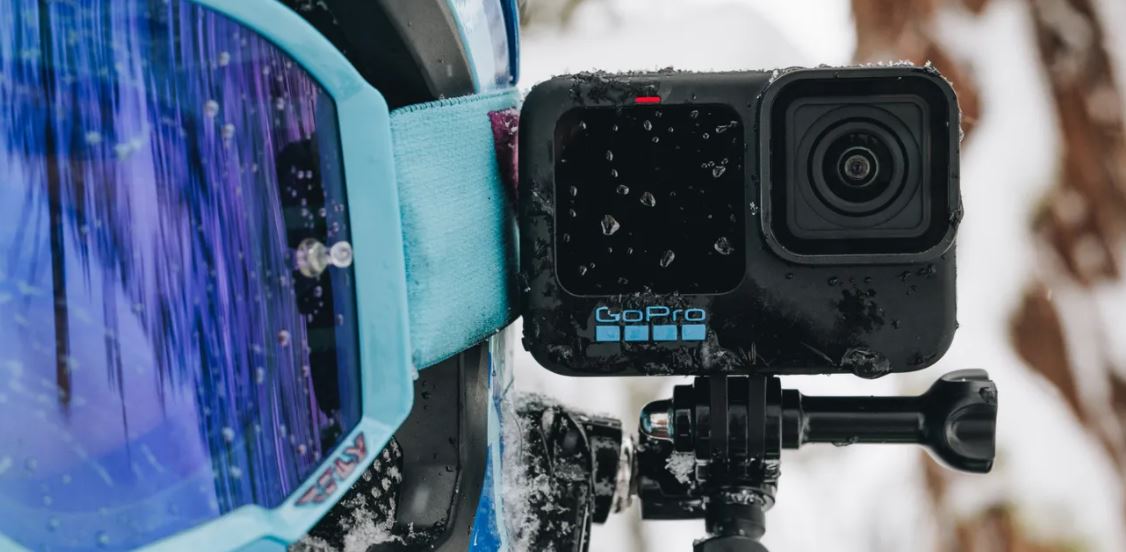
Mounting Techniques and Tips
Finding the Right Spot
The first step is to find the ideal spot on your MTB helmet for the camera. The top of the helmet is a common choice for a wide view, but consider side mounts for a more dynamic angle. Each position offers a different perspective and has its own balance implications.
Securing the Camera
Use mounts specifically designed for MTB helmets. Clean the MTB helmet surface thoroughly before attaching the mount, as dirt and oils can weaken the adhesive. If your camera comes with a strap mount, make sure it’s tightly secured around the helmet, but not so tight that it compromises the helmet’s structure.
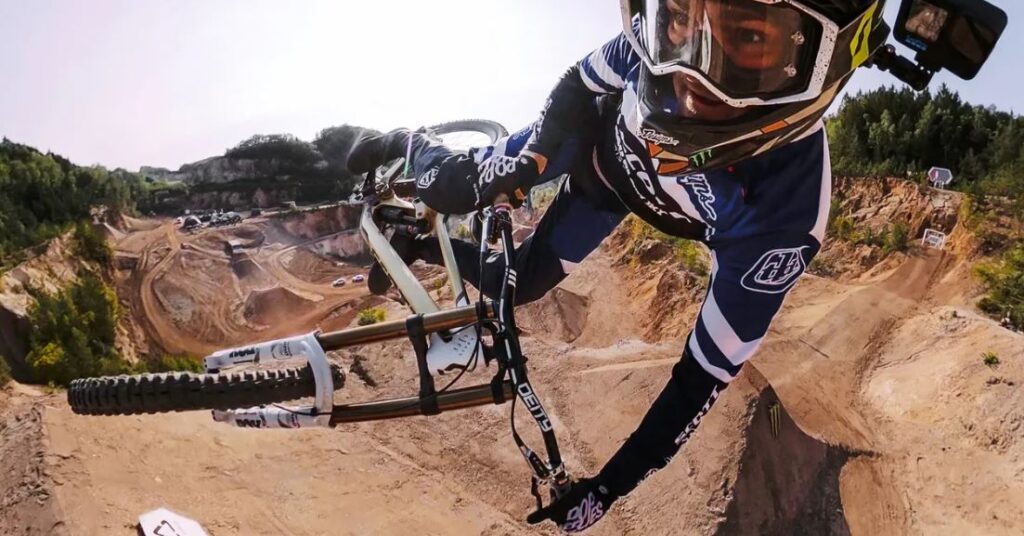
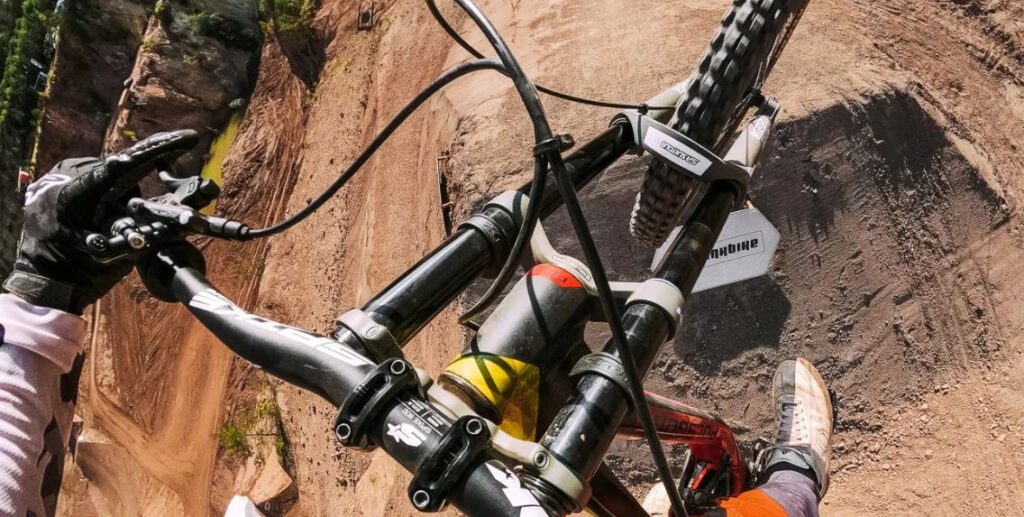
Adjusting the Camera Angle
Once mounted, adjust the camera to capture a mix of the trail and your handlebars. This gives viewers a realistic perspective of the ride. Test different angles on short rides to find the best view. Remember, what looks good standing still might change when you’re on the move.
Avoiding Vibration and Shaking
Ensure all screws and fasteners are tight to prevent the camera from shaking or tilting. However, over-tightening can damage both the camera and the MTB helmet. Consider using rubber inserts or cushioning pads that come with many camera mounts to reduce vibration.
Balancing the Helmet
A common issue is the helmet becoming unbalanced due to the camera’s weight. If your camera is heavier, try to counterbalance it with small weights on the opposite side. This can make a significant difference in comfort, especially on long rides.
Cable Management for Wired Cameras
If you’re using a camera that requires wires (for external mics or power), ensure cables are neatly tucked away and secured. Loose cables can catch on branches and cause distractions or accidents.
Regular Checks and Maintenance
Before each ride, do a quick check to ensure the camera is still securely attached. The rigors of mountain biking can loosen mounts over time.
Recording and Sharing Your Rides
Capturing Quality Footage
Keep the lens clean and check settings according to the lighting conditions. Experiment with different recording modes to add variety to your vlogs.
Creating Engaging Biking Vlogs
Mix up your footage with trail shots, scenic views, and personal commentary. Share both the highs and the challenges of your rides for a more authentic experience.
Editing and Sharing
Good editing can transform raw footage into a captivating story. Choose the right platform for your audience, whether it’s YouTube for longer videos or Instagram for shorter clips.
Best MTB Helmet and Camera Pairings
- Helmet: POC Tectal Race MIPS
- Camera: GoPro HERO9 Black
- This combination is perfect for serious MTB riders. The POC Tectal Race MIPS offers enhanced rotational impact protection, crucial for mountain biking while maintaining comfort and ventilation. While the GoPro HERO9 Black provides 5K video, HyperSmooth stabilization, and a front-facing screen.
- Camera: GoPro HERO9 Black
- Helmet: Smith Forefront 2
- Camera: Garmin VIRB Ultra 30
- Ideal for tech-savvy riders, the Smith Forefront 2 features an integrated camera and light mounts. The Garmin VIRB Ultra 30 offers 4K video, G-Metrix data overlays, and voice control.
- Camera: Garmin VIRB Ultra 30
- Helmet: Bell Super 3R MIPS
- Helmet: Giro Chronicle MIPS
- Camera: GoPro HERO8 Black
- For budget-conscious riders, the Giro Chronicle MIPS offers great protection at a reasonable price. The GoPro HERO8 Black, with HyperSmooth 2.0 and 4K video, complements it well.
- Camera: GoPro HERO8 Black
- Helmet: Troy Lee Designs A2 MIPS
- Camera: Insta360 ONE R
- This combo suits style-conscious riders. The Troy Lee Designs A2 MIPS helmet is stylish and comfortable, while the Insta360 ONE R offers unique 360-degree footage capabilities.
- Camera: Insta360 ONE R
- Helmet: Fox Racing Speedframe Pro
- Camera: Sony RX0 II
- For those prioritizing image quality, the Fox Racing Speedframe Pro offers top-notch protection and ventilation. The Sony RX0 II excels in image quality with its 1-inch sensor.
- Camera: Sony RX0 II
- Helmet: Oakley DRT5
- Camera: GoPro MAX
- A great pair for vloggers and content creators. The Oakley DRT5 has a unique eyewear landing zone, and the GoPro MAX offers 360-degree video capabilities and Max HyperSmooth for creative shots.
- Camera: GoPro MAX
- Helmet: Specialized Ambush with ANGi
- Camera: Yi 4K+ Action Camera
- For tech integration, the Specialized Ambush features ANGi crash detection. The Yi 4K+ complements it with its 4K/60fps video and impressive image stabilization at a competitive price.
- Camera: Yi 4K+ Action Camera
Considerations When Choosing Your Pairing
- Compatibility: Ensure that the camera can be securely mounted on the helmet.
- Weight: Both helmet and camera should be lightweight for comfort during long rides.
- Video Quality: Look for cameras that offer high resolution and stabilization for clear footage.
- Helmet Safety Features: Prioritize helmets with MIPS or similar technologies for added safety.
Remember, the best pairing depends on your specific needs, such as type of riding, desired video quality, and budget. It’s important to research and possibly test out combinations to find the perfect match for your mountain biking adventures.
FAQ
What cameras do mountain bikers use?
Mountain bikers commonly use action cameras such as the GoPro HERO series, Garmin VIRB, DJI Osmo Action, and the Insta360 cameras due to their durability, high-quality video capabilities, and ease of mounting on helmets or bikes.
Can you have a camera on your helmet?
Yes! You can mount a camera on your helmet. It’s a popular choice for cyclists and outdoor enthusiasts to record their activities.
How do bike helmet cameras work?
Bike helmet cameras work by being securely mounted on the helmet and recording video as you ride. They are typically compact, durable, and designed to capture high-quality footage even in motion and challenging outdoor conditions.
Final Thoughts
Attaching a camera to your MTB helmet is a great way to document your biking adventures. With the right camera, proper mounting techniques, and creative storytelling, you can create memorable and inspiring biking vlogs. The best part of recording your rides is sharing the joy and excitement of mountain biking with others.
If you have any more questions or need further assistance, feel free to ask. Happy biking and safe recording! 🚴♂️🎥🌲
John