Gravel Bike Lights Buyers Guide
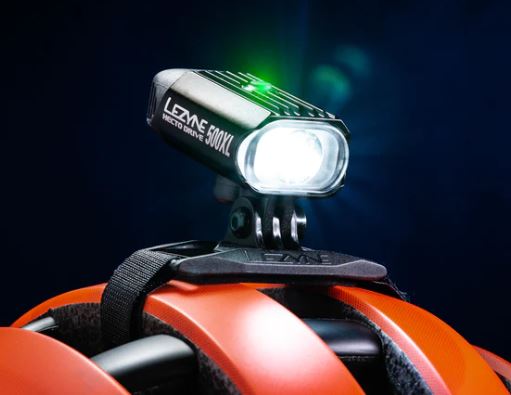
Cycling on gravel trails requires robust gear designed for varying terrain and lighting conditions. Among the most critical gear pieces are bike lights, which ensure visibility not only for the cyclist but also for others on the trail. In this Gravel Bike Lights Buyers Guide, I will take you through the different types of bike lights suitable for gravel bikes, compare light performance, discuss power options, and more.
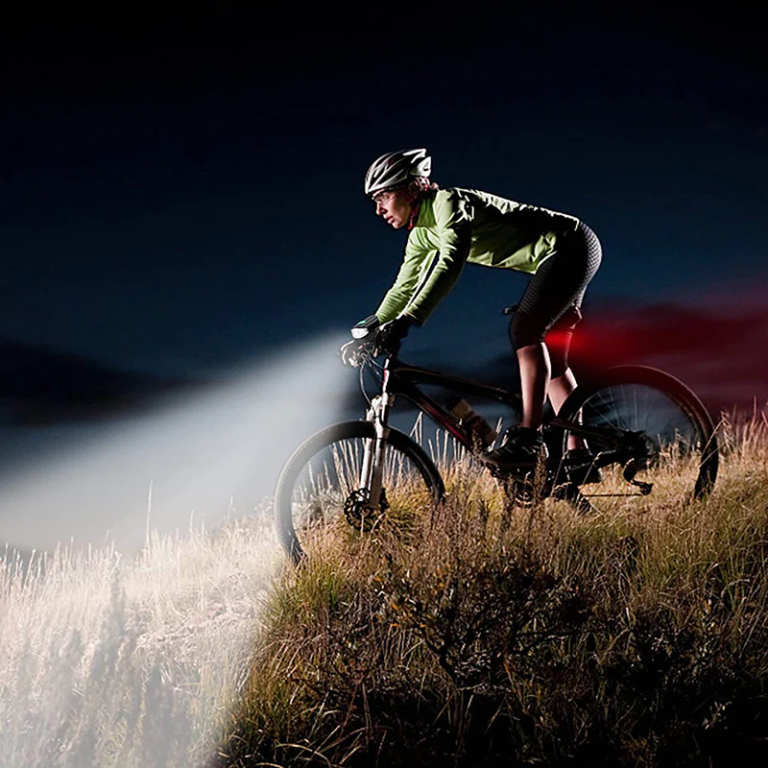
Gravel biking combines elements of road and mountain biking, often leading you through less-traveled paths that may lack street lighting. Thus, choosing the right lights is crucial for safety and visibility. When selecting bike lights, consider the conditions you’ll be riding in: Is it primarily during dawn, dusk, or in full darkness? Are you navigating technical trails or open gravel roads? The answers will shape your needs regarding brightness, beam pattern, battery life, and durability.
Click here to see the best gravel lights rated and ranked
Types of Bike Lights
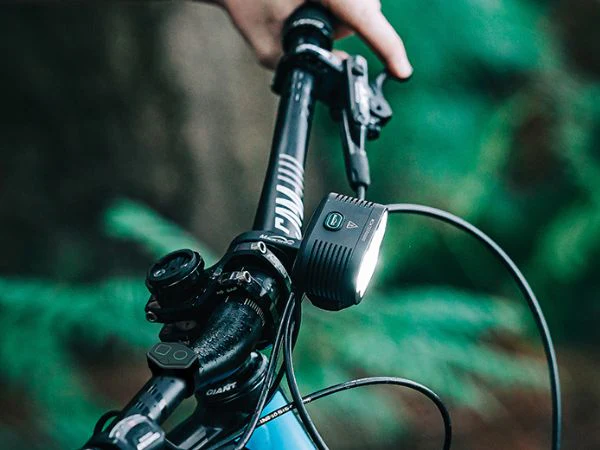
Front Lights
- Spotlights: Focus a beam on a specific area, good for high-speed or technical trails.
- Floodlights: Provide a wide beam, suitable for slower speeds and straight paths.
Rear Lights
- Steady Lights: Constant light, high visibility.
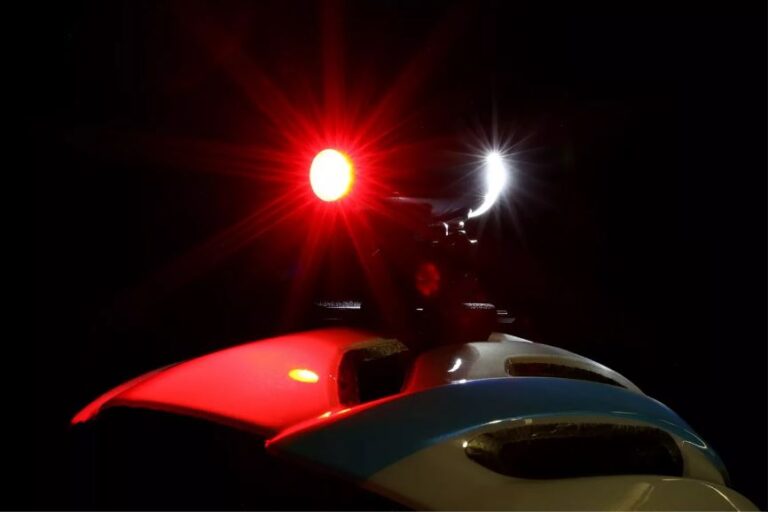
- Flashing Lights: Attention-grabbing, used in tandem with steady lights for increased safety.
Combo Lights
- Dual Lights: Offer both a front and rear light, usually detachable and interchangeable.
- Integrated Systems: Lights that are part of a bike’s design, offering a streamlined look and aerodynamics.
Comparing Light Performance
When comparing light performance, consider:
- Brightness: Measured in lumens; the more lumens, the brighter the light. Gravel bikes typically need between 400 to 800 lumens for front lights.
- Beam Quality: The spread and focus of the light affect how well you can see and be seen.
- Color Temperature: This can affect visibility at night; a balance between cool and warm light is ideal.
Rechargeable Lighting
Rechargeable lights are eco-friendly and cost-effective in the long run. LED lights with lithium-ion batteries are the most common. They’re lightweight and have a high energy density.
Maintaining Battery
To maintain the longevity of your battery:
- Store the lights in a cool, dry place when not in use.
- Avoid complete discharge before recharging.
- Follow manufacturer recommendations for charging cycles.
Run Time and Battery Life
Run time depends on the light’s brightness and battery capacity. Manufacturers will often provide run time estimates for different settings. Look for lights with a battery life indicator to help manage your light settings more efficiently during rides.
Mounting Options
The mounting system should be secure and easy to use, allowing for quick removal and attachment. Options include:
- Rubber Straps: Flexible and easy to fit on different parts of the bike.
- Clip Mounts: Quick to attach/detach; ideal for combo lights.
- Screw Tightening Mounts: More permanent, sturdy option for rough terrains.
Front Bike Lights
For gravel bikes, front lights should have:
- Adjustable Beam: To adapt to different terrains and speeds.
- Sturdy Mount: To handle vibrations on uneven gravel paths.
- Water Resistance: To deal with changing weather conditions.
Rear Bike Lights
Rear lights should:
- Be Bright and Visible: Even in daylight, for maximum safety.
- Offer Multiple Modes: Steady and flashing for versatility.
- Have a Secure Mount: To ensure they stay in place on bumpy trails.
When selecting your gravel bike lighting system, balance brightness with battery life and choose a robust system that can handle the rigors of gravel riding. Safety should be your priority, followed by convenience and ease of use. With the right lights, you can extend your riding hours and enjoy the trails with confidence, no matter the time of day.
Lighting Manufacturers
Lezyne
- Known For: High-quality, durable lights with excellent battery life.
- Product Highlights: Lezyne offers a range of lights that feature strong LED outputs and innovative mounting systems.
Garmin
- Known For: Smart lights that can integrate with GPS and cycling computers for features like automatic brightness adjustment.
- Product Highlights: Garmin Varia radar taillights that detect approaching vehicles and adjust brightness accordingly.
NiteRider
- Known For: Rugged and reliable lights that are favored by mountain and gravel bikers alike.
- Product Highlights: High-intensity lights with secure mounts, ideal for challenging gravel paths.
Cateye
- Known For: Their compact designs and user-friendly interfaces.
- Product Highlights: A wide range of both front and rear lights that cater to casual and serious cyclists.
Bontrager
- Known For: Producing lights with consistent lighting and robust build quality.
- Product Highlights: The Bontrager Ion series for front lights and Flare series for rear lights offer a good balance of visibility and run time.
Knog
- Known For: Stylish, innovative light designs with easy-to-use attachment mechanisms.
- Product Highlights: Knog’s lights often feature a distinctive design and are USB rechargeable, suitable for a variety of biking activities.
Cygolite
- Known For: Their focus on brightness and longevity.
- Product Highlights: Cygolite offers some of the most powerful lights on the market, designed for riders who need maximum visibility on dark trails.
Lupine
- Known For: Premium lights with exceptional brightness and quality.
- Product Highlights: Lupine’s lighting systems are known for their durability and high-performance, suitable for extreme gravel riding conditions.
Exposure Lights
- Known For: British-manufactured lights that offer sophisticated technology and sleek designs.
- Product Highlights: Exposure provides high-end lights that are both powerful and lightweight, with a focus on advanced features like programmable settings.
Magicshine
- Known For: Offering a balance between affordability and functionality.
- Product Highlights: Magicshine provides a range of bike lights that are cost-effective without sacrificing performance.
When choosing a manufacturer, consider warranty options, customer service, and user reviews. It’s also important to think about compatibility with your bike and your specific riding needs. Some brands might cater more to casual riders while others are aimed at high-performance athletes, so aligning the brand’s product offerings with your expectations is crucial for making the best purchase.
Light Modes and Visibility Features
Discuss the importance of different light modes such as high, medium, low, pulse, and flash, and how they can be used in various riding conditions. Pulse and flash modes are particularly important for daytime visibility.
Smart Features
Some lights come with smart features like auto on/off, where the light turns on automatically in low light conditions or when the bike starts moving and turns off after a period of inactivity.
Beam Angle
The angle of the light beam can affect visibility. A wider angle is useful for being seen by others, while a narrower beam provides a more focused light for the rider’s path.
Waterproofing
Especially for gravel riding, the IPX rating which indicates the level of waterproofing can be important. A higher IPX rating is beneficial for riding in various weather conditions.
Light Sensors
Some advanced lights come with ambient light sensors that adjust the brightness based on the lighting conditions of the environment, preserving battery life and ensuring visibility.
Compatibility with Accessories
The compatibility of lights with other bike accessories such as out-front mounts, action cameras, or GPS devices can be a consideration for riders with a heavily accessorized setup.
Safety and Legal Compliance
Include a section on the legal requirements for bike lights in different regions, as some places have specific rules regarding the minimum brightness, flashing modes, or colors allowed.
Environmental Considerations
Highlight eco-friendly options, such as lights with replaceable batteries or those with energy-saving modes, and the environmental impact of the materials used in the lights.
Budget and Cost
A discussion about budget range and the cost vs. quality consideration could help buyers make an informed decision based on their finances.
User Reviews and Community Recommendations
Encourage buyers to look at user reviews and seek recommendations from the gravel biking community, as peer insights can be invaluable.
After-Sale Support
Information on warranty length, the manufacturer’s customer service reputation, and the availability of replacement parts can influence the decision to purchase a particular brand.
Conclusion
In conclusion, selecting the right lights for your gravel bike is an essential part of ensuring safe and enjoyable rides across varying terrains and lighting conditions. By understanding the types of lights available, comparing light performance, and considering battery life and mounting options, you can make an informed decision that balances visibility, convenience, and durability.
Leading manufacturers like Lezyne, Garmin, and NiteRider offer a range of products that cater to these needs, each with their unique features and benefits. Always consider the additional factors such as beam angle, waterproofing, smart features, and legal compliance, and use the checklist provided to match your specific requirements with the right lighting system. With the right lights fitted on your gravel bike, you can confidently extend your adventures from the break of dawn to the end of dusk, ensuring both your enjoyment and your safety on the trails. John
FAQ’s
How many lumens is enough for a bike light?
The question of how many lumens are enough for a bike light depends on several factors, including the type of cycling you’re doing, the environment you’re riding in, and whether the light is used for visibility or to see.
Here’s a general guideline:
- Commuting in urban areas: For city riding where streets are well-lit and the main goal is to be seen by others, front lights with 100 to 300 lumens are usually sufficient. Rear lights can be less powerful but should still be bright enough to be visible to drivers, so around 20 to 100 lumens is adequate.
- Road cycling at night or in rural areas: If you’re riding on roads that aren’t well-lit, you’ll want a brighter front light that can illuminate the road ahead and alert motorists of your presence. A light with 400 to 600 lumens is a good range to look for.
- Gravel or mountain biking: For off-road and gravel paths, you’ll likely need even more powerful lighting. A front light with 600 to 1000 lumens or more will help you spot obstacles and navigate uneven terrain. Some riders may even opt for stronger lights, especially if dealing with technical trails.
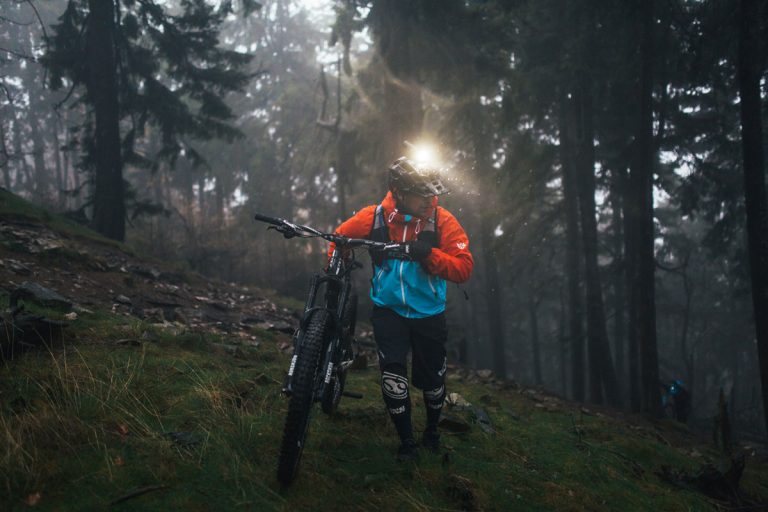
- Trail riding at night: When you’re on trails, especially technical singletracks, you’ll need a powerful light to navigate obstacles. Riders often use lights with 1000 to 2000 lumens. Some may even use a combination of helmet-mounted and handlebar-mounted lights for the best visibility.
Remember, more lumens usually mean more battery consumption, so a balance between brightness and battery life is crucial. It’s also worth noting that in some areas, there may be legal limitations on the brightness of bike lights, similar to restrictions on vehicle headlights, to prevent blinding other road users. Always check your local regulations to ensure compliance.
Is 1000 lumens enough for night riding?
Yes, 1000 lumens is typically enough for night riding, particularly on roads or open trails. This level of brightness is sufficient to clearly illuminate the road or path ahead of you, allowing for good visibility at a reasonable speed. Here are some contexts where 1000 lumens fits well:
- Road Cycling: On roads without street lighting, 1000 lumens can cast a beam that allows you to see far enough ahead to ride at a good pace while still avoiding potholes and other potential hazards.
- Gravel or Cross-Country Trails: For gravel biking or cross-country trails that have moderate technical difficulty, 1000 lumens should provide adequate lighting to navigate the terrain safely.
- Mountain Biking: For more technical mountain biking, 1000 lumens can be sufficient, but it depends on the complexity of the trail and your speed. On highly technical trails or if you’re descending rapidly, more light may be beneficial to give you a better view of obstacles.
When using a 1000-lumen light, it’s important to consider the beam pattern. A focused beam will throw light farther, which is great for fast riding on roads, while a wider beam is better for off-road trails, as it illuminates a broader area around you.
Also, remember that excessively bright lights can be a hazard to oncoming traffic or other trail users, so use a light with an appropriate beam pattern and aim it properly to avoid blinding others.
Lastly, it’s not just about lumens. The quality of the light, the design of the lens, and the beam pattern all play significant roles in how well the path in front of you is illuminated. High-quality lights with lower lumens can sometimes outperform cheaper lights with higher lumen ratings due to better beam quality.
What to look for when buying bike lights?
When purchasing bike lights, it’s essential to evaluate several important factors to ensure you get the best product for your cycling needs. Determine the right brightness for your environment, which can range from a few hundred lumens for city commuting to over a thousand for trail riding at night. Consider the beam pattern as well; you might need a focused beam for roads or a wide beam for off-road. Battery life is crucial for long rides, so look for lights with long-lasting batteries and convenient recharging options, such as USB.
The mounting system should be secure and easy to use, allowing for quick attachment and removal, and it must be compatible with your bike’s specific setup. Lights should be made from durable materials to withstand the rigors of cycling and should ideally be water-resistant or waterproof for all-weather reliability.
Weight and size may also influence your decision, particularly for performance riders or those who need to transport their lights off the bike. A variety of modes like steady, flash, and pulse can help you adapt to different conditions and conserve battery life. Side visibility is an important safety feature, especially for urban riders.
For those looking for more advanced functionality, some lights offer smart features like ambient light adjustment or compatibility with cycling computers and smartphones. Always check that the lights comply with any local regulations regarding brightness and flashing modes.
While price is an important consideration, investing in a quality set of lights can save money over time through durability and better features. Choose brands with a good reputation for reliability and customer service, and check for a solid warranty. Lastly, reading user reviews can provide valuable insights into how the lights perform in real-world conditions similar to your own.
